Looking to reach the Chapel Of The Wanderer in Hollow Knight: Silksong? Assuming you’ve been following along with our walkthrough thus far, you should have just about enough Rosaries in your possession for a quick detour off the main path. We promise it’s well worth doing this early on.
In this guide, you’ll find Part 5 of our Hollow Knight: Silksong walkthrough, beginning with an essential purchase in Bone Bottom and culminating with a game-changing reward from within the Chapel Of The Wanderer.
Want the walkthrough for a different area of the game? Check out our Hollow Knight: Silksong walkthrough hub!
Chapel Of The Wanderer walkthrough steps:
- Buy the Simple Key from Pebb.
- Take a leap of faith.
- Bypass (or kill) the giant worm miniboss.
- Drop down to collect a Mask Shard.
- Enter the Wormways and take the first path down.
- Make your way through the Chapel Of The Wanderer.
- Survive the gauntlet to gain the Wanderer Crest.
- Exit the Chapel and return to Bone Bottom.
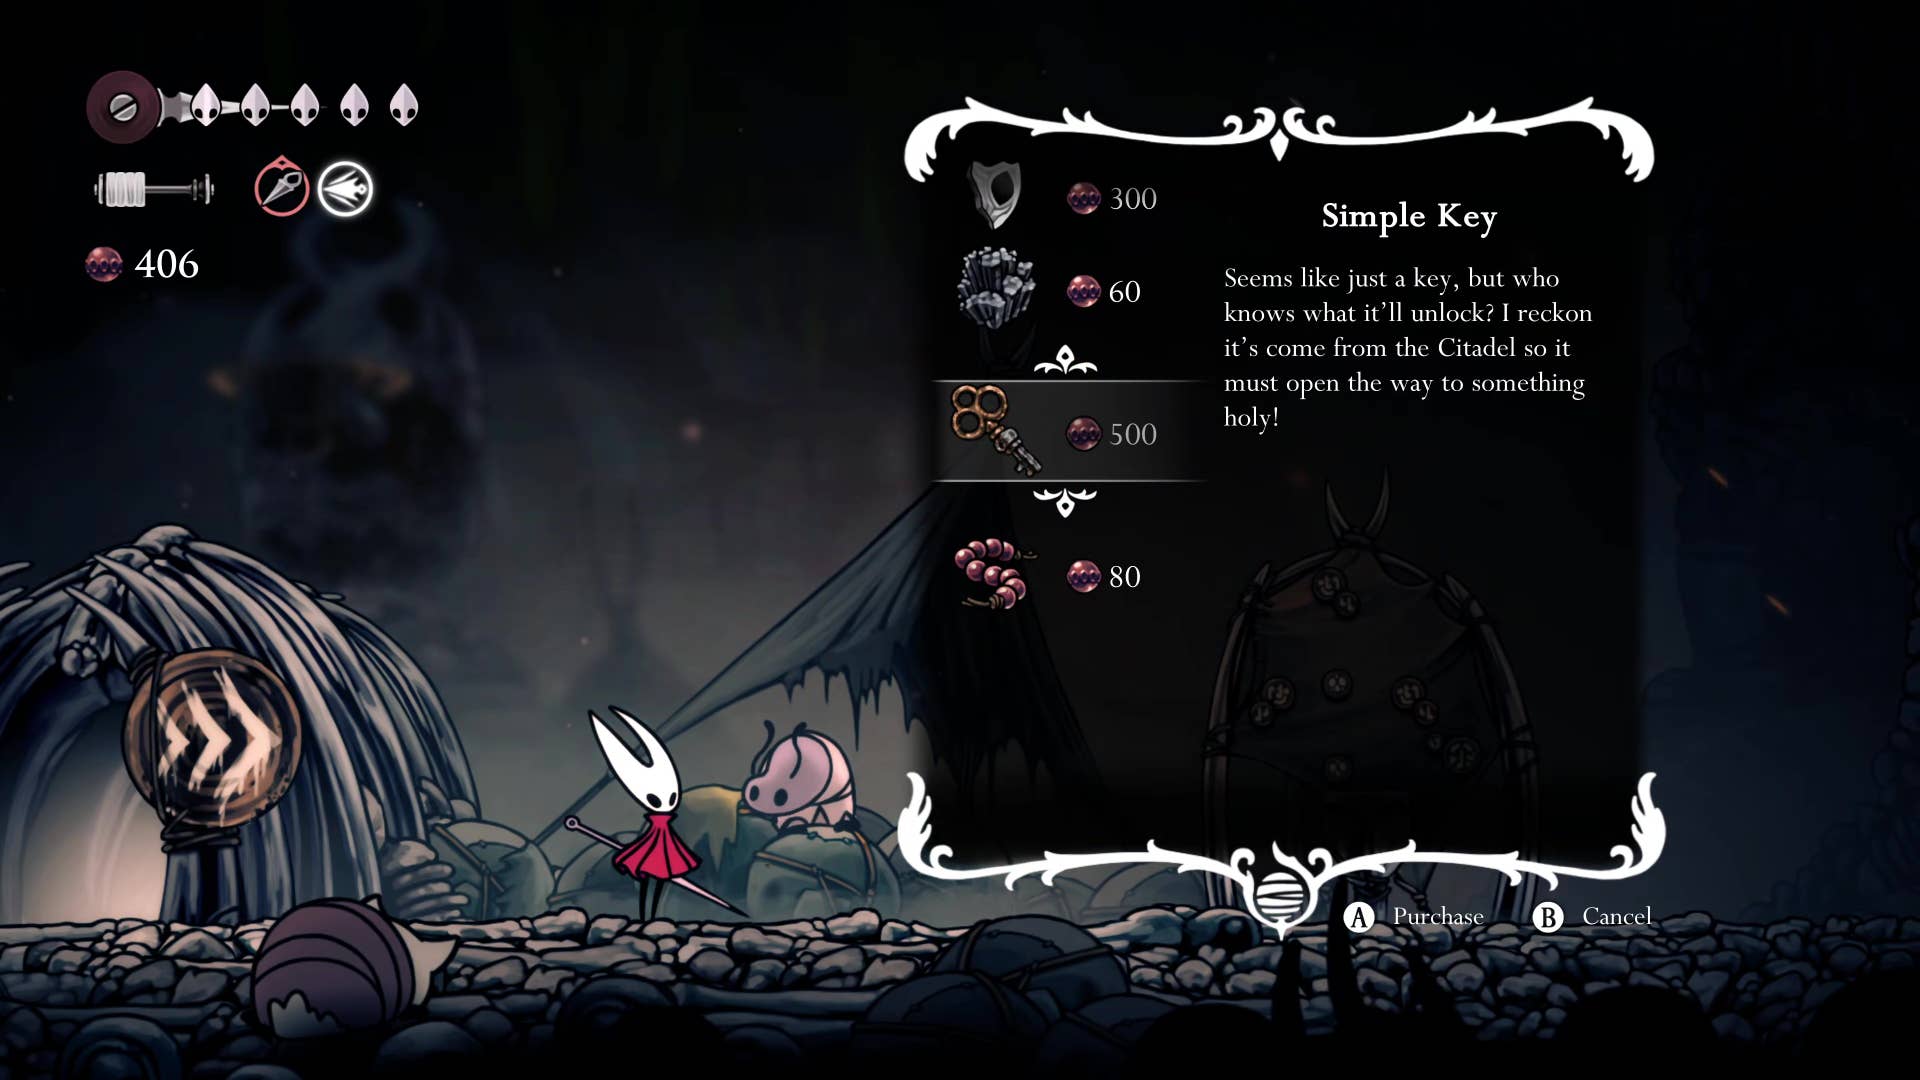
1. Buy the Simple Key from Pebb.
The essential first step you need to take before this part of our walkthrough is this: you need to gather up 500x Rosary Beads, then head to the village of Bone Bottom and purchase the Simple Key from the trader, Pebb.
If you’ve been following along with our walkthrough and exploring every nook and cranny, then you should have enough (or very nearly enough) Rosaries for this by now. Without the Simple Key, you’re best off coming back to this part of our walkthrough later on.
What if you don’t have 500 Rosaries?

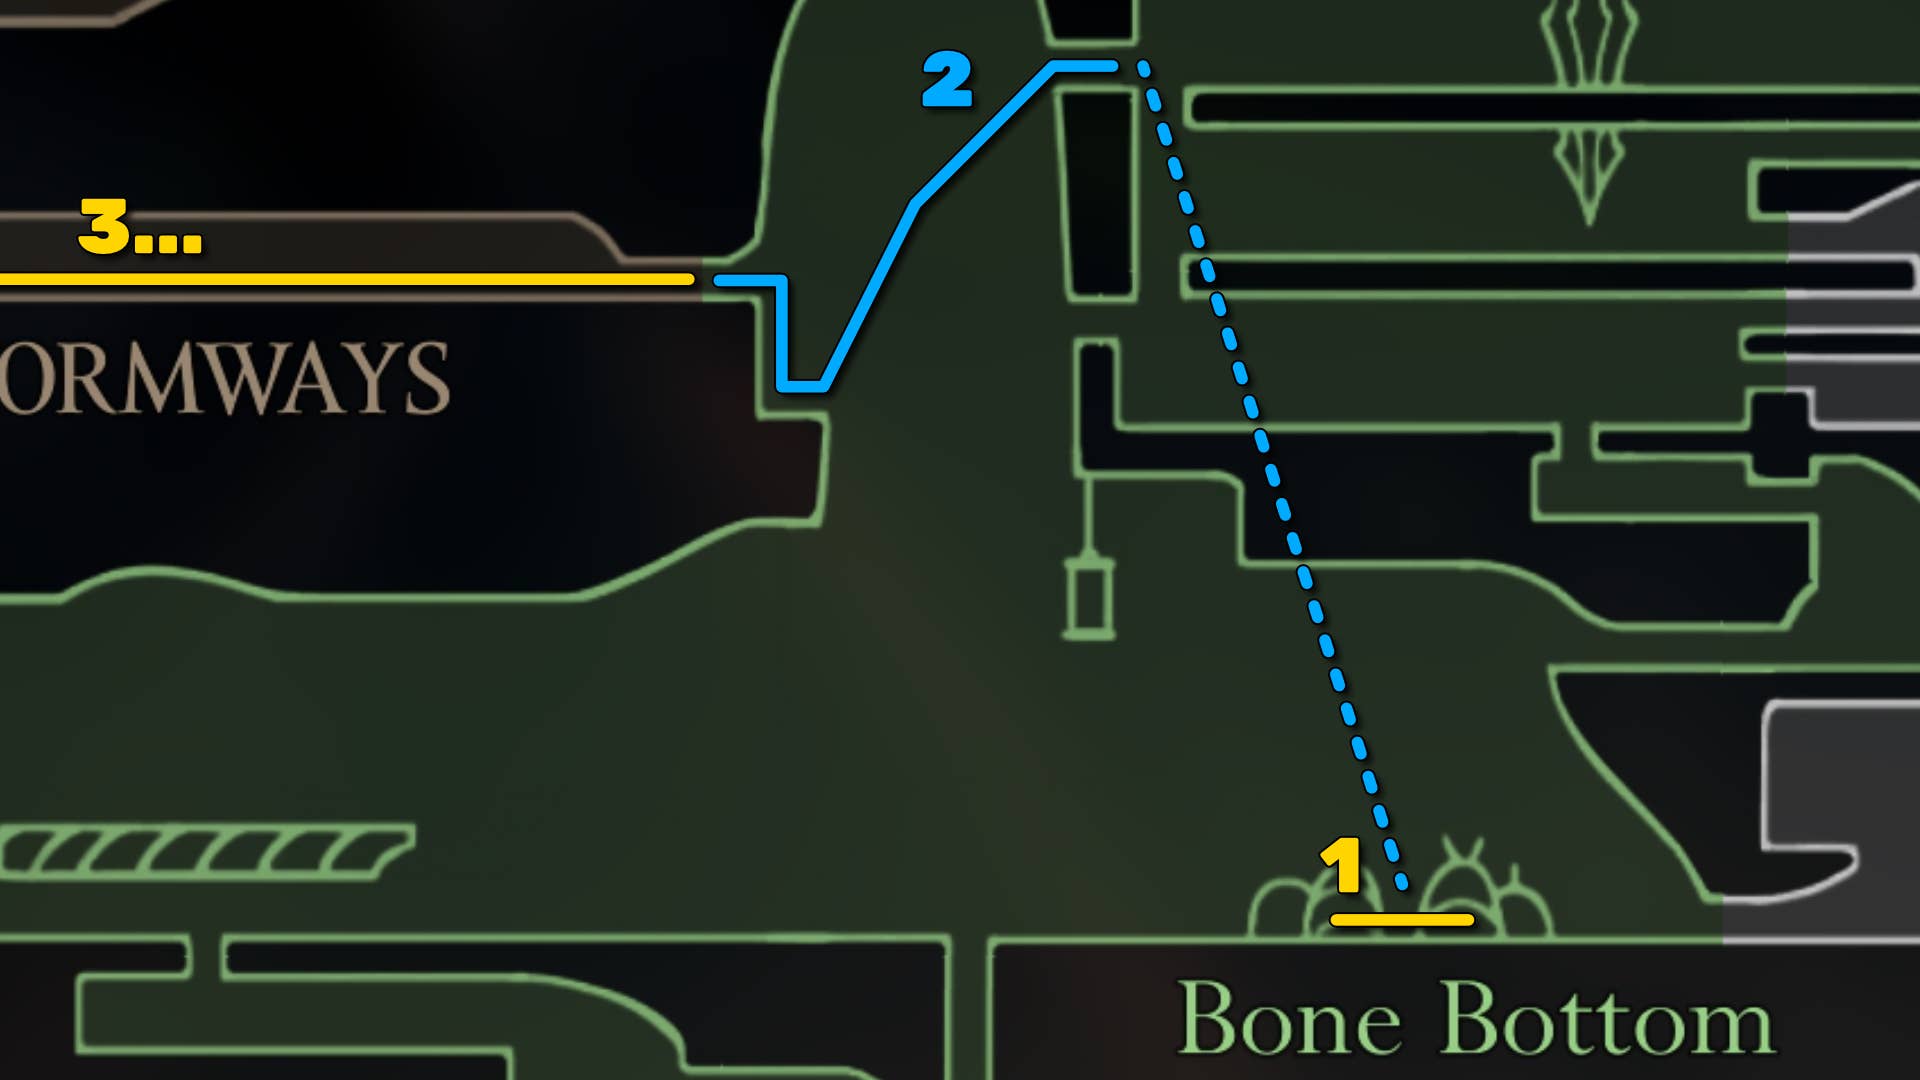
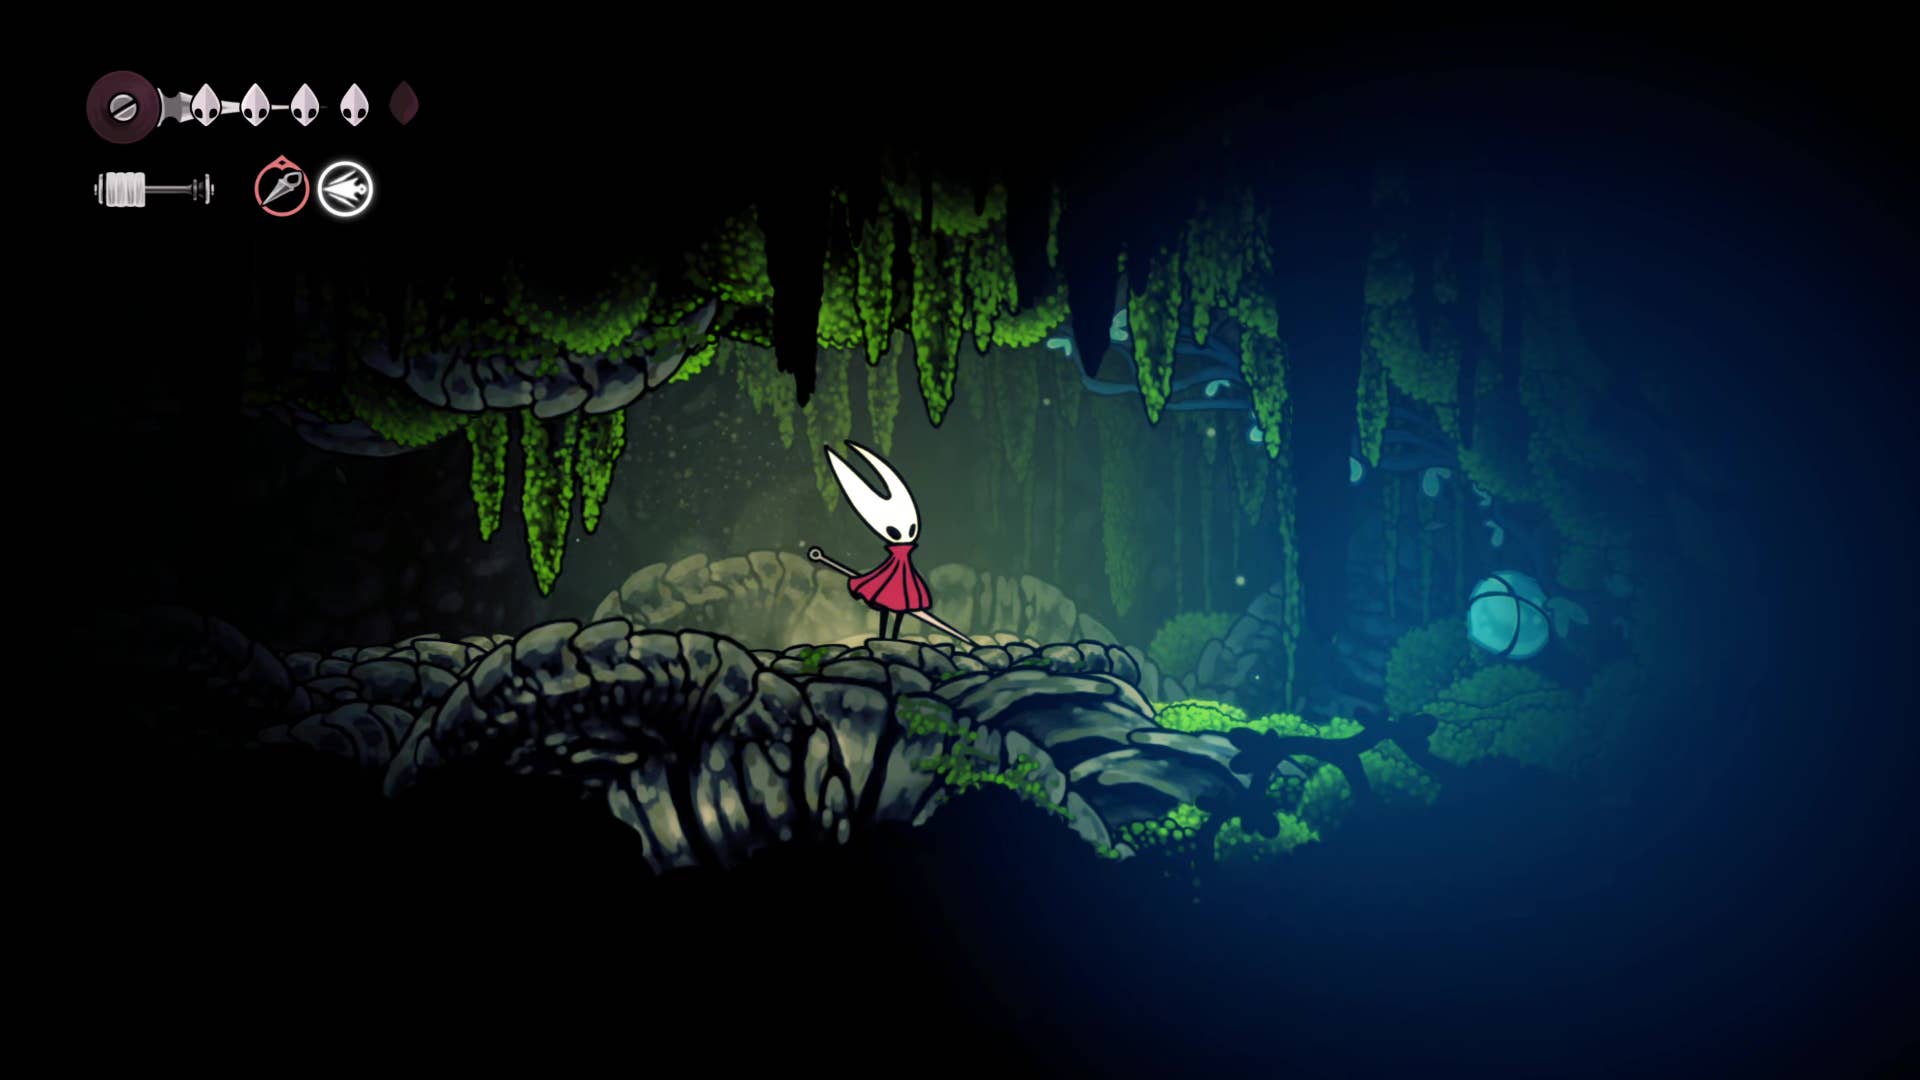
2. Take a leap of faith.
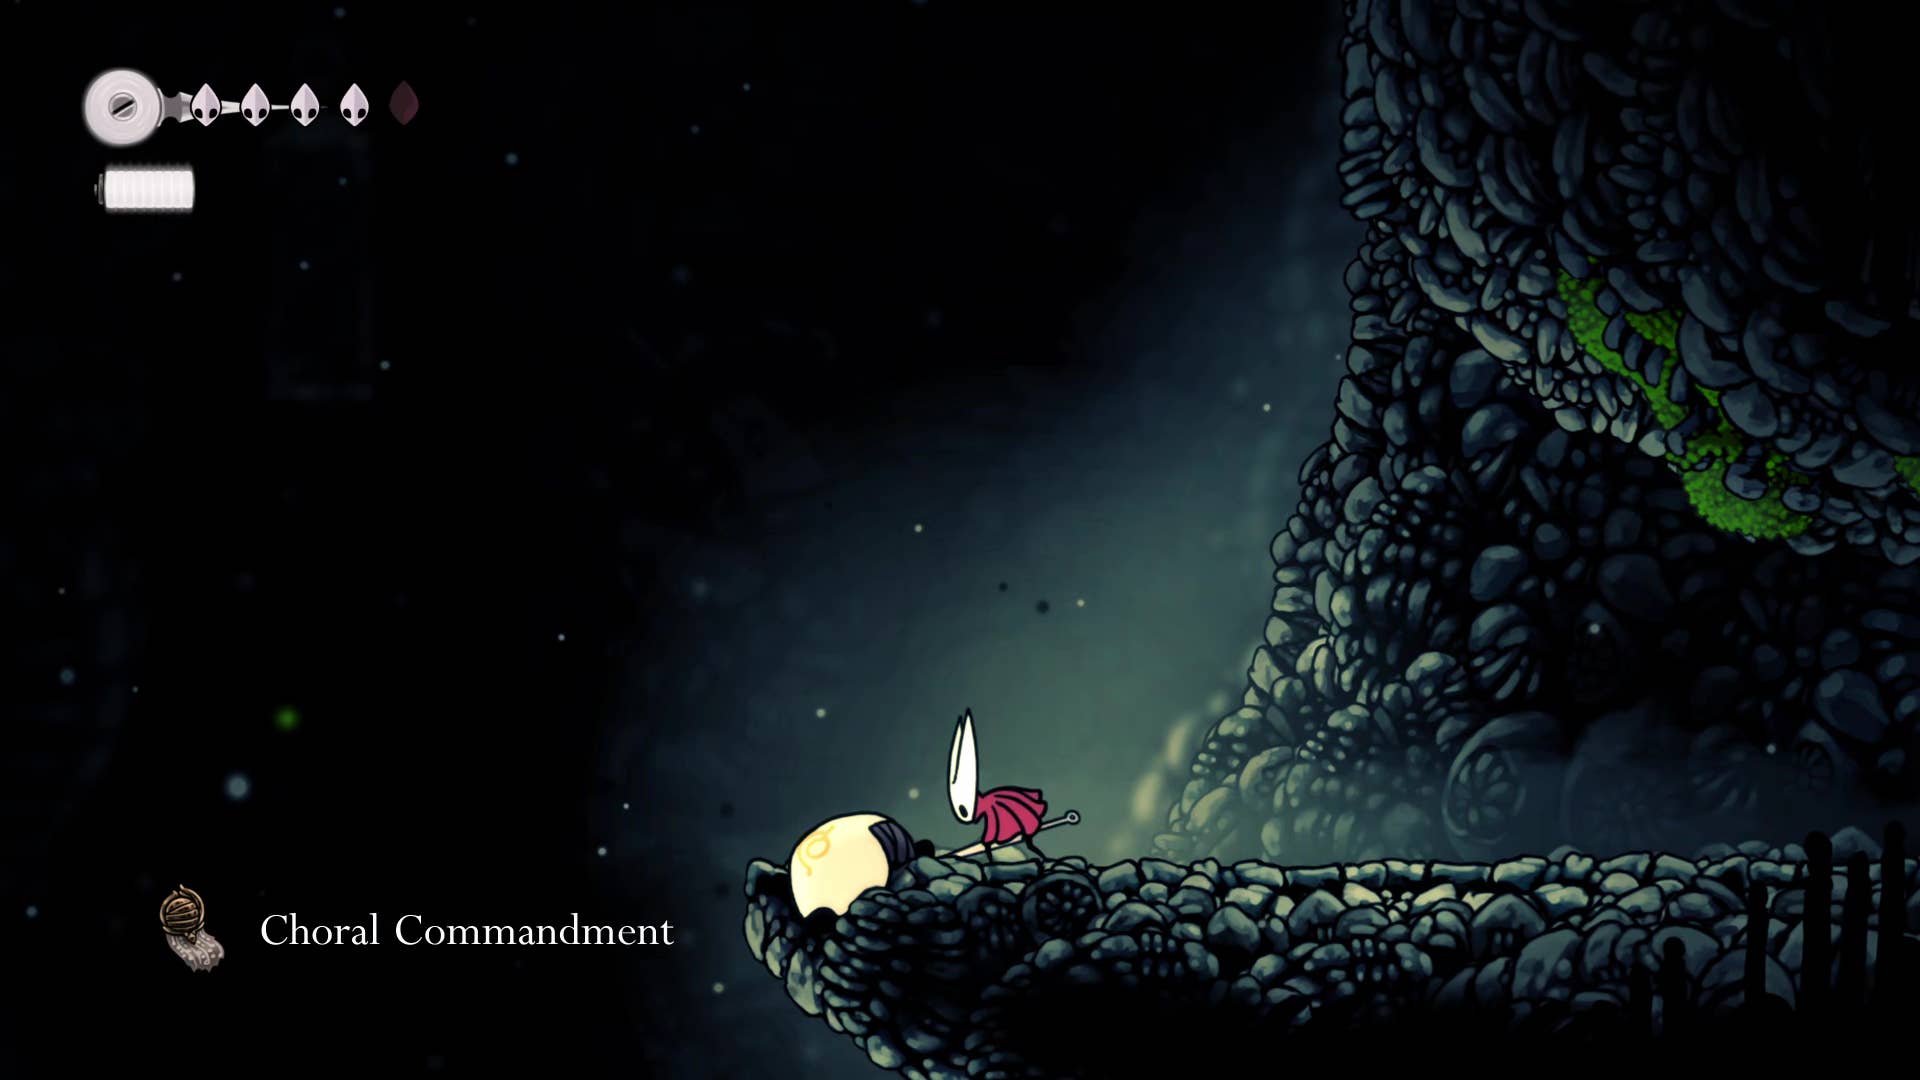
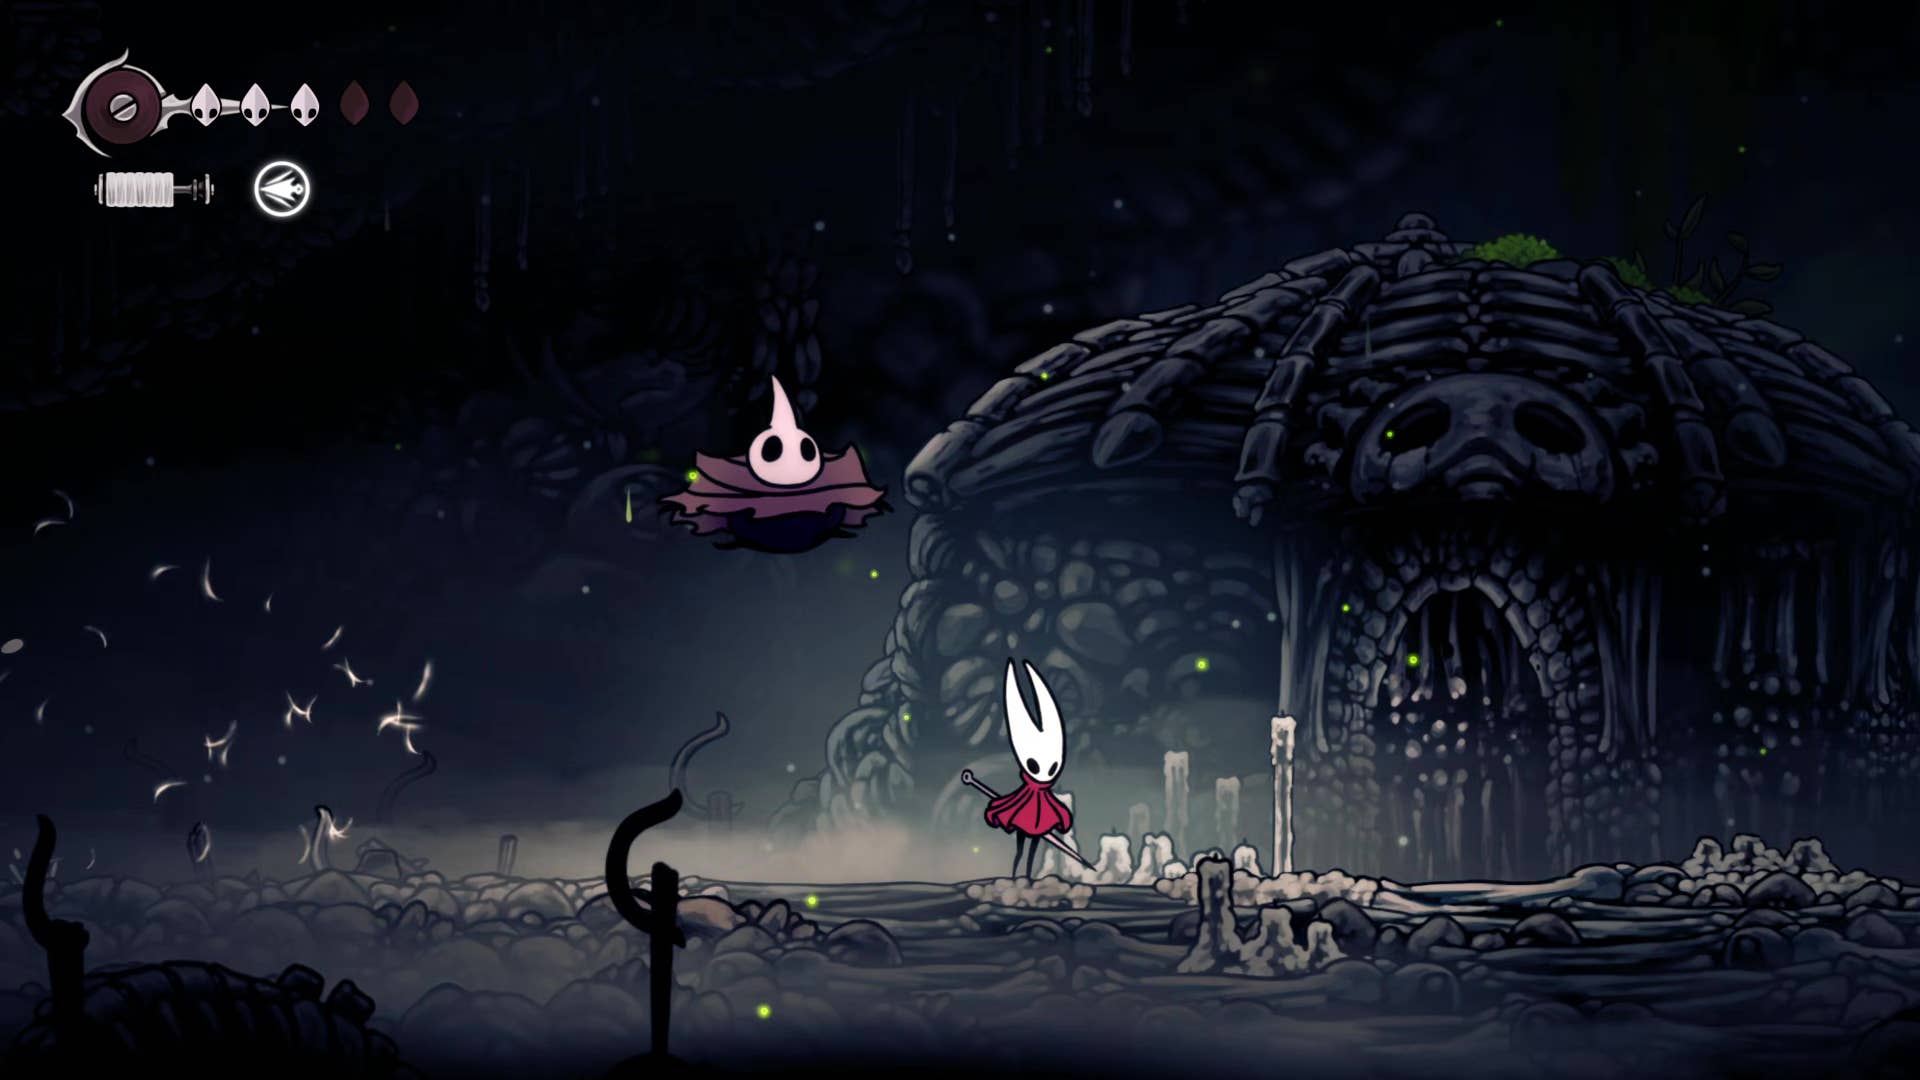
With the Simple Key in hand, take the elevator or the Bell Beast back up to Mosshome, and go to the high cliff ledge on the left-hand side, where you found the Choral Commandment item earlier.
Leap off the edge as far left as possible, and you’ll land atop a very small platform. Be wary of the insects around, because falling at this point is irritating (but you can take the elevator back up). Jump again to the left, and either Pogo off the insect or just attack down-left regardless to reach a lower ledge with a Rosary cache. Climb up and exit the room to the left.


Note that you can also reach this same place from just above the elevator by Pogo-jumping off the flying enemies. This will be fine for veteran players; less so for newcomers, which is why I suggest following the “leap of faith” approach from higher up.
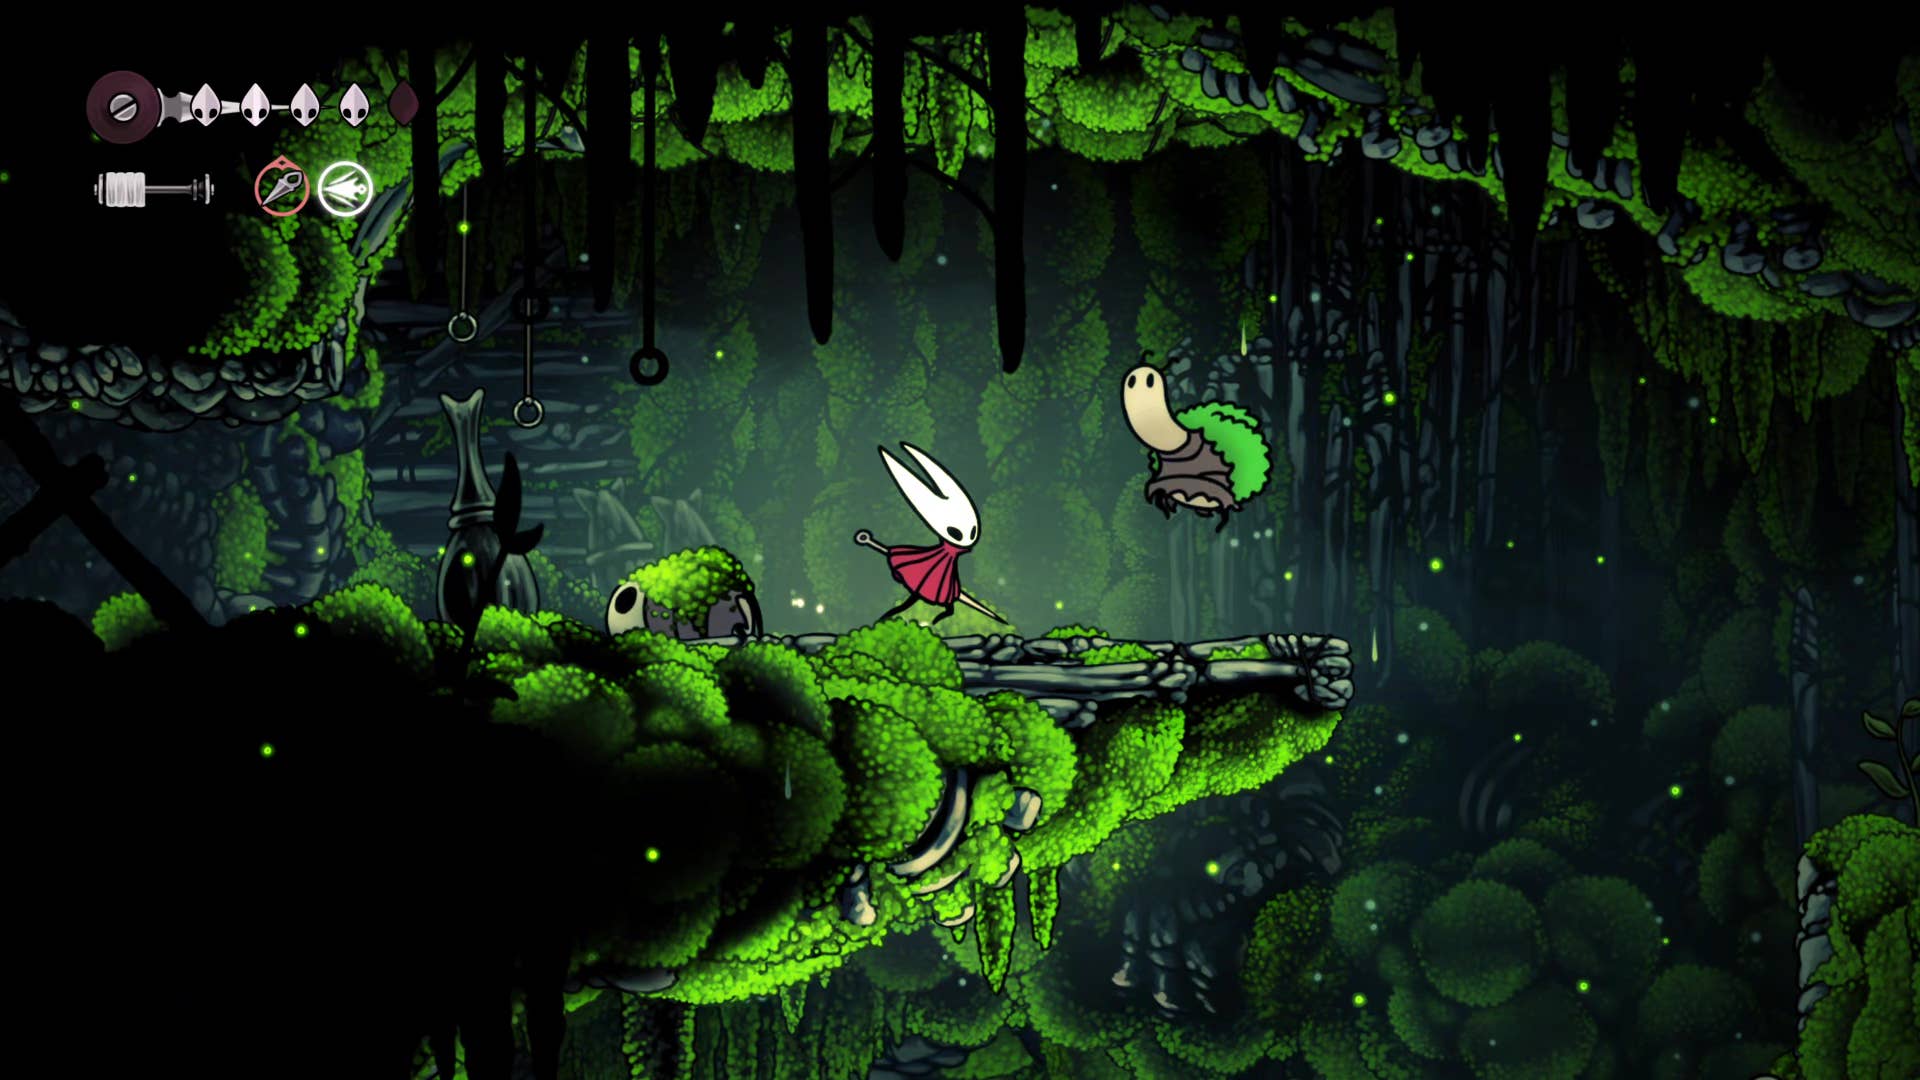
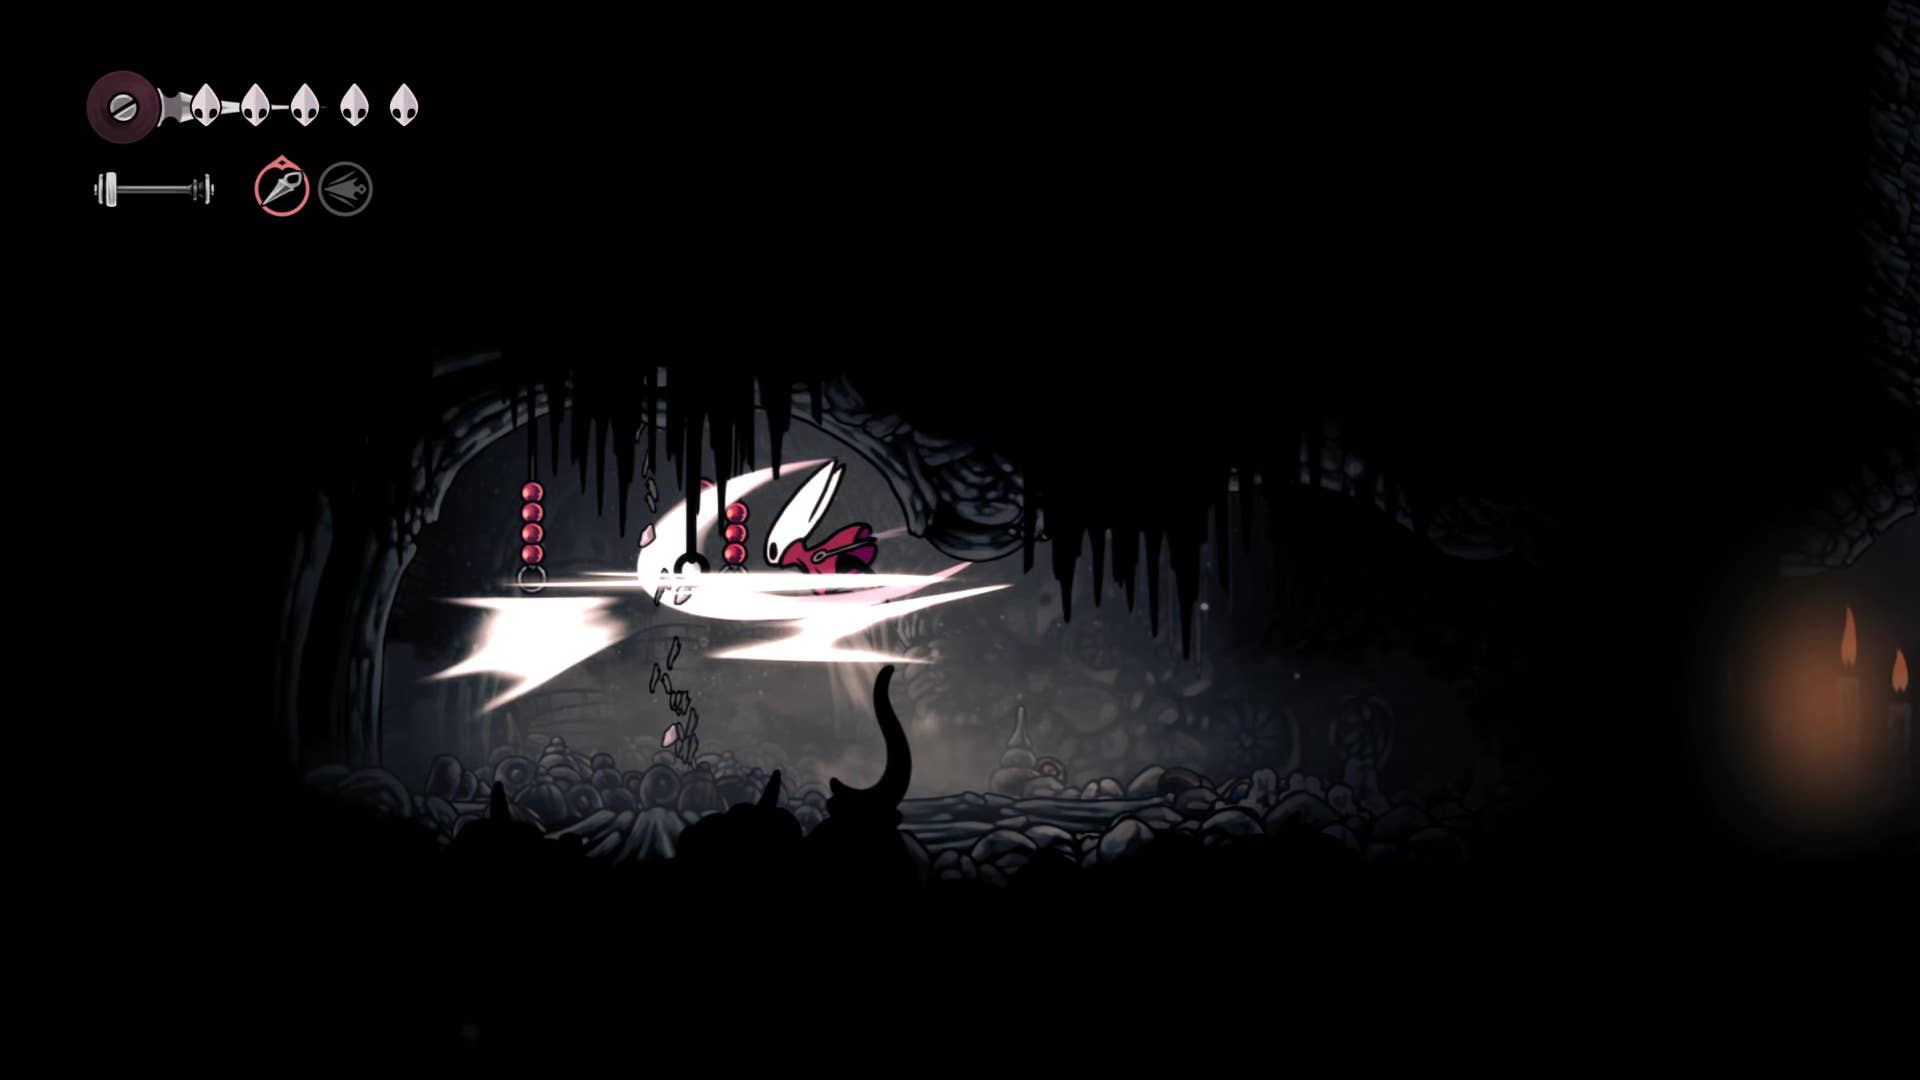
3. Bypass (or kill) the giant worm miniboss.
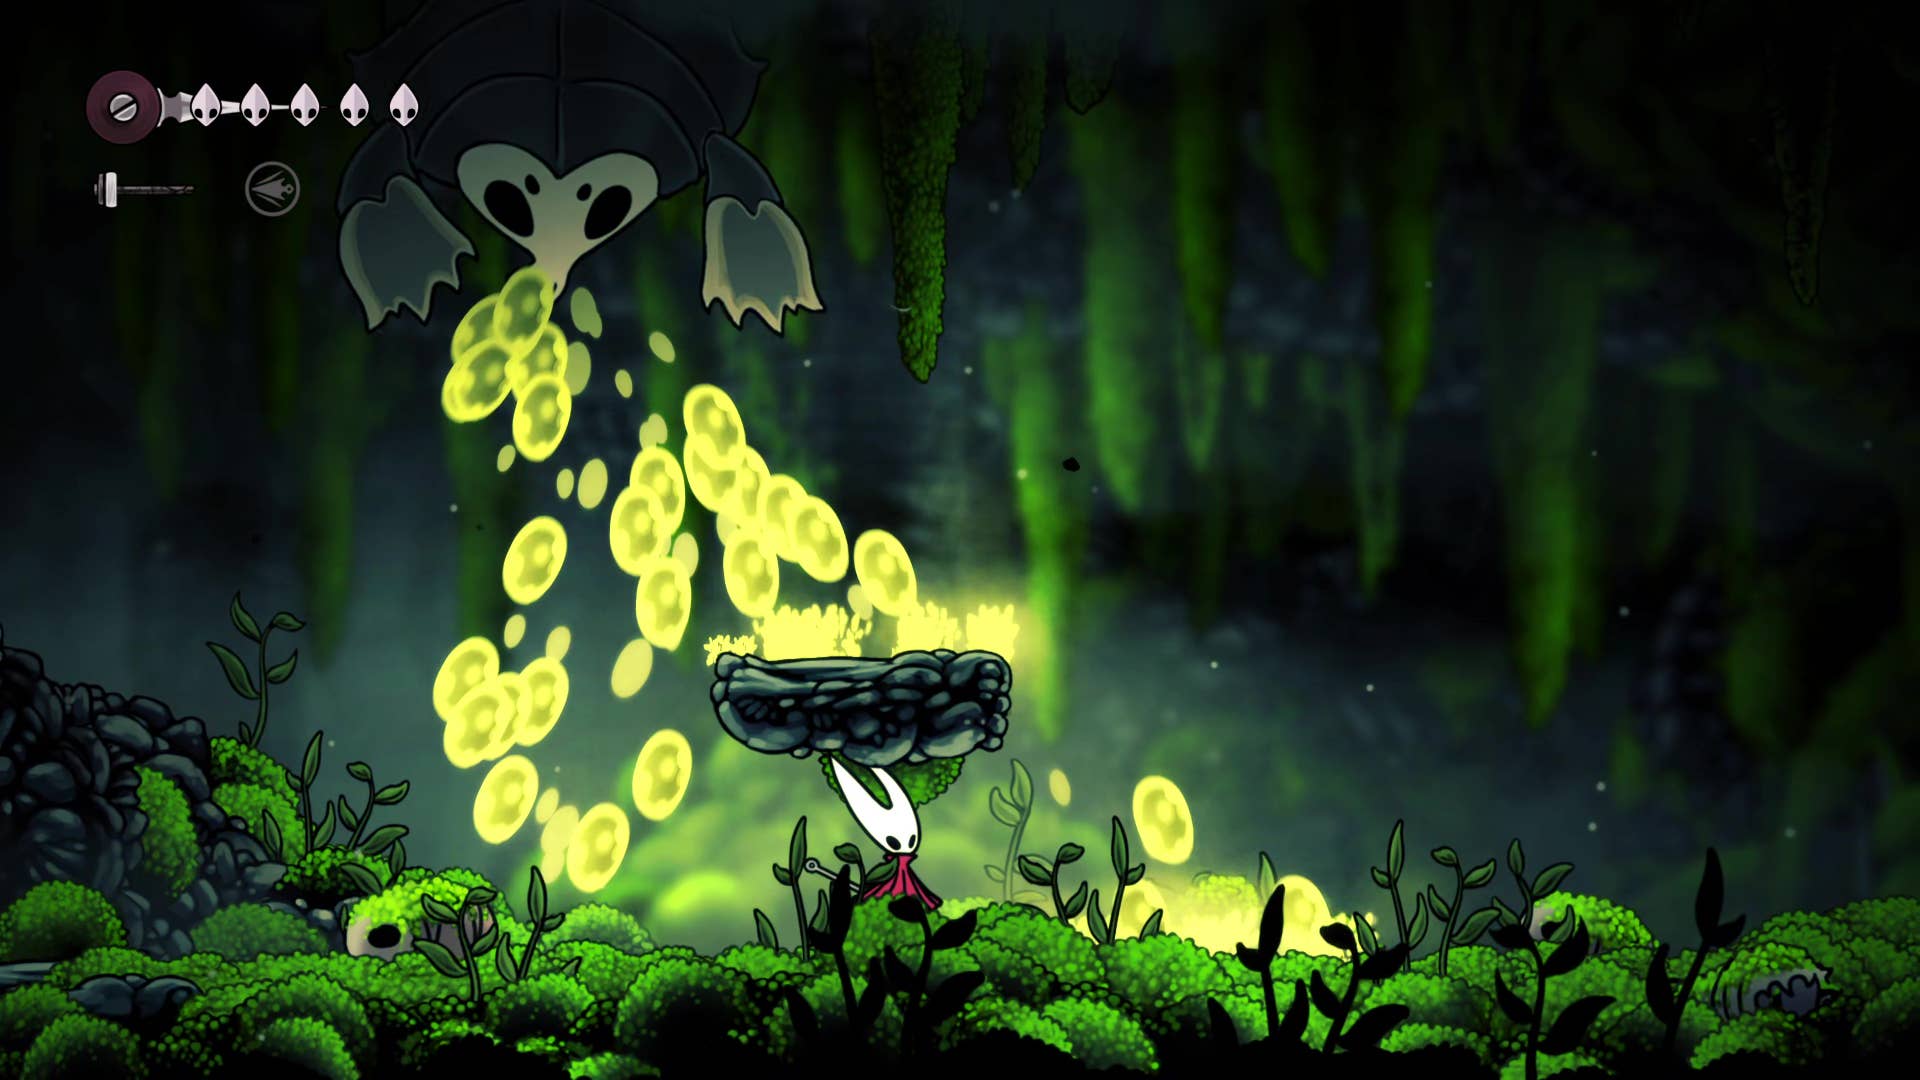
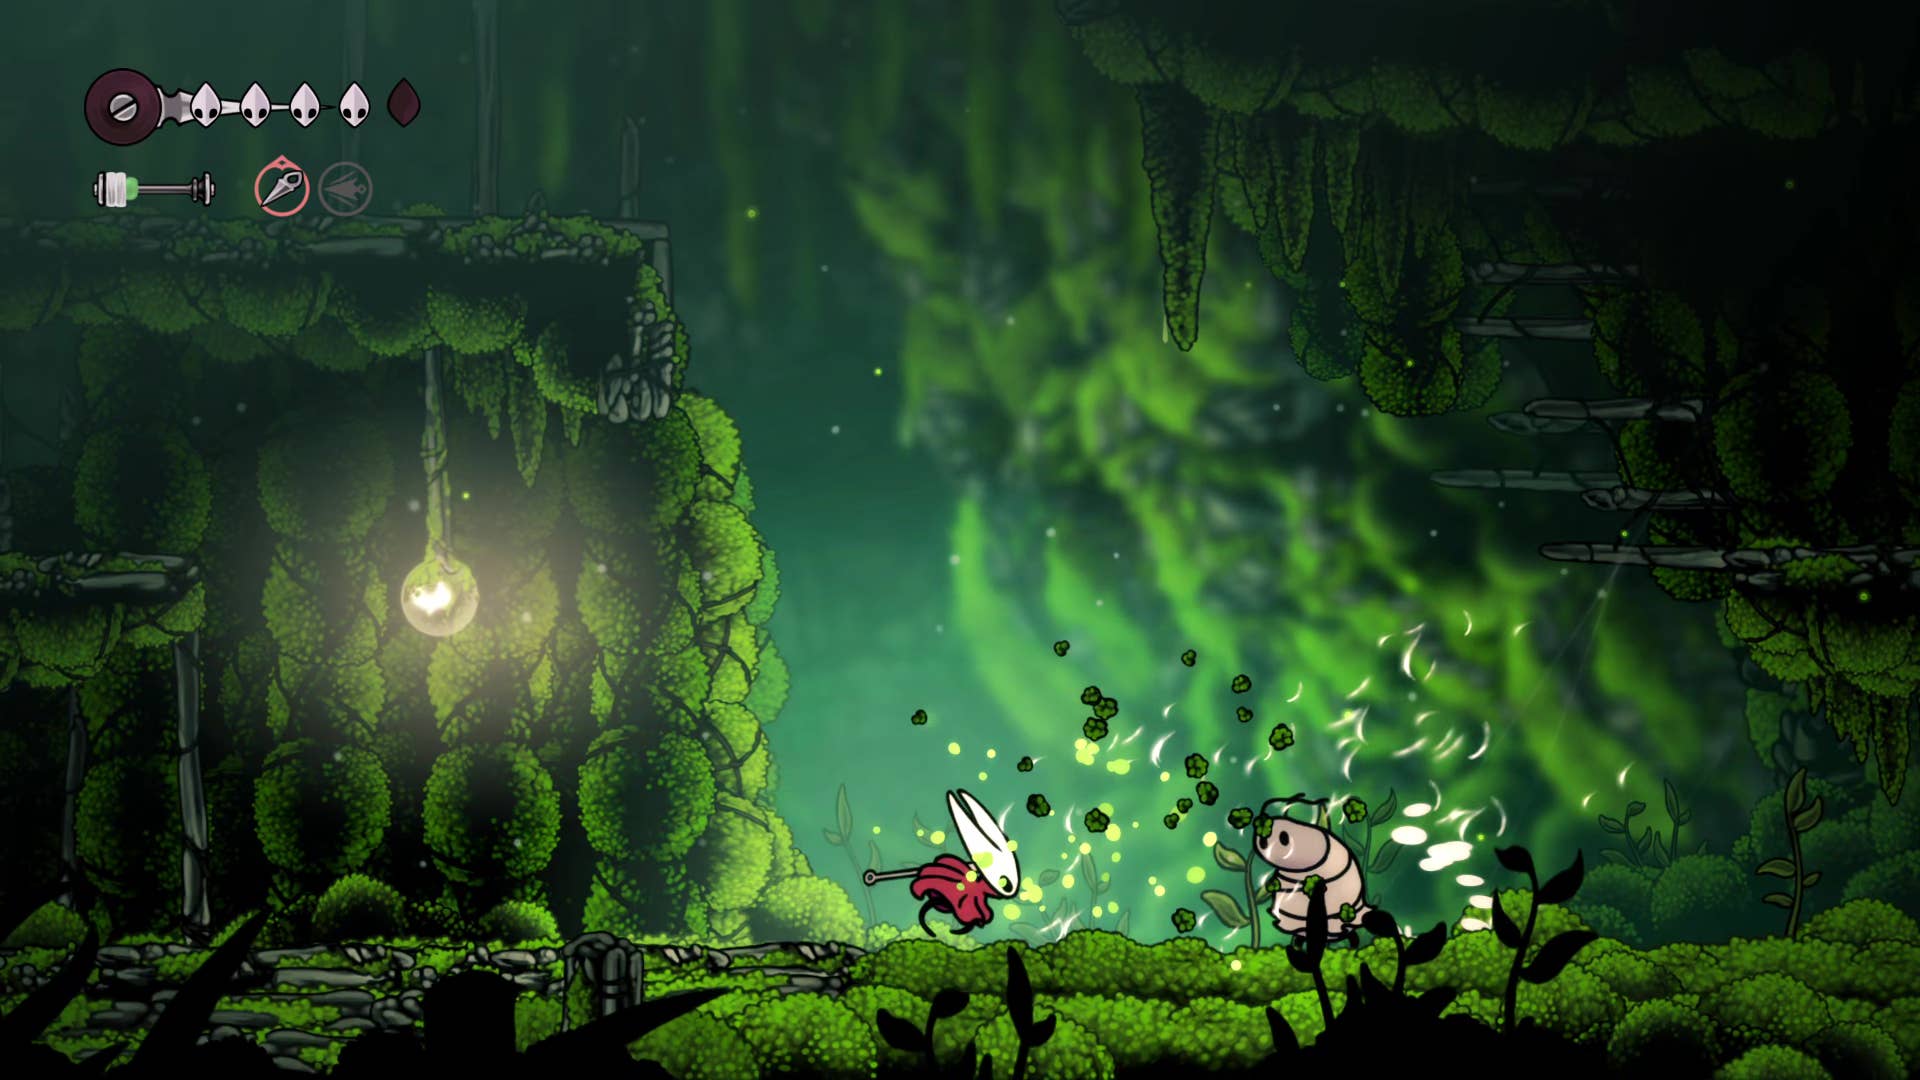
The next room is a long passageway guarded by a very dangerous miniboss – a giant worm which crawls quickly along the ceiling and periodically spews tonnes of green globules at you – each of which hits you for double damage.
Hide under the platforms and time your runs between vomits. Make your way carefully to the far end, and head through the doorway into the next room.
Want to kill the giant worm instead?…
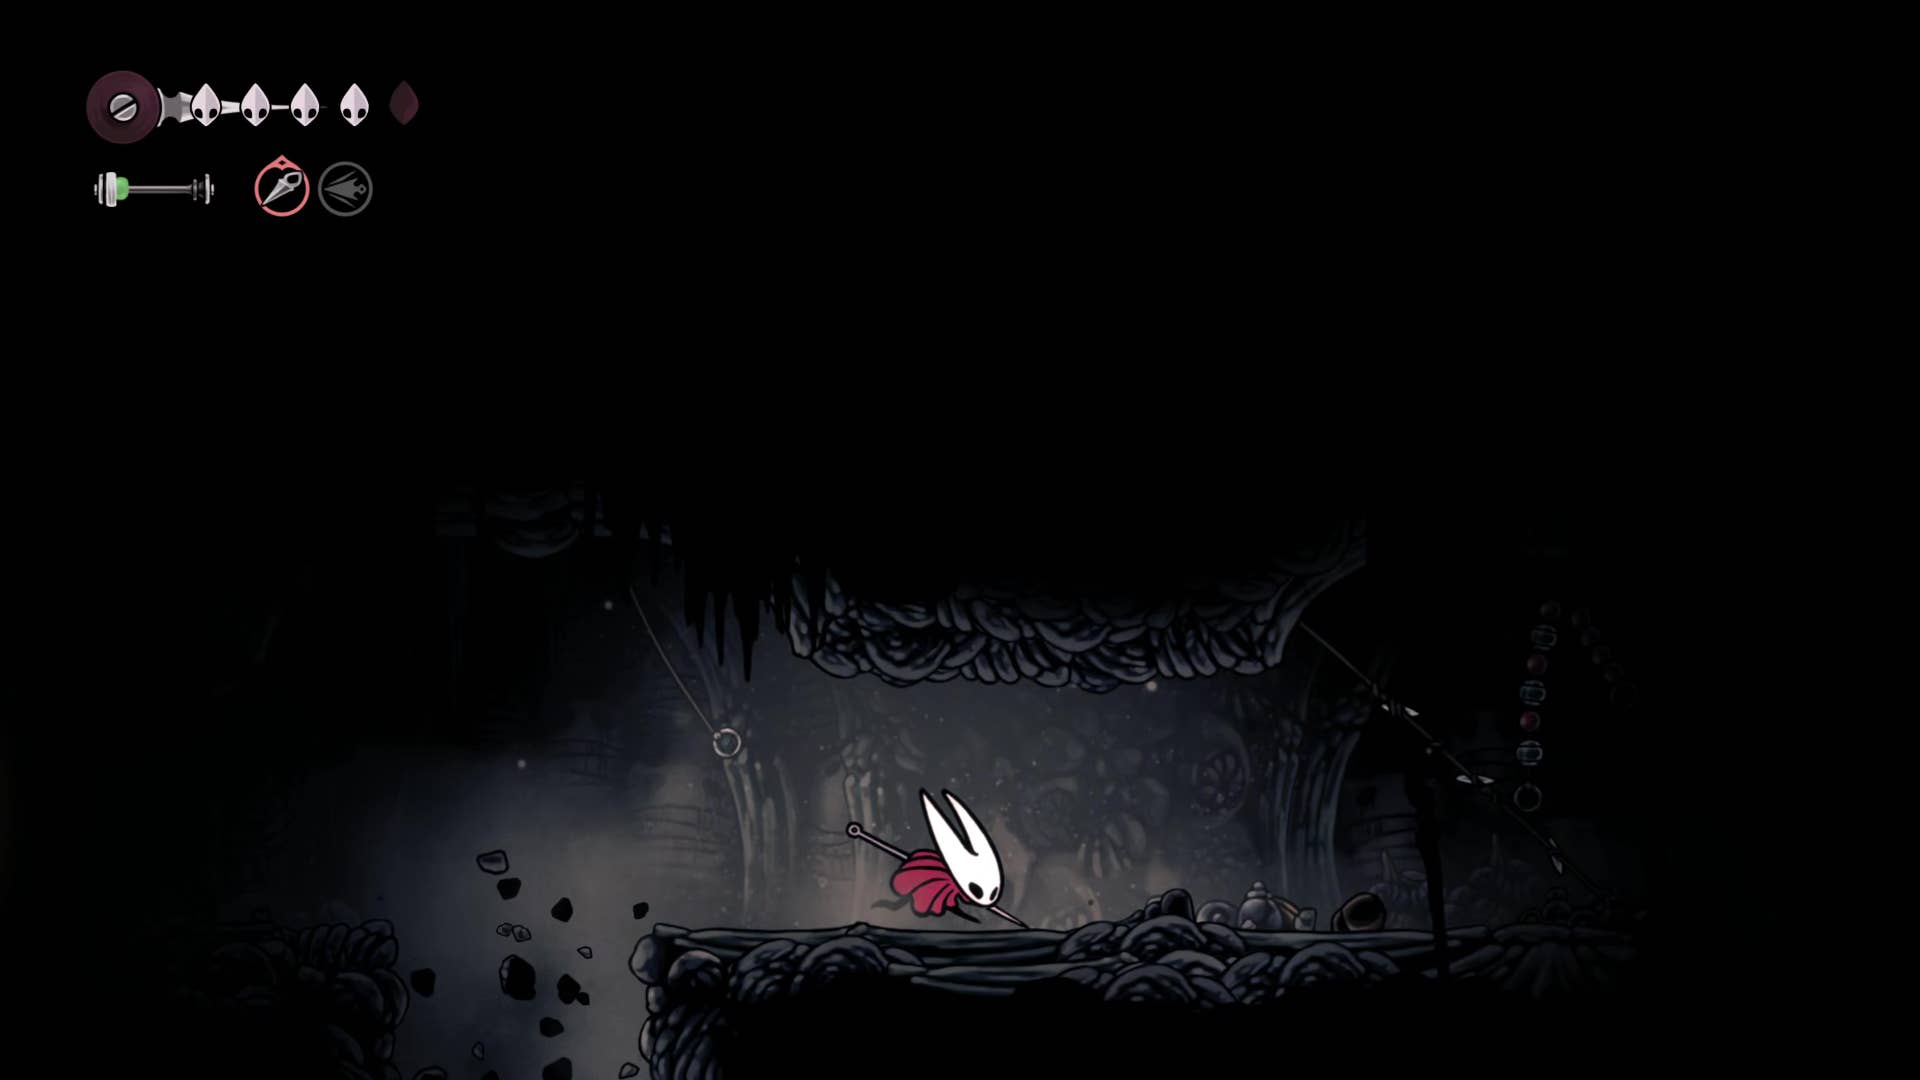
4. Drop down to collect a Mask Shard.
In the next room, you’ll find yourself facing a large locked door. Before you interact with it, jump down the hole in front of you and drop into the water (don’t worry, it doesn’t hurt you).
Attack the wall on your right to reveal a tiny hidden area containing your first Mask Shard. Collecting four Mask Shards will permanently increase Hornet’s max Health by 1, making them an extremely valuable resource to track down wherever possible.
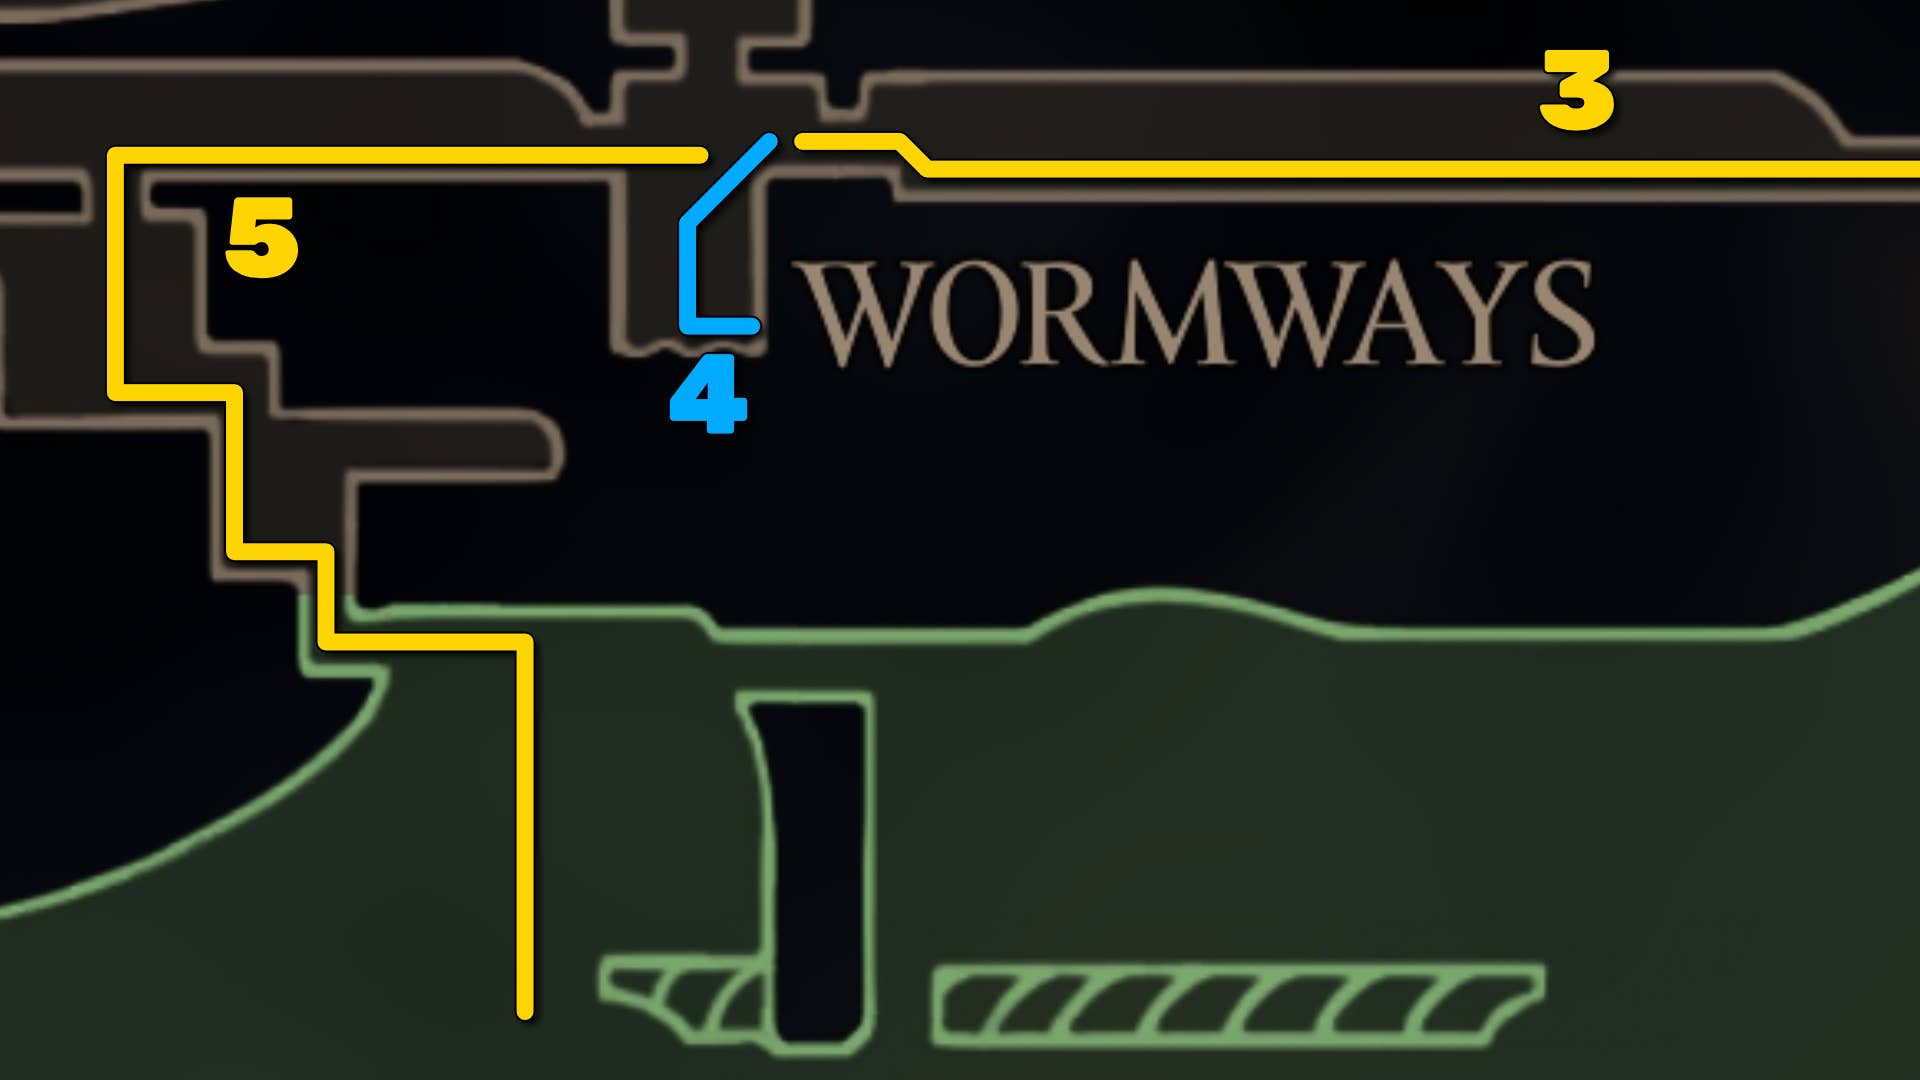
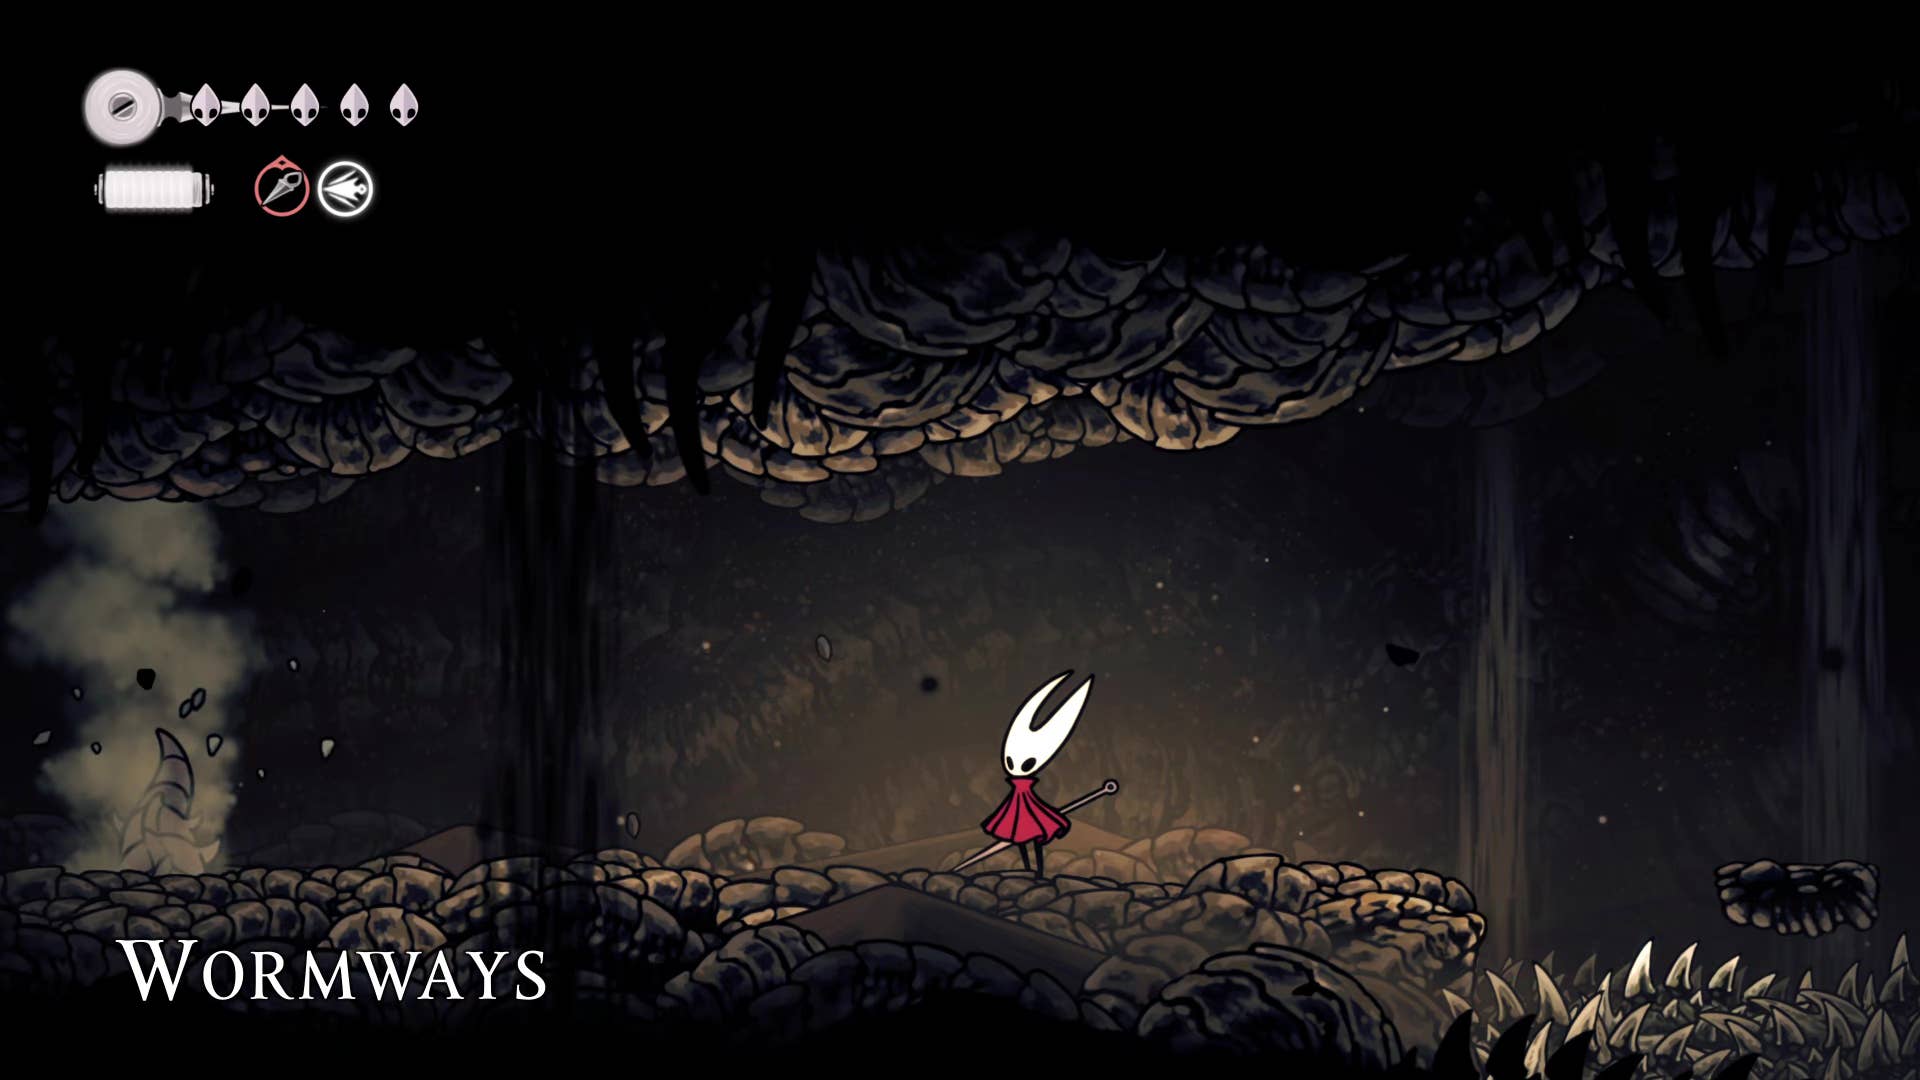
5. Enter the Wormways and take the first path down.
Hop back up to the locked door, and use the Simple Key you bought from Pebb to unlock it. Head through into a new area – the Wormways.
Note: we’re only dipping lightly into the Wormways for now. For the full walkthrough of the Wormways, check out Part 8 of our Silksong walkthrough!
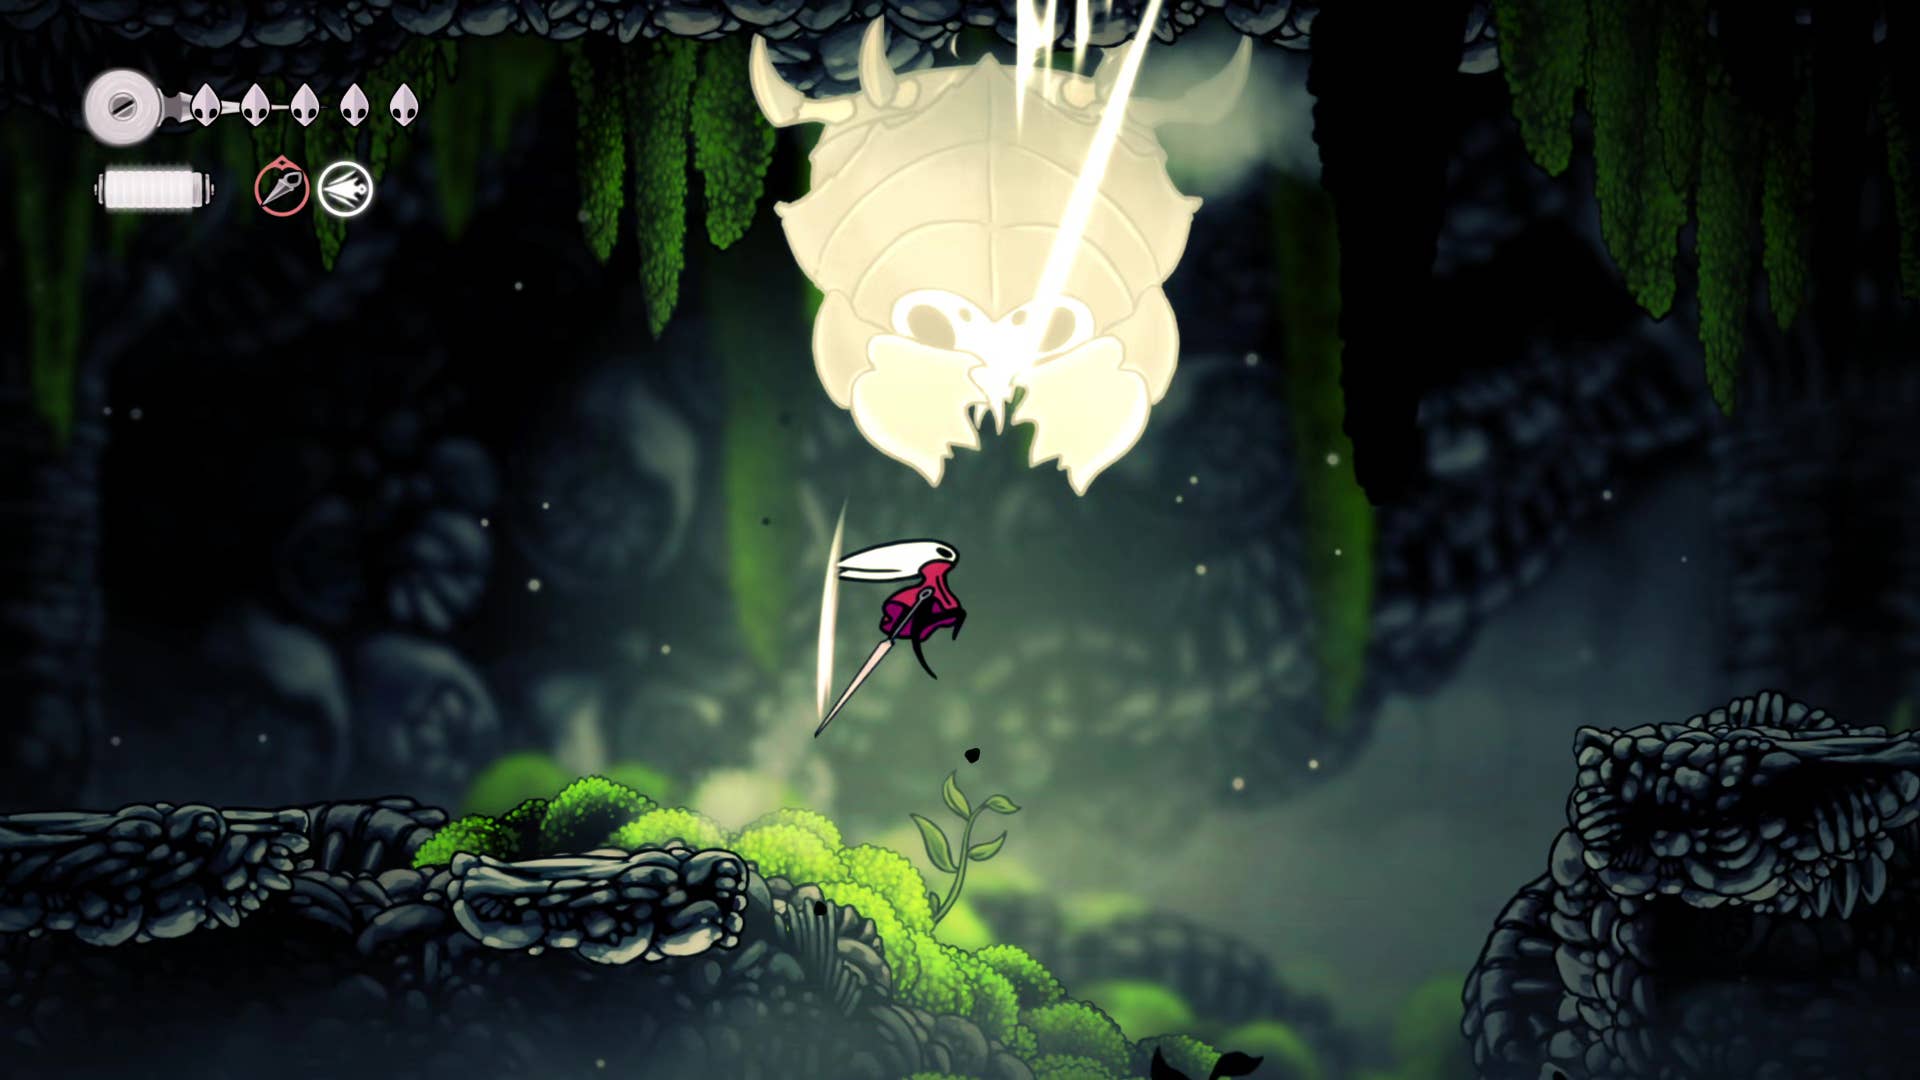
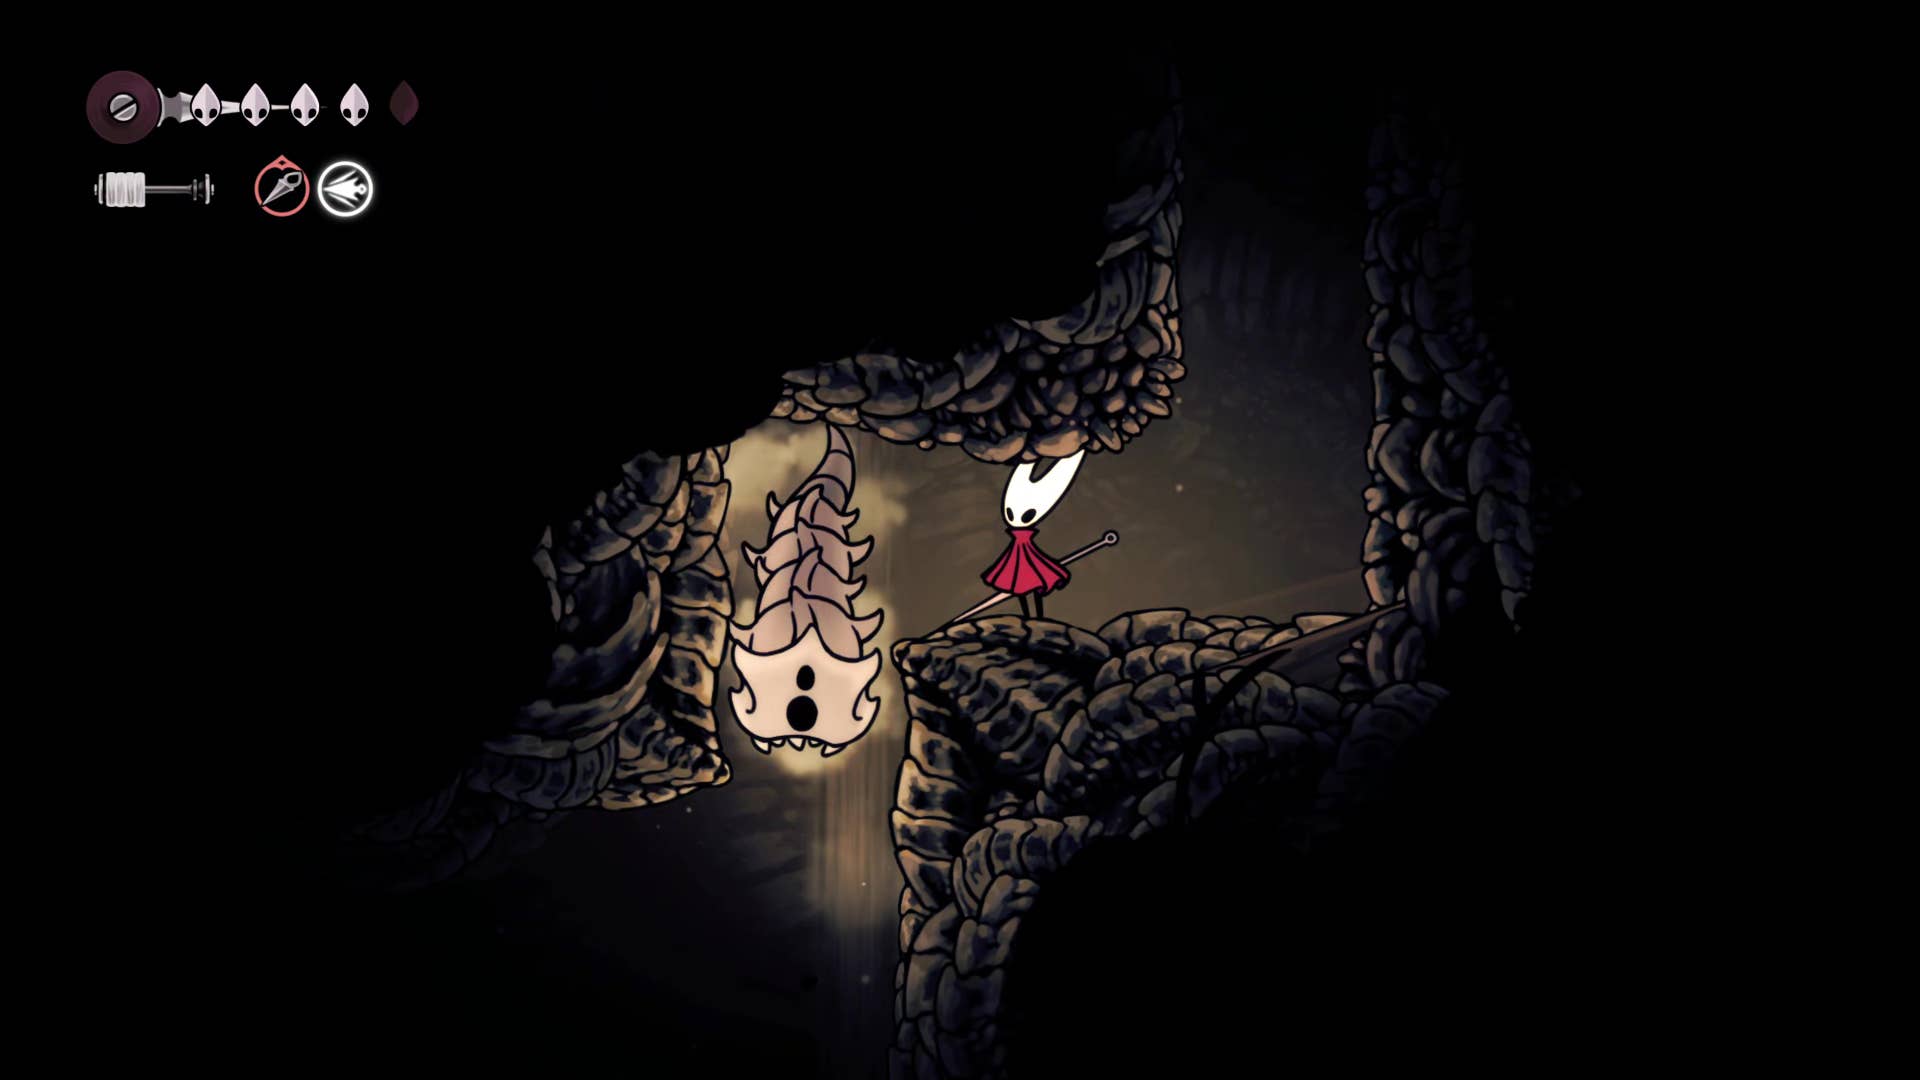
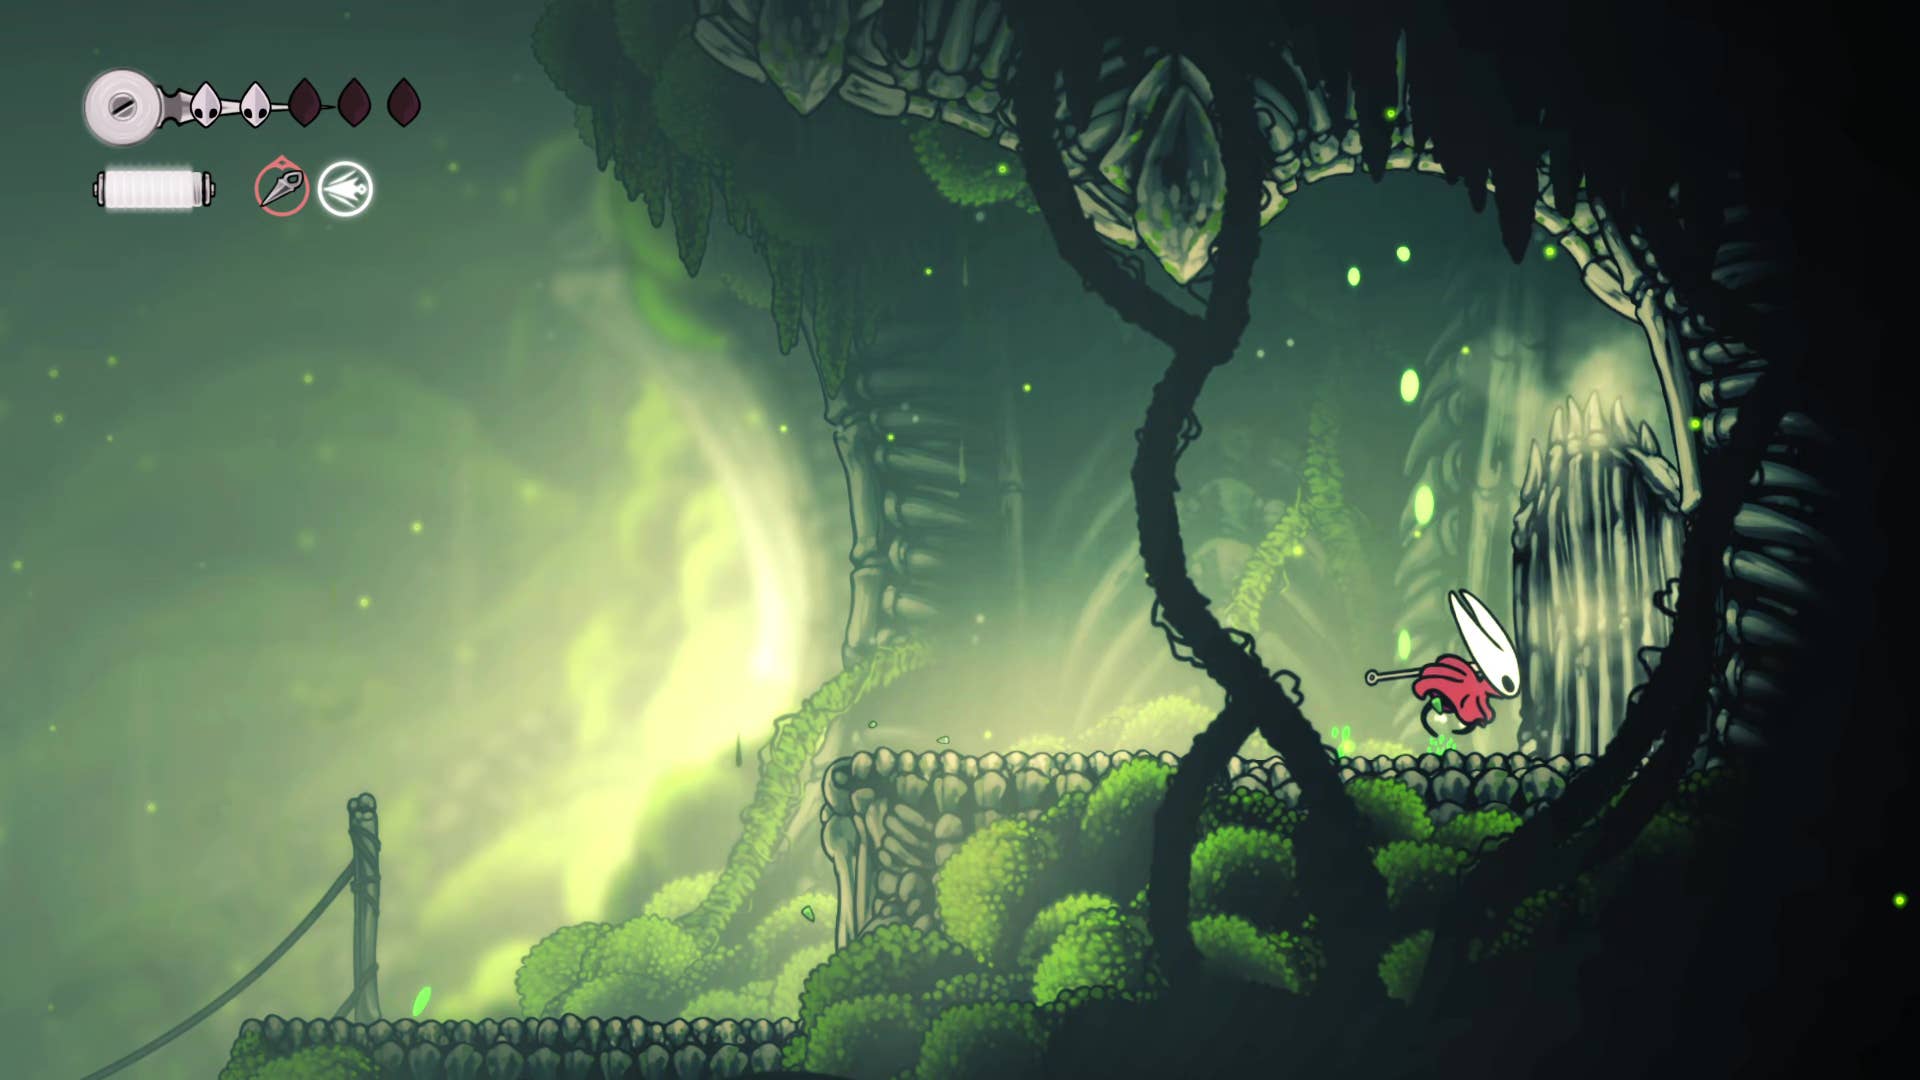
This is a dangerous area for your current level, so we’re only going to skirt through it to reach a new area of the Moss Grotto. Jump over the spikes, and time your run to avoid the worms launching themselves from ceiling to floor of the Wormways cavern. Drop down the first hole you see.
Tip: Hit the worms to refill your Silk!
Continue to follow the dark, winding path downwards. Whenever the way down is blocked by a worm, press against the far wall as you fall to enter the next part of the tunnel. Otherwise you may well fall into spikes.
Partway down you’ll find a side passage which leads to a glowing blue globule. You can attack it to destroy it, after which it’ll regenerate. It does nothing for you for now, so continue down the passage until you go off-screen.
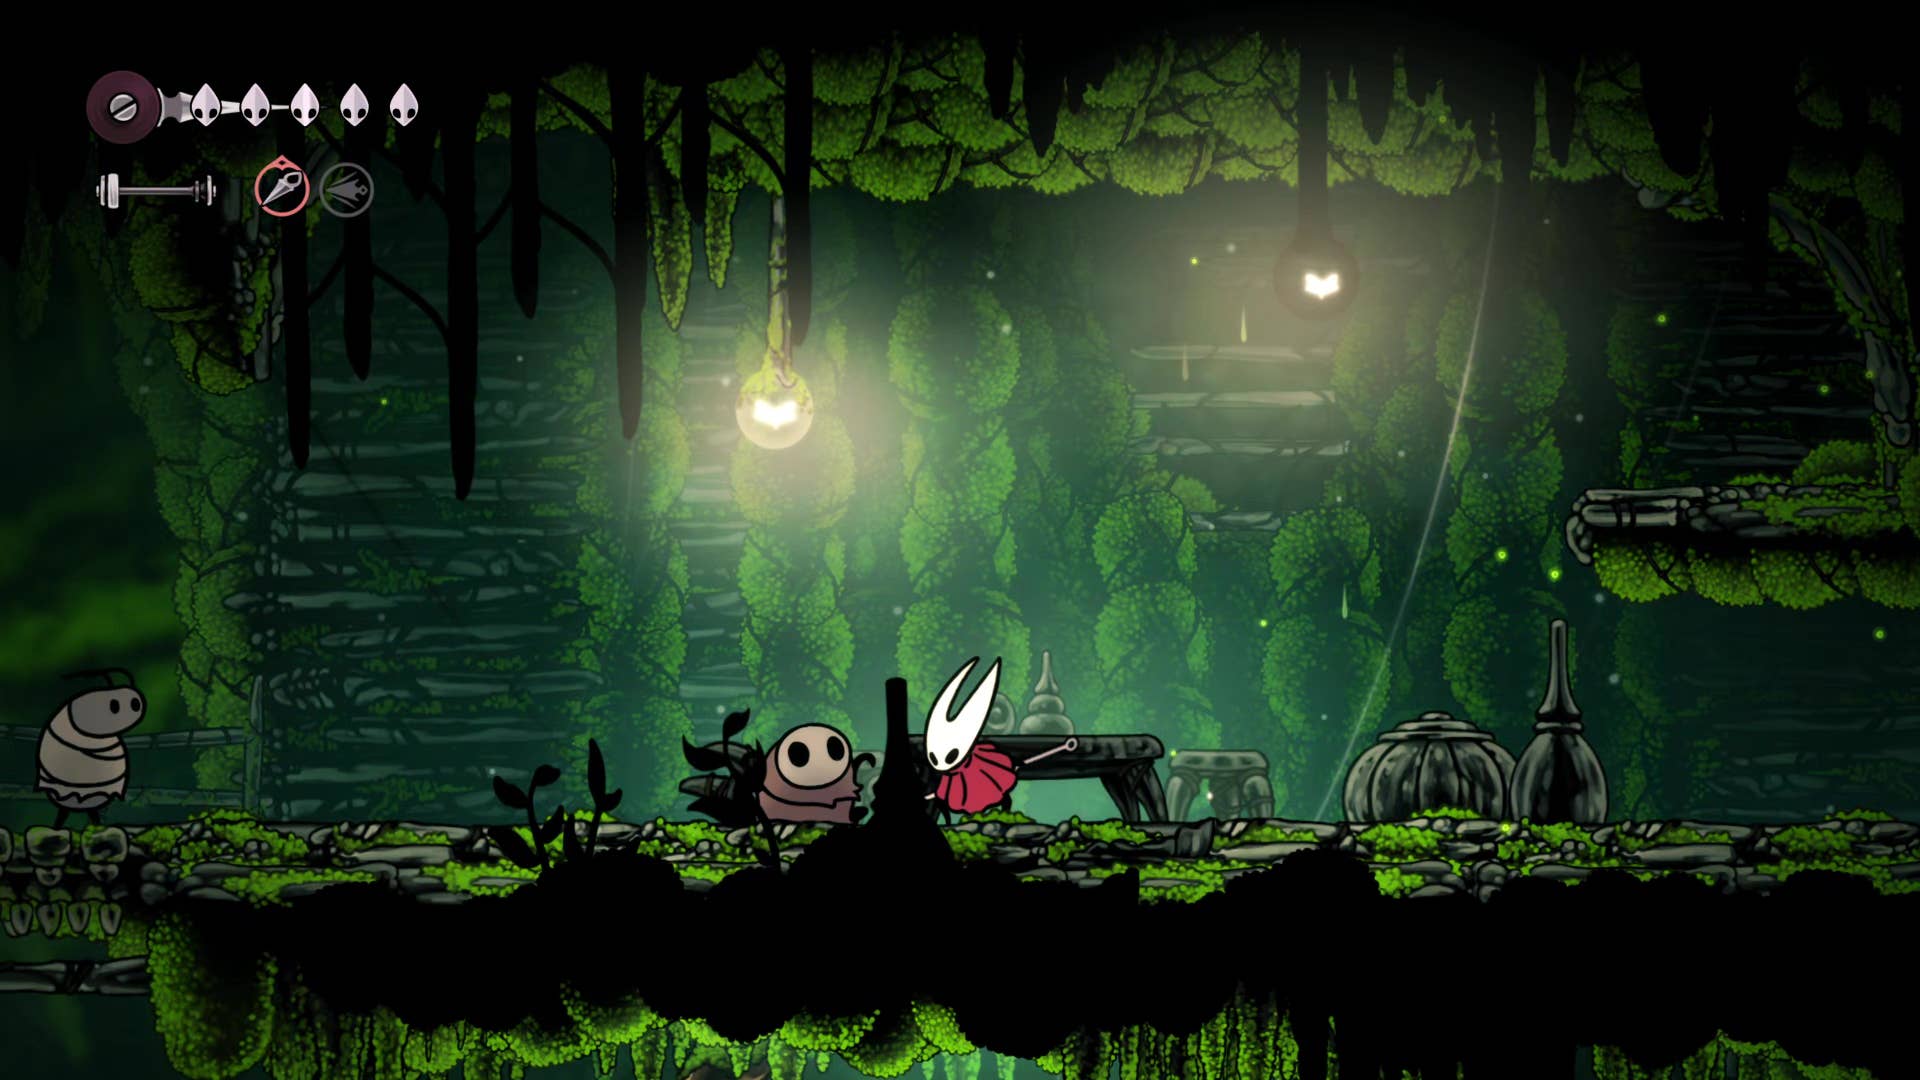
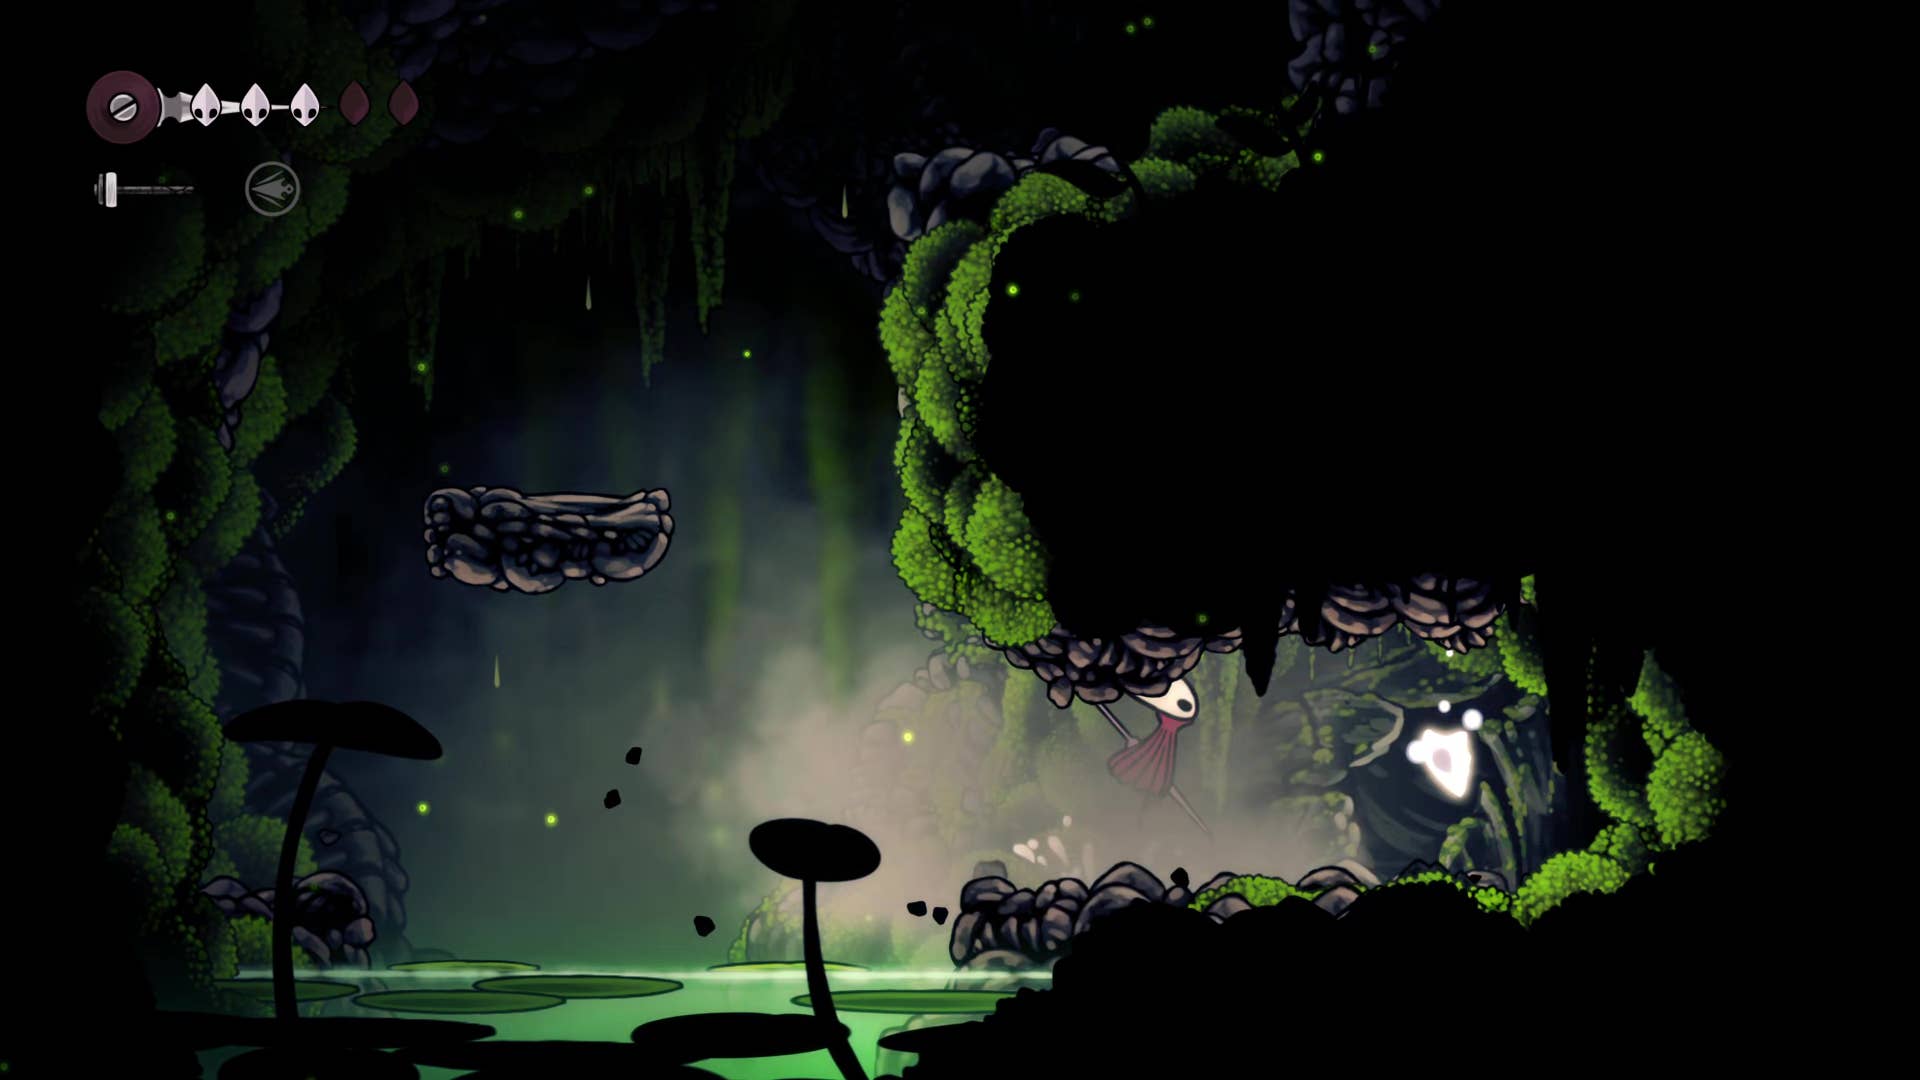
Once you reach mossy-looking terrain again, drop down to the very bottom and you’ll find a bridge overlooking a pond.
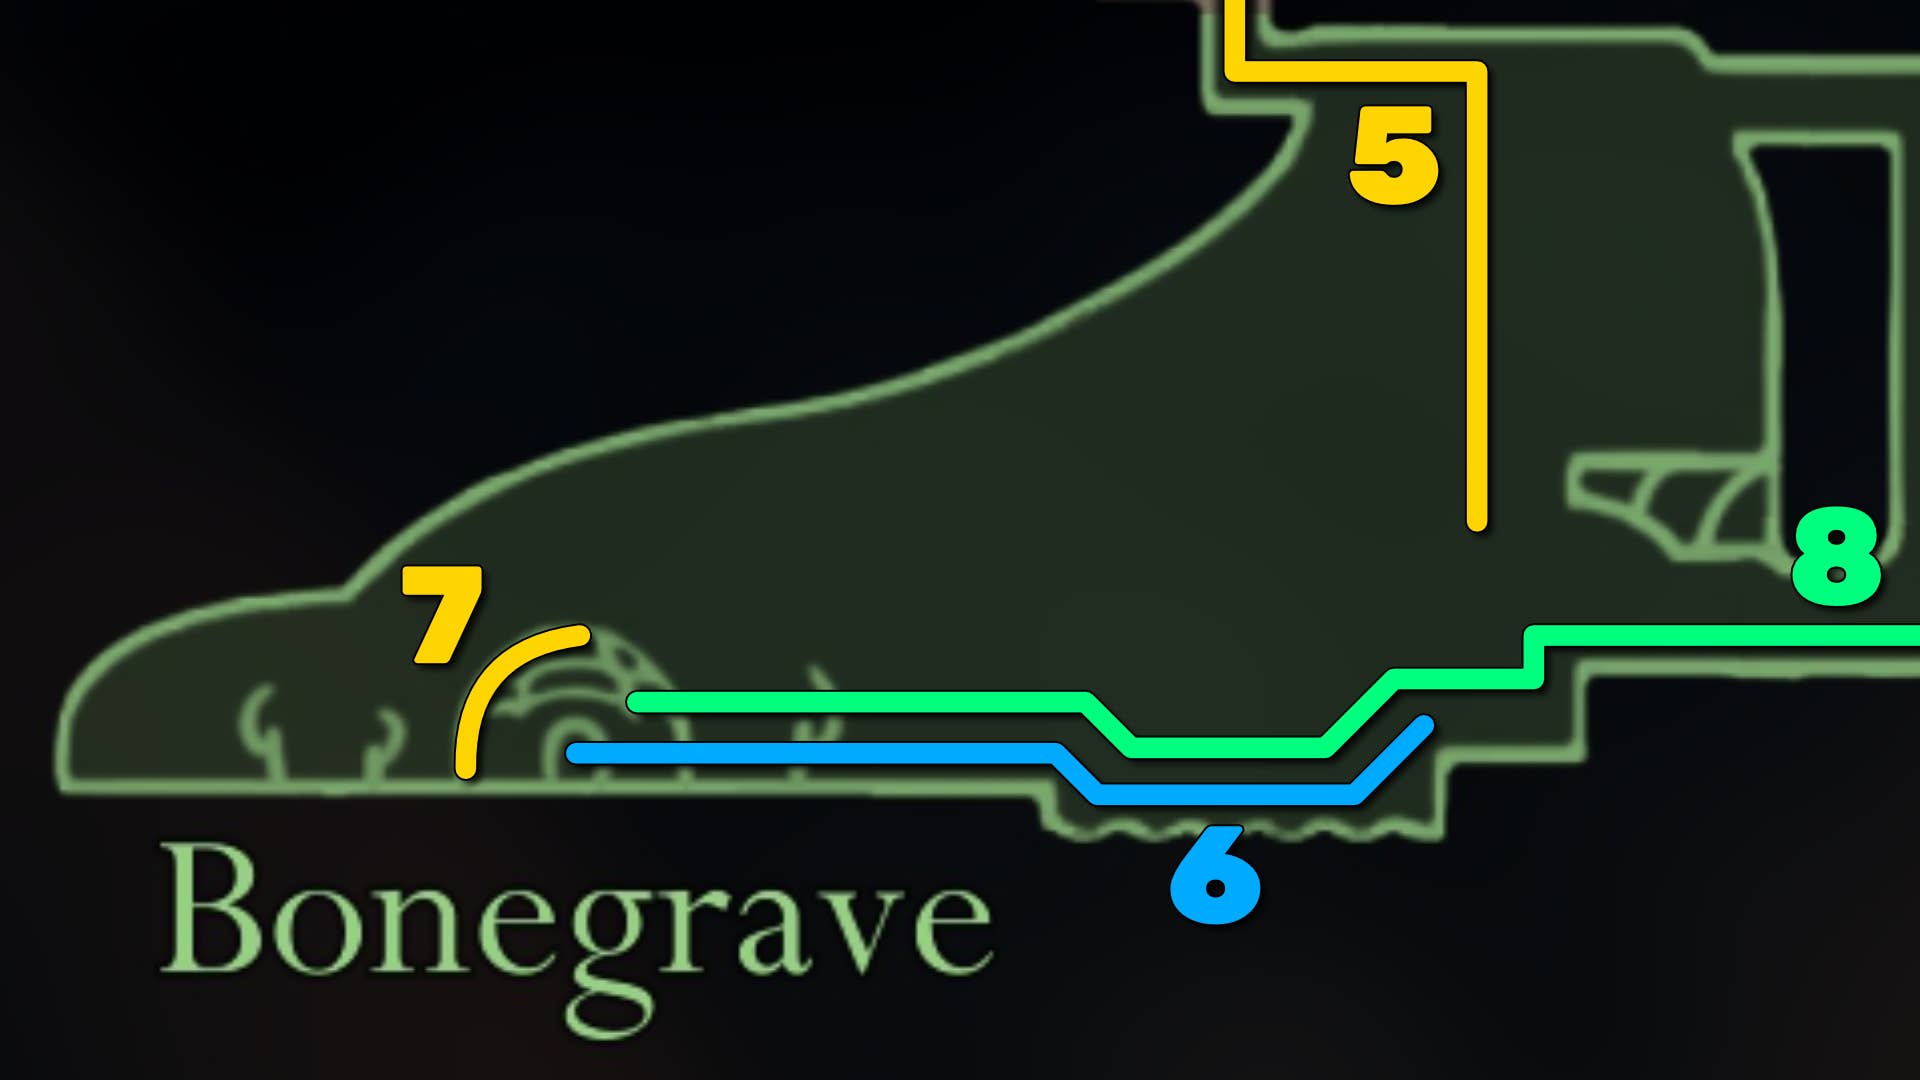
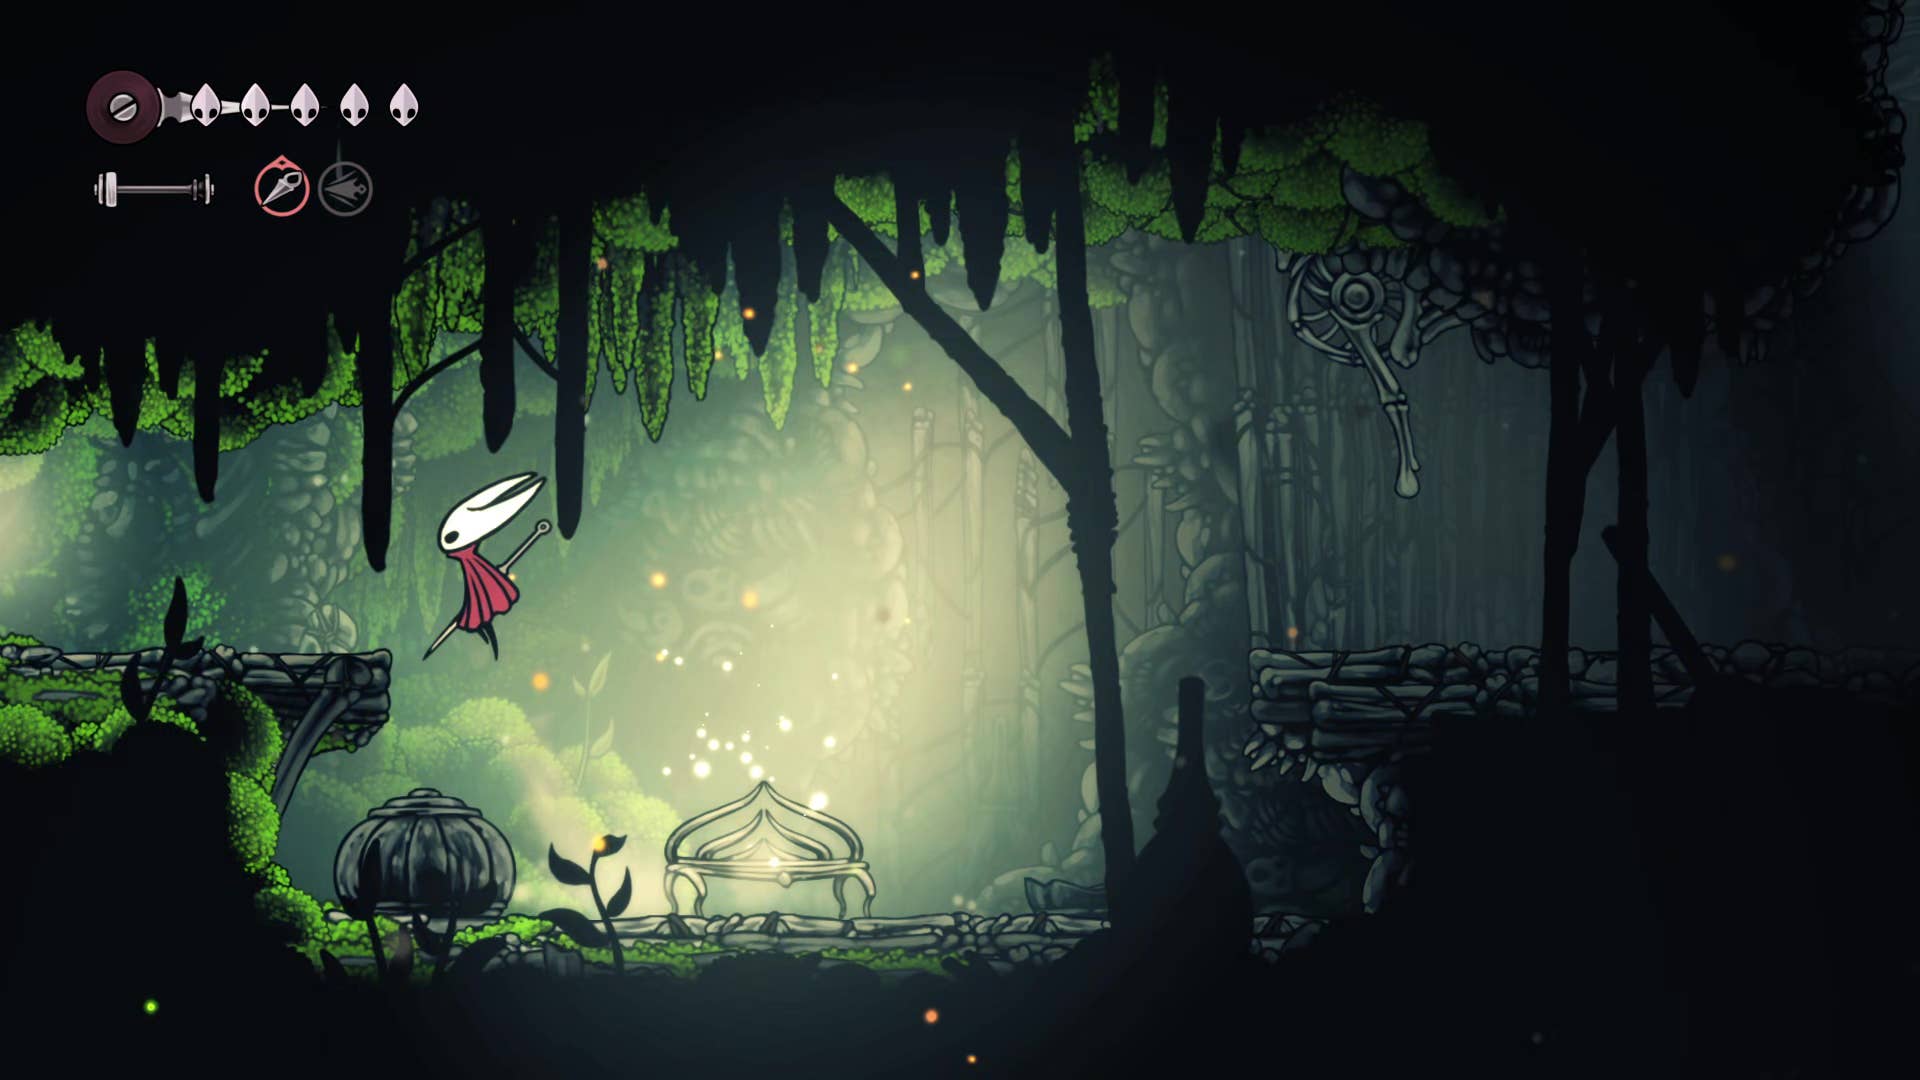
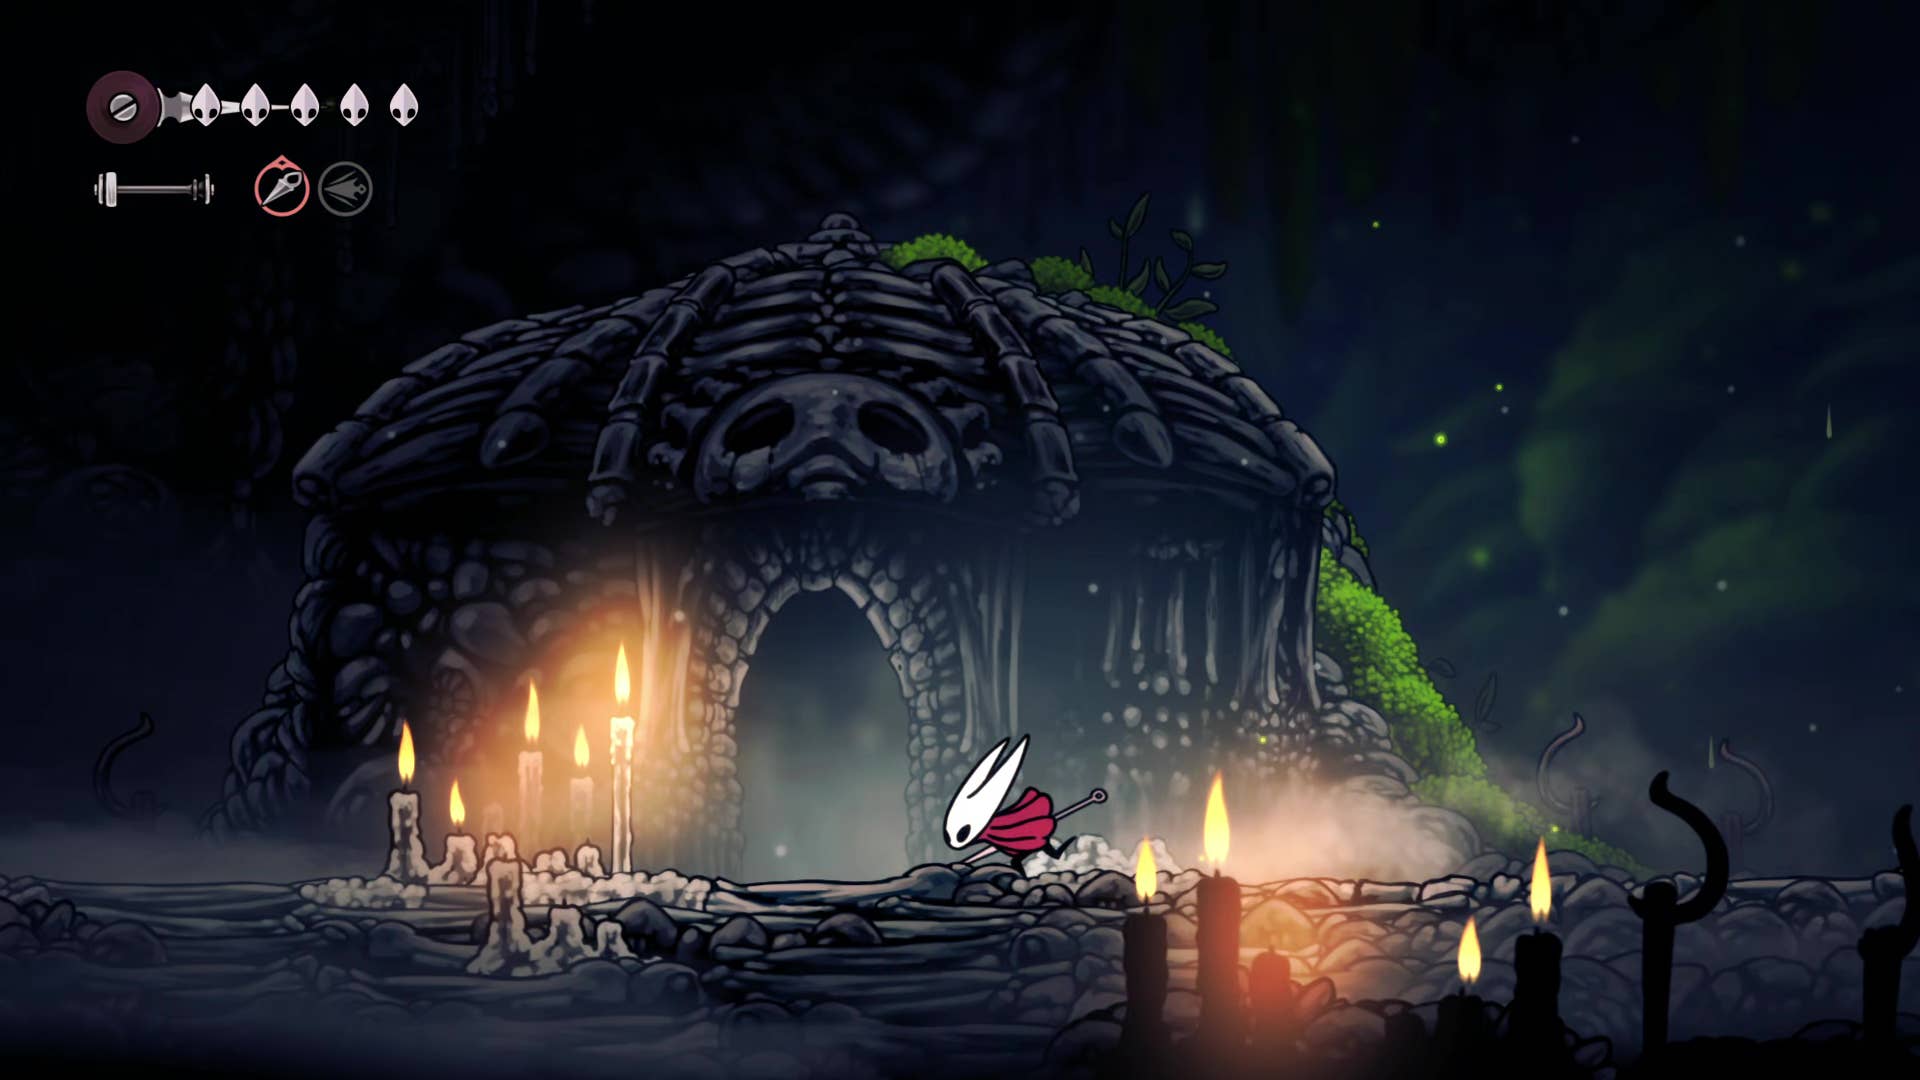
6. Make your way through the Chapel Of The Wanderer.
Wade through the pond to your left, and you’ll see a building entrance. Head through it to emerge inside a small dungeon – the Chapel Of The Wanderer.
This dungeon is very small, so it will only take you a minute or two to explore fully. The left path down leads to some hanging Rosary Beads, but watch out for the rope connecting to a floor spike trap as you hack at them. Then head back up and take the right-hand path down. Part of the floor will crumble away as you walk over it. Drop down, and head to the left.
7. Survive the gauntlet to gain the Wanderer Crest.
The next room is a small arena. As you approach the centre, it will lock and start to throw various Pilgrim enemies at you, including a couple of slightly tougher variants you may not have seen before.
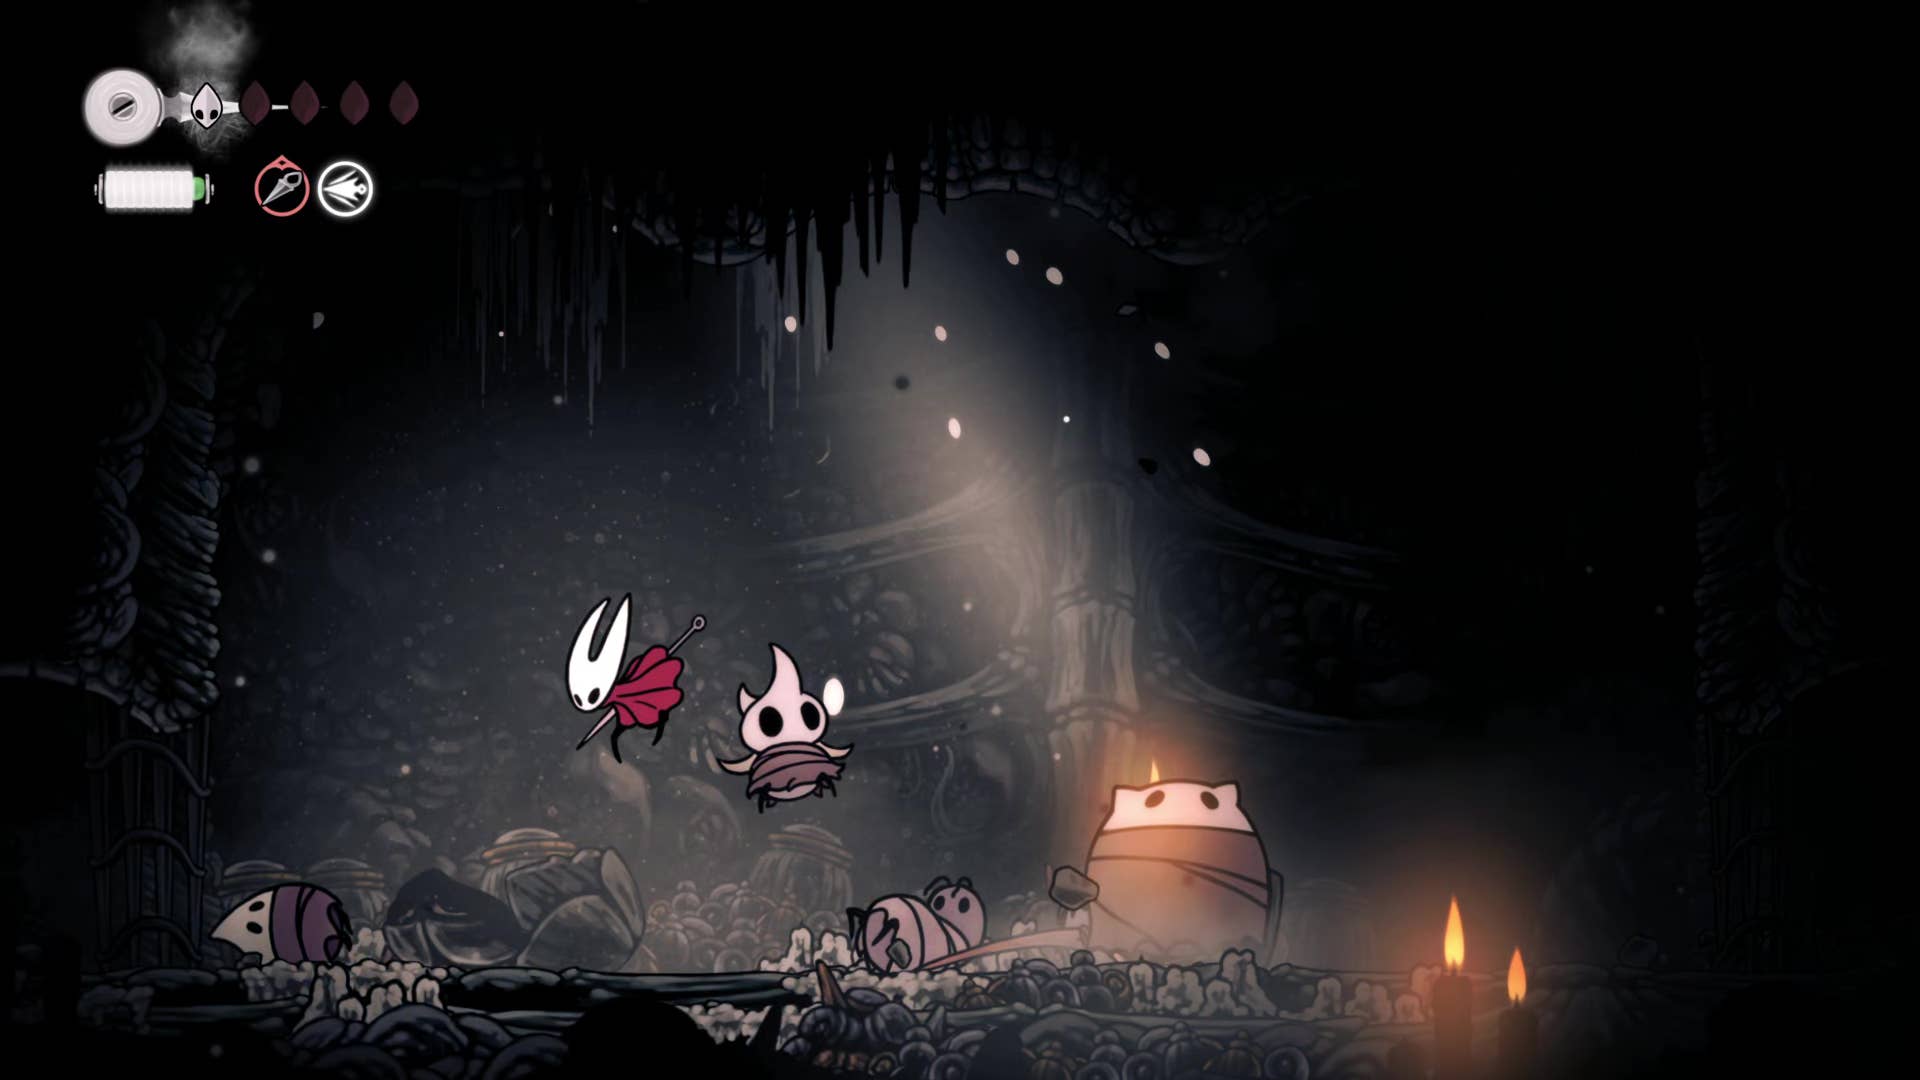
Defeat them all, and then continue left and downwards to the very bottom of the Chapel. There you can claim your reward: the Wanderer Crest.
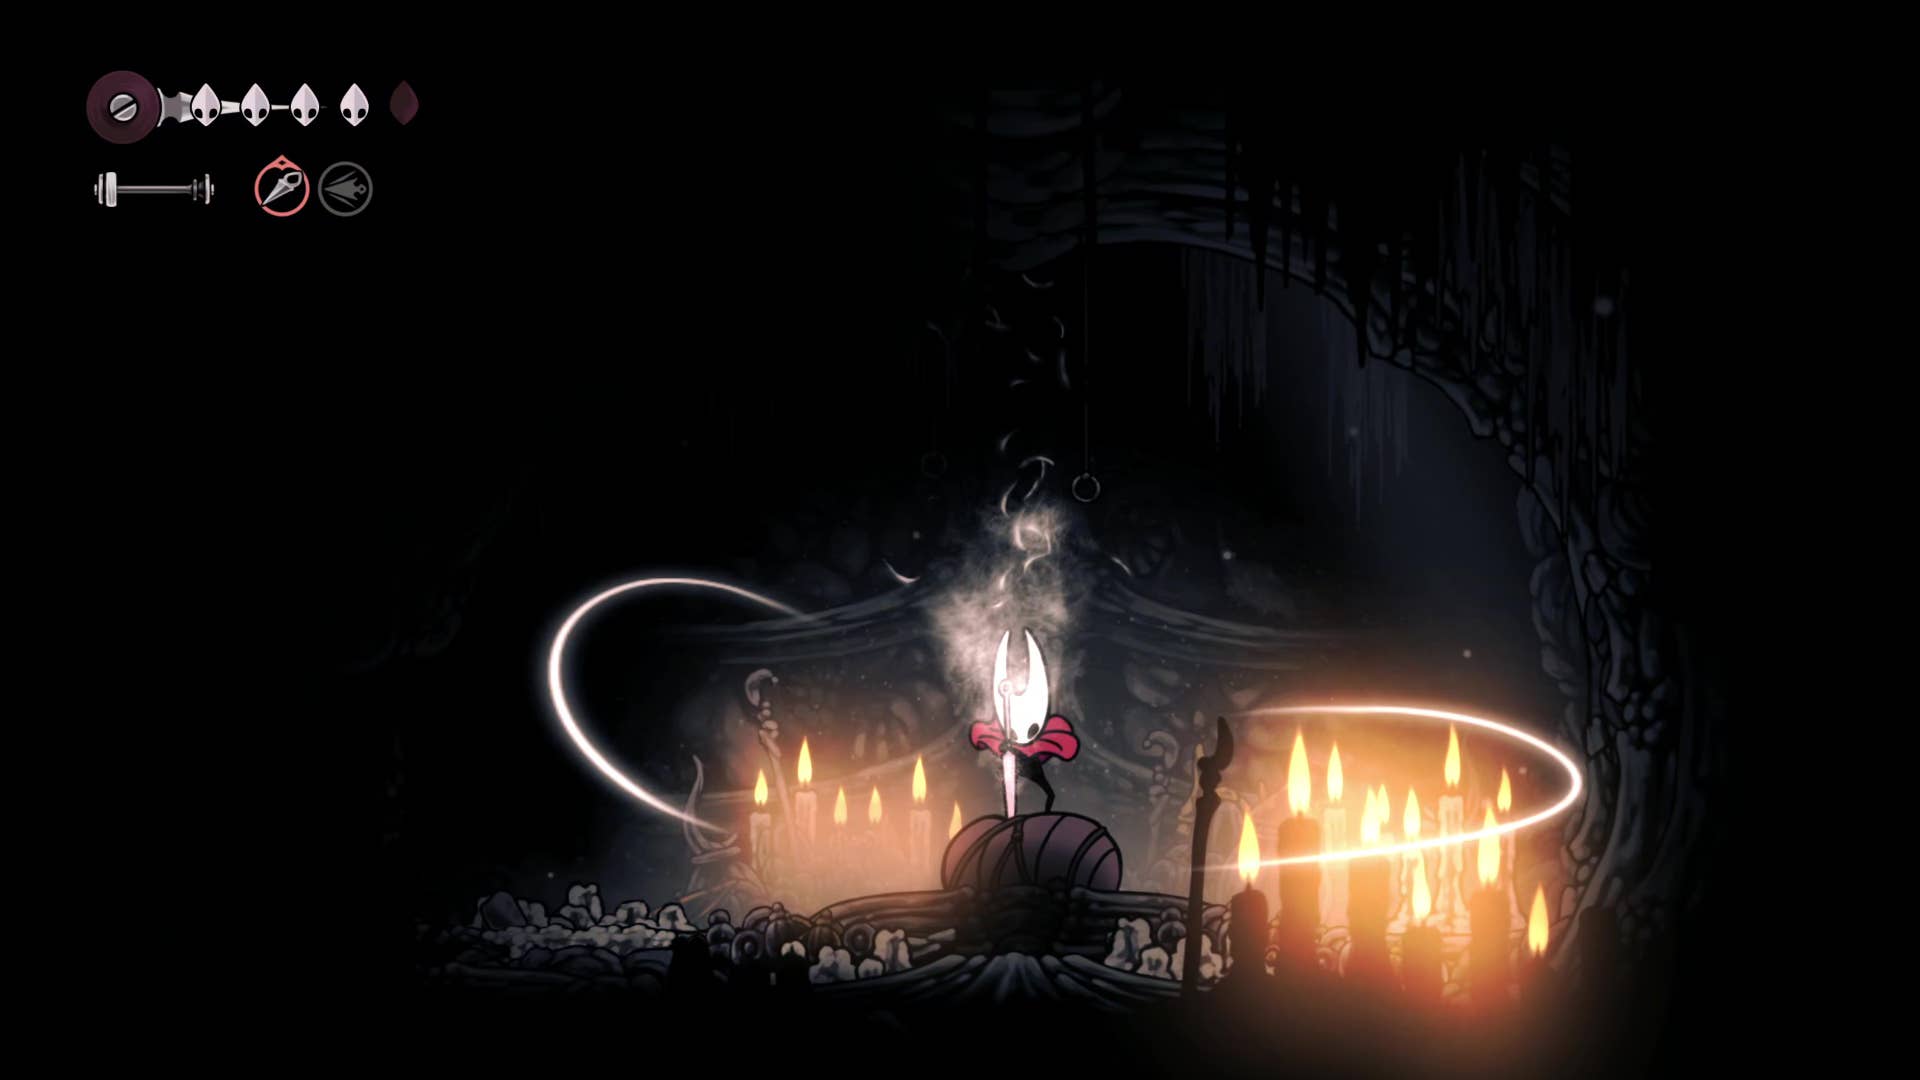
Crests change Hornet’s moveset in different ways. The Wanderer Crest makes Hornet’s attacks faster (albeit shorter-range), and also turns her diagonal downwards attacks into a far simpler straight-down attack much closer to the original Hollow Knight. If you’ve been having trouble Pogo-ing up until now, the Wanderer Crest may be your salvation!
8. Exit the Chapel and return to Bone Bottom.
Head back up the passage you just dropped down, all the way to the top, and break the floor above you for a shortcut back to the left-hand passage. Climb up and exit the Chapel Of The Wanderer.
As you exit out into the overworld, a couple more Pilgrim enemies will spawn either side of you – a good chance to try out Hornet’s new moveset and Pogo-attacks.
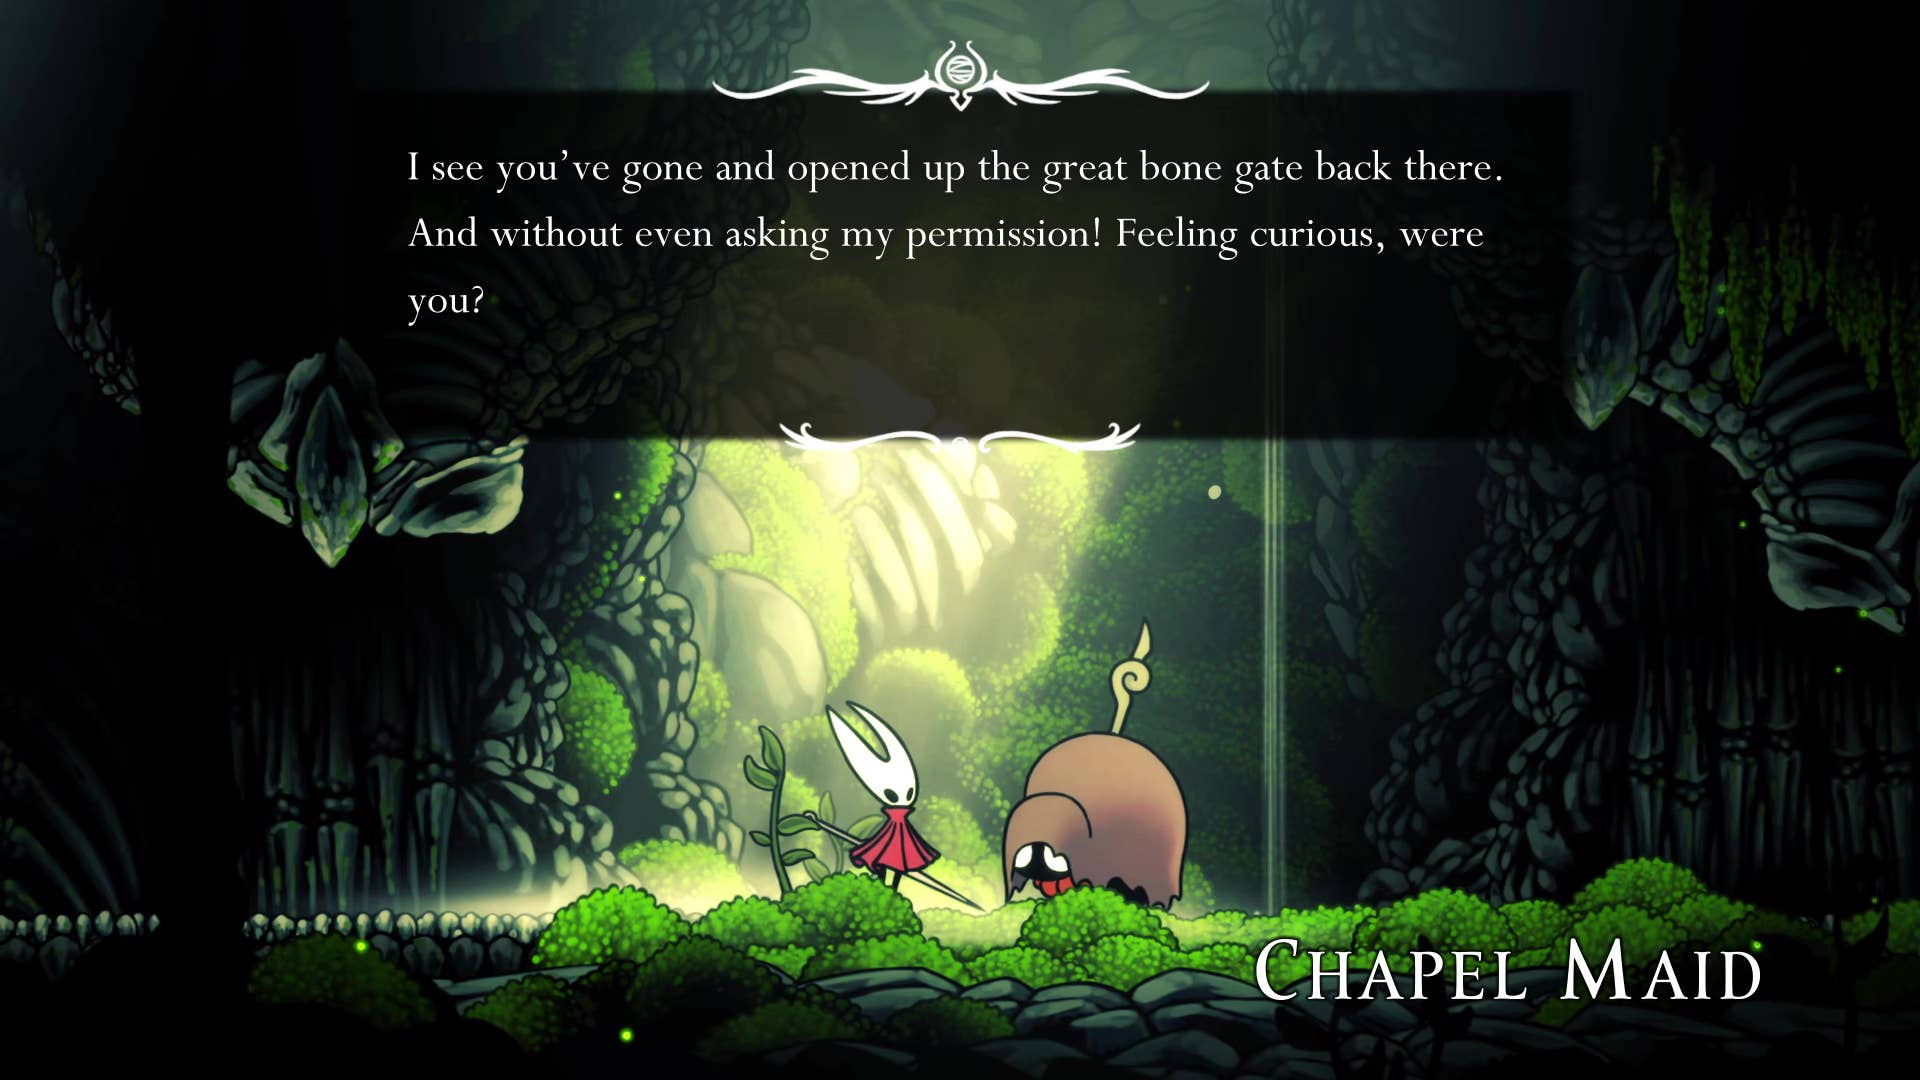
Once they’re dealt with, head all the way to the right and attack the door at the edge of the room to open it. You’ll find yourself back by the Chapel Maid who revived you after Moss Grotto. Speak with her for some new dialogue, and then make your way back to Bone Bottom for some well-earned rest.
And that’s it for this quick detour-focused Part 4 of our Silksong walkthrough. The next part brings us right back to the main path, and a brand new region. Join us over on our Part 5 walkthrough as we guide you through the Deep Docks.
Source link

