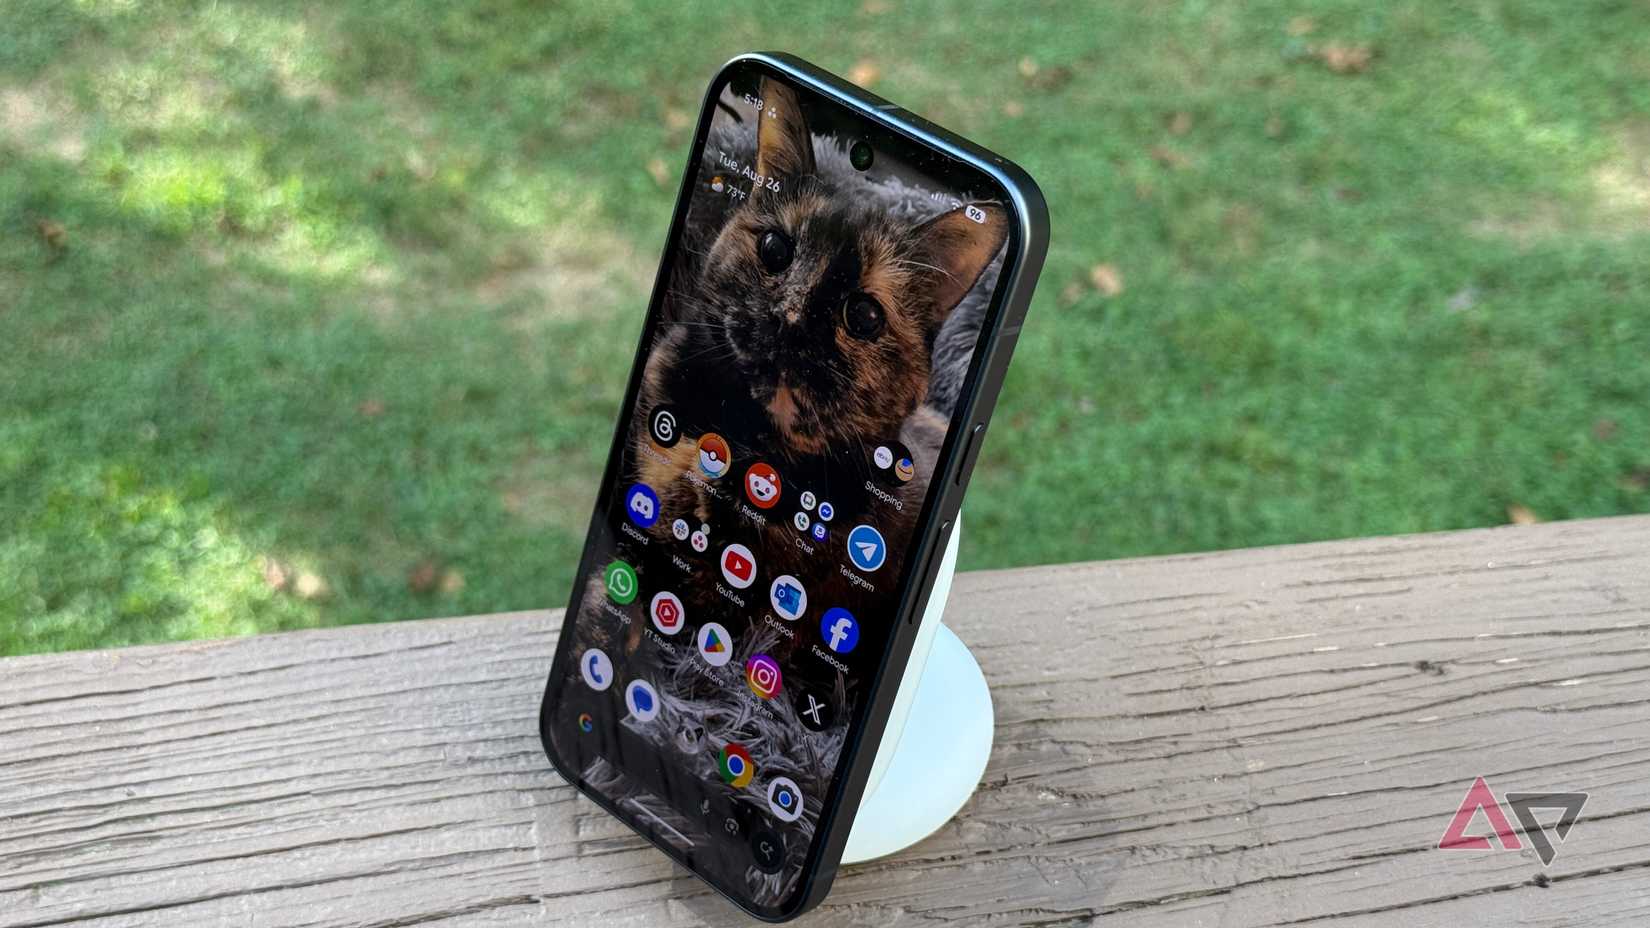
That new phone feeling is intoxicating. The crisp box, the peel of the protective film, and watching the Google Pixel 10 boot up for the first time with the new upgrades.
It’s a pristine device, packed with Google’s latest Tensor G5 silicon, a stunning display, and the smartest version of Android yet. But here’s the secret the manufacturers don’t tell you. The phone in your hand is not yet running at its full potential.
Every smartphone is a compromise out of the box, with its settings dialed in for a generic user and optimized for conservative battery life above all else.
Here are the first 10 changes to make on day one to turn Google’s phone into yours.
11
Force your Pixel 10 to always run at 120Hz
The Pixel 10 uses a display with an adaptive refresh rate, which Google calls Smooth Display. This technology allows the screen to scale dynamically from a power-saving 60Hz to a fluid 120Hz.
If you prefer consistent fluidity to battery life, you can force 120Hz.
- Go to Settings > About phone.
- Scroll to the bottom and tap Build number seven times quickly.
- Return to the main Settings menu and navigate to System > Developer options.
- Scroll down until you find the toggle for Force peak refresh rate.
10
Restrict heavy apps to save battery life
Android’s default battery management limits background activity, but it can be too permissive.
Some apps, often social media, like Instagram and Facebook, run for long periods in the background, poll for data, track location, and drain battery off-screen.
Audit these apps and restrict them.
- Open Settings > Apps > See all apps.
- Select a power-hungry app (Instagram is a good start).
- Tap App battery usage.
- Change Optimized to Restricted.
9
Adjust Adaptive Charging to fit your routine
Adaptive Charging is a brilliant feature for preserving the long-term health of your battery. It learns your routine and charges the phone slowly overnight, aiming to hit 100% just as your morning alarm goes off.
The problem is its rigid logic. It can completely ignore shift workers, students with erratic schedules, or anyone needing a fast charge at any time.
Go to Settings > Battery > Adaptive Charging. Turn off the toggle if you don’t have a consistent overnight charging schedule.
8
Keep sensitive information off your lock screen
Your Pixel prioritizes convenience over privacy by displaying the full content of your notifications on the lock screen.
Anyone who glances at your phone sitting on a table can read a sensitive text message from a partner, a two-factor authentication code, or a confidential work email.
- Go to Settings > Notifications.
- Tap Notifications on lock screen.
- Choose Hide silent conversations and notifications or Don’t show any notifications.
7
Customize Quick Tap to launch your favorite shortcuts
Quick Tap, buried in the Pixel’s settings, is one of its most ingenious features. It lets you double-tap the back of your phone to perform actions like toggling the flashlight, taking a screenshot, or launching an app.
Open Settings > System > Gestures > Quick Tap to start actions and turn on Use Quick Tap.
The flashlight shortcut is practical for daily use, but setting it to open the camera app or take a screenshot is another helpful option.
6
Keep track of your past notifications with Notification History
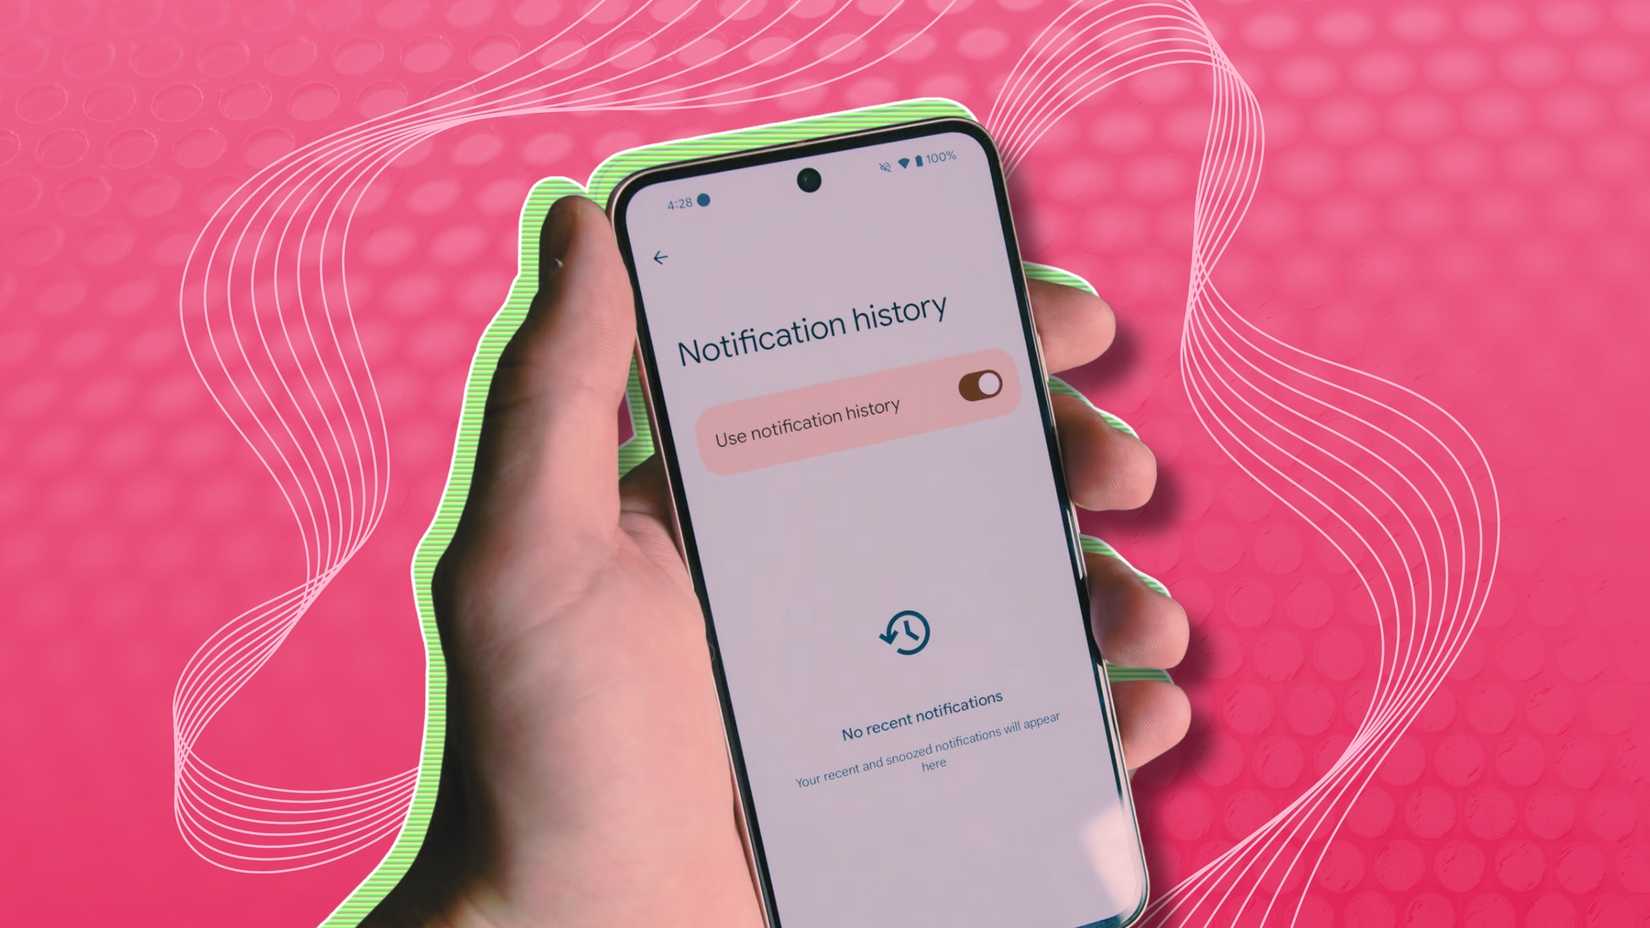
By default, when a notification is dismissed, it’s gone for good, leaving you to wonder what you missed.
However, when you turn on Notification History, it creates a chronological log of every notification that has appeared on your phone for the last 24 hours.
You can go back and find any alert you may have accidentally cleared. Go to Settings > Notifications > Notification history and turn on the toggle.
5
Protect your Pixel with theft detection lock
The standard Find My Device feature is reactive. It helps after your phone is gone.
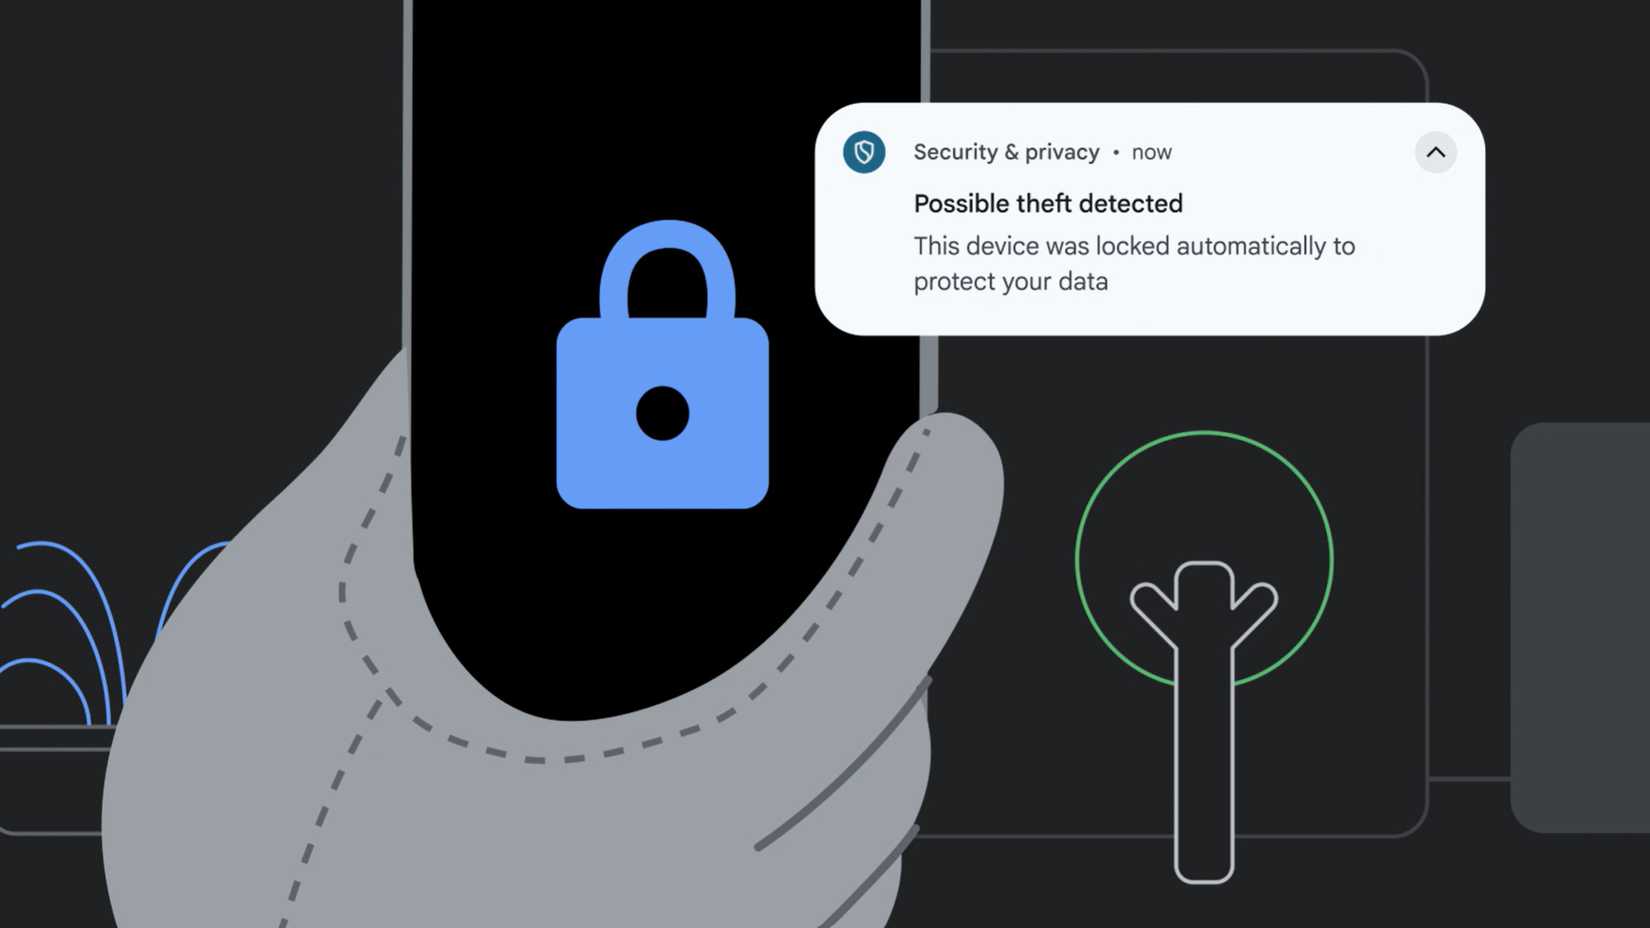
The Pixel 10 has a proactive AI feature called Theft Detection Lock. This feature senses when your phone is snatched from your hand and locks it down automatically.
This powerful defense is turned off by default. Go to Settings > Google > All services > Theft protection and turn on Theft Detection Lock.
For maximum security, activate Remote Lock and Offline Device Lock as well.
4
Personalize haptic feedback across calls and touches
Haptic feedback is the physical vibrations you feel when typing, getting a call, or interacting with the user interface. It is an often-overlooked part of the user experience.
Google sets a generic, one-size-fits-all intensity level that might feel too buzzy and loud for some users, or far too weak for others.
A poorly tuned haptic engine can make an expensive phone feel cheap. Go to Settings > Sound & vibration. Tap Vibration & haptics.
You’ll find separate sliders for Ring vibration, Notification vibration, and Touch feedback. Experiment with these levels to find your personal sweet spot.
3
Reclaim efficiency on your Pixel home screen
The default Pixel launcher home screen is clean but inefficient. The app grid is sparse, forcing you to swipe through multiple pages to find your apps, and the At a Glance widget at the top is underutilized.
This is a two-part fix to reclaim your home screen.
Long-press on an empty area of your home screen. Tap Wallpaper & style, then App grid. Change the layout from the default to a more efficient 5×5 grid.
Next, long-press the At a Glance widget and tap Customize. Activate the data sources that are turned off by default in the settings menu that appears.
2
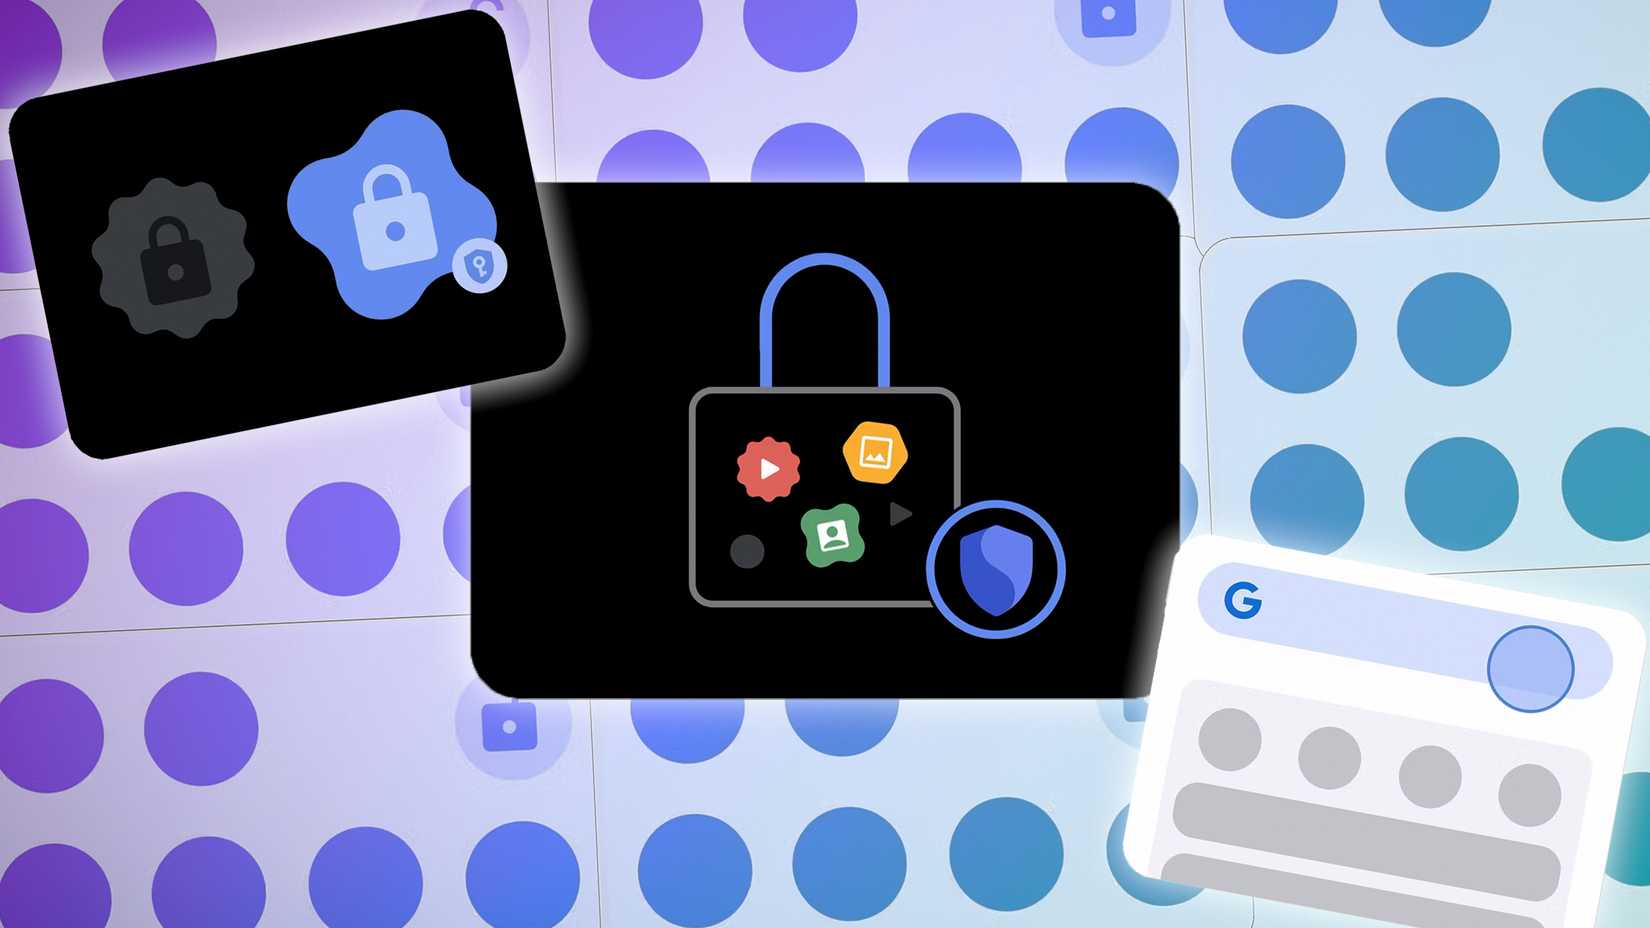
Hide your sensitive apps with Private Space
Your phone contains sensitive apps like banking, health records, and dating profiles.
While your primary screen lock offers a first line of defense, what happens when you hand your unlocked phone to a friend to show them a video?
Private Space creates a separate, hidden, and PIN-protected vault for these apps, making them completely invisible to anyone using your main phone profile.
- Go to Settings > Security & privacy.
- Scroll down and tap Private space.
- Follow the on-screen instructions to set it up.
- When prompted, select Choose a new lock to create a separate PIN from your main screen lock for more security.
After it’s set up, you can install apps directly into the space.
Source link
