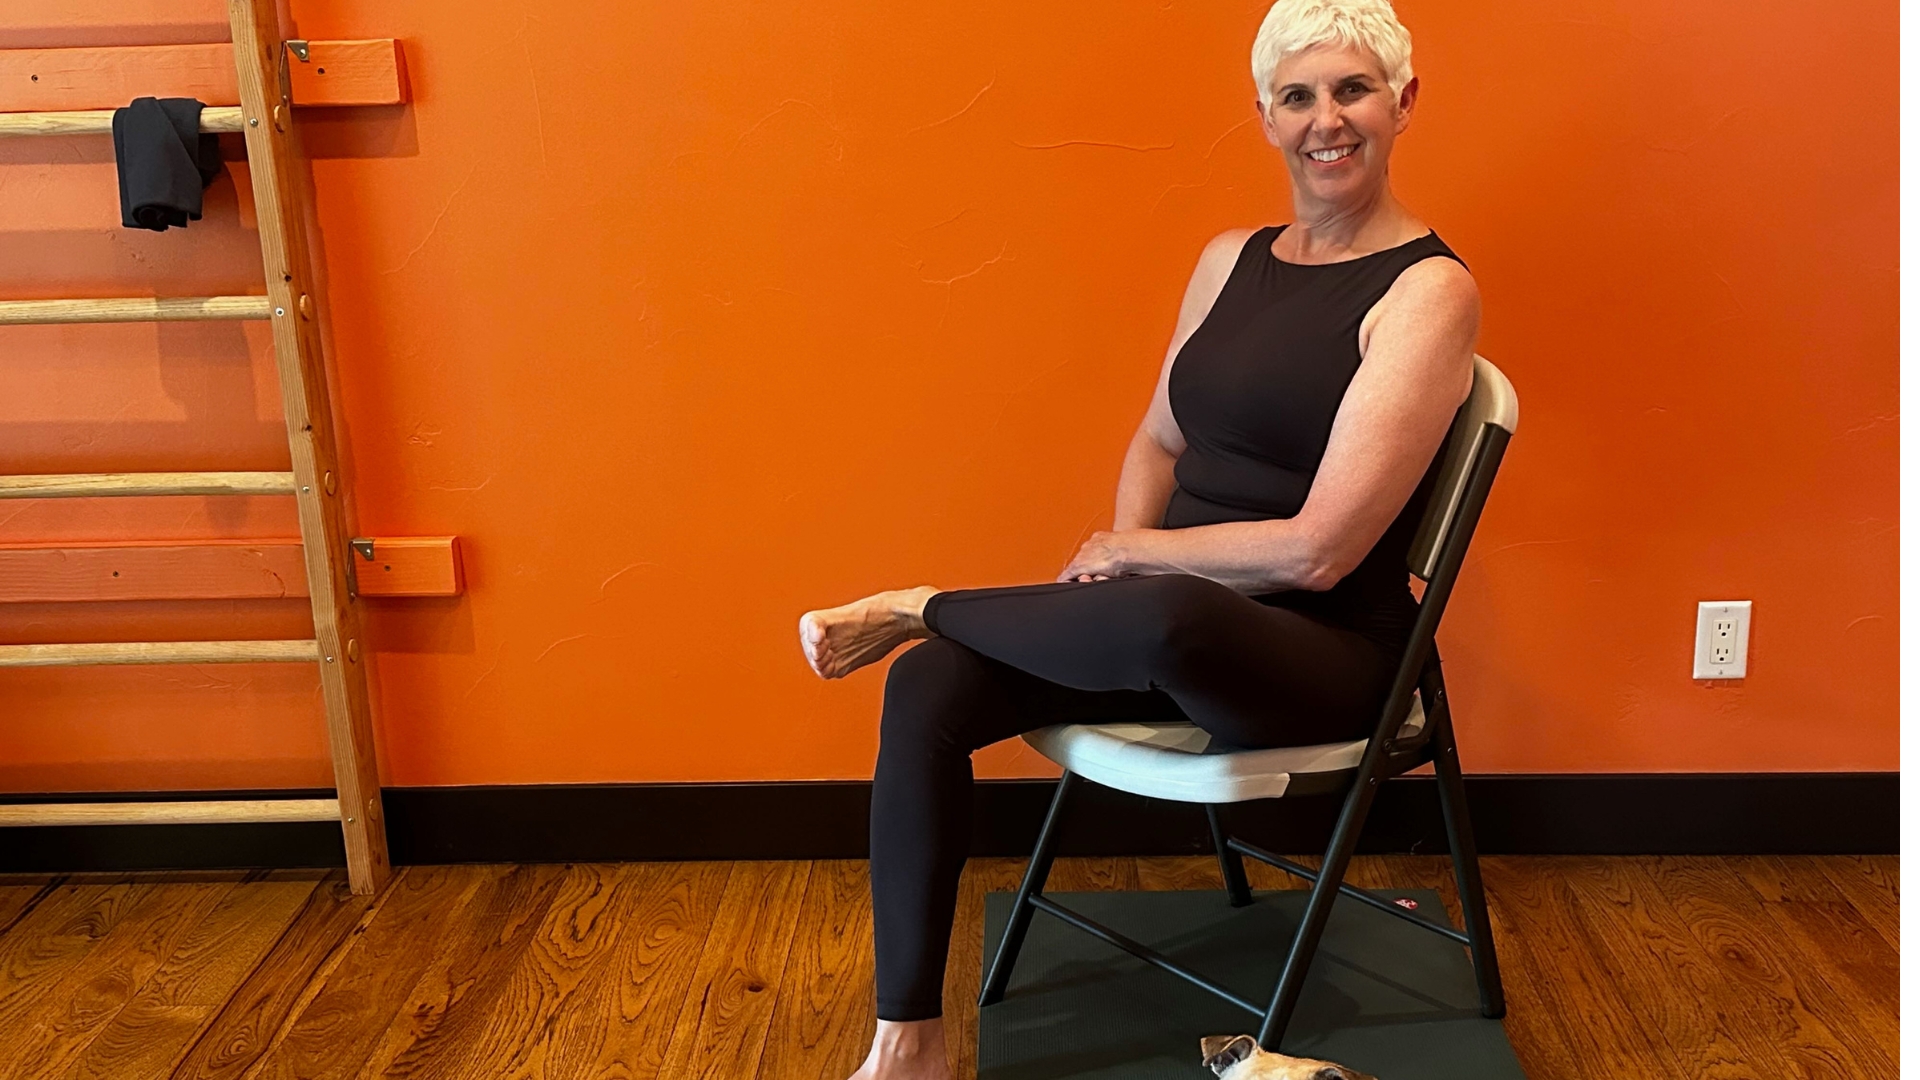
There’s something special about fitness instructors who understand the needs and challenges of people with limited mobility—yoga teacher Michelle Kelly is one of them.
In 2024, Kelly had a bike accident and broke her pelvis in three places and her collarbone. After taking a break from teaching until she could walk again, she returned with a new focus and launched a chair yoga class called Active & Able.
Kelly was already offering accessible yoga in 2020 during the pandemic after realizing older family members had stopped exercising. When she returned to teaching, she used some of these moves with a renewed appreciation for aids, especially the chair.
“My accident was at the end of May 2024, and I began teaching the chair yoga class mid-July 2024,” says Kelly. “It was the only one I taught for a month. By using the aids I had, I was able to truly get an understanding of what people with mobility issues need.”
“When using a chair, movements can be made easier by eliminating some of our body weight,” she explains. “Standing behind a chair and using it as an aid when balancing is a great way to begin strengthening your ankles.”
A chair can also be used to build up to harder poses if you have limited mobility.
“We can make movements a bit easier, then depend less on the chair as strength and range of motion improve,” she says.
“Standing for long periods of time can be difficult for some, so being able to sit and still move your body is a huge plus, especially if someone lacks the confidence to get up and down off the floor.”
If you struggle with your mobility, want to improve your balance and posture or want some variety in your regular practice, try Kelly’s five-move chair-supported sequence below. You’ll need a chair and a yoga block, but a rolled-up towel will also work if you don’t own a block.
1. Twist

(Image credit: michelle kelly)
Time: 5 breaths each side
- Sit upright in a chair.
- Place both hands on the right side of the backrest.
- Keeping your hips and knees pointing forward, rotate to look toward your hands and over your right shoulder.
- Hold for five long breaths, then repeat on the other side.
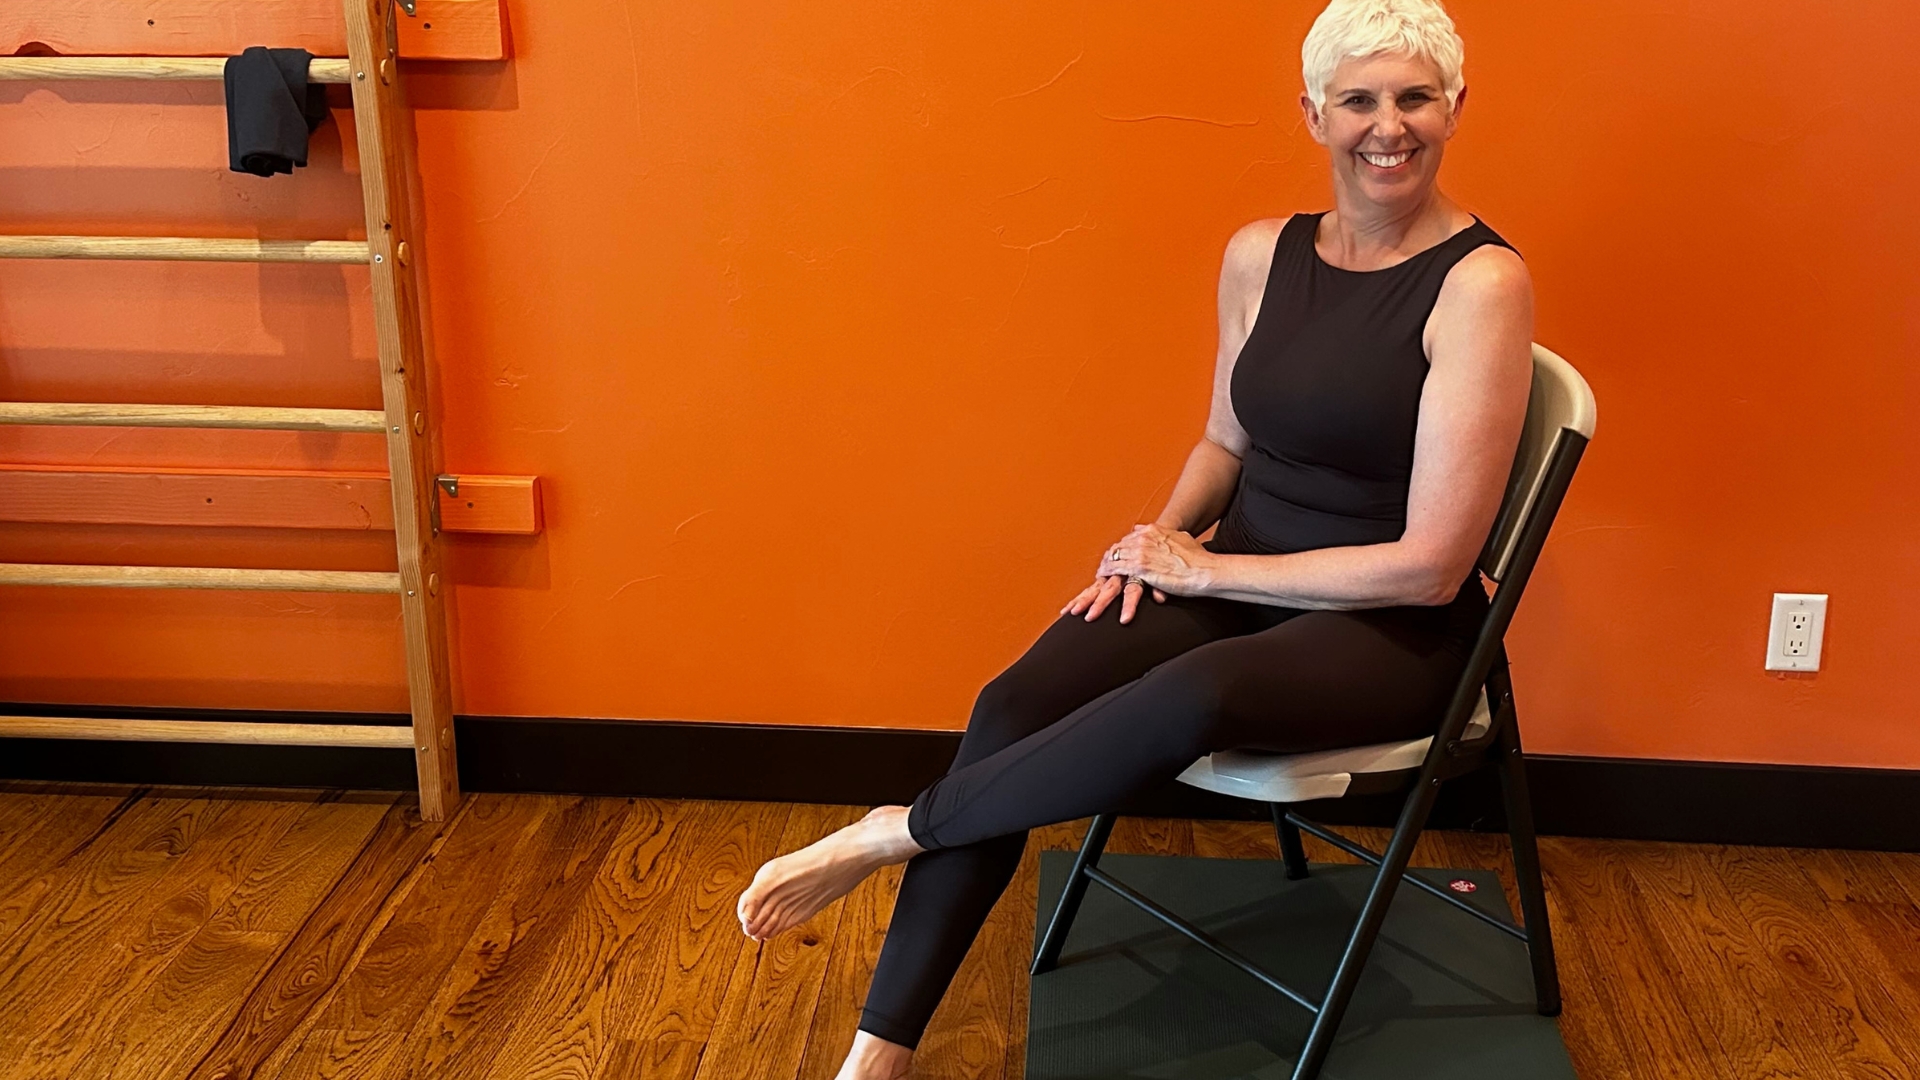
2. Figure four
Time: 5 breaths each side
- Sit upright in a chair.
- Cross your left ankle over your right knee, so your ankle sits beyond your thigh, not on it.
- Gently press your left knee down while flexing your left foot—you should feel a stretch in your left buttock.
- Hold for five deep breaths, then switch sides.
Make it easier: If this isn’t accessible, release your foot position and try again. If it remains inaccessible, you can also move your right foot forward and rest your left ankle just above your shin and below your knee.
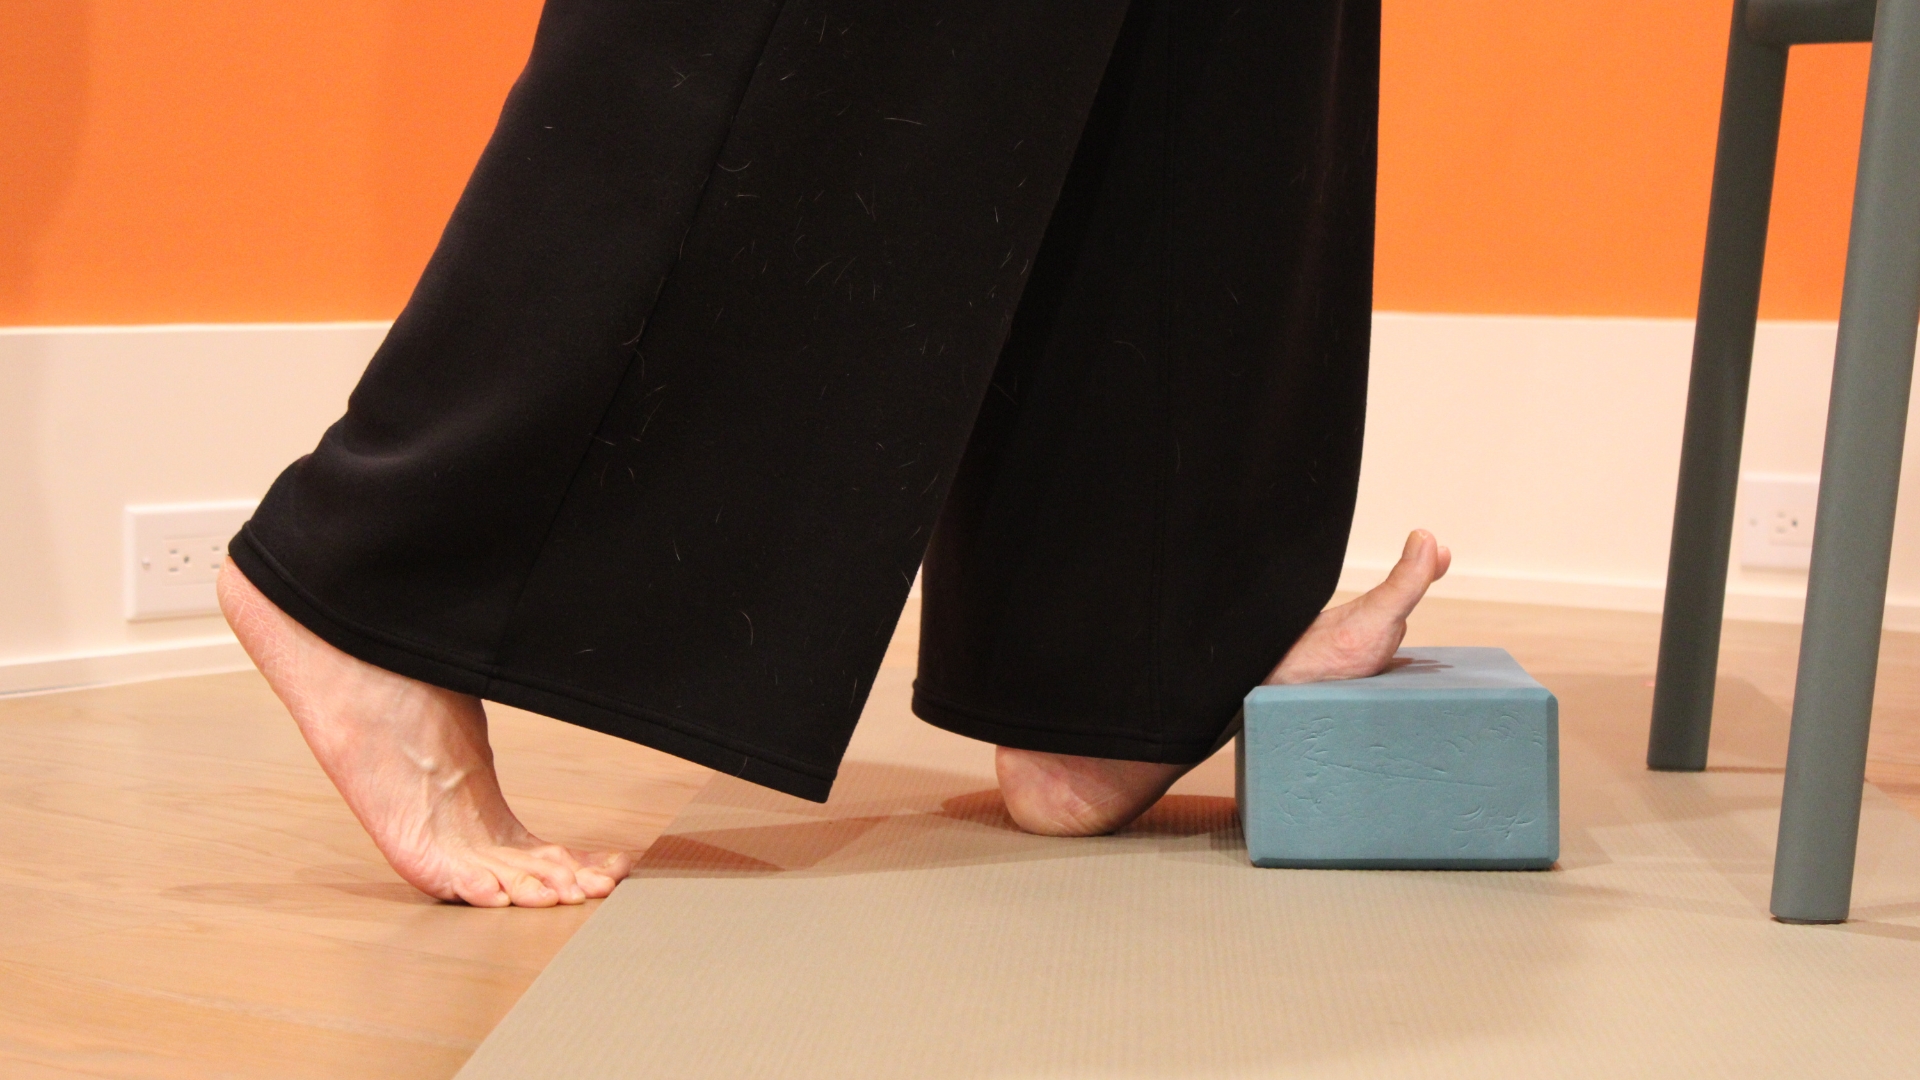
3. Calf stretch
(Image credit: michelle kelly)
Time: 5 breaths each side
- Stand behind a chair, with your feet hip-width apart, hands resting on the back and a foam block horizontally in front of your feet.
- Place the ball of your right foot on the block and your right heel on the floor.
- Press your foot into the block and hold for five deep breaths. Lift your right toes to deepen the stretch,
- Return to the starting position and repeat on the other side.
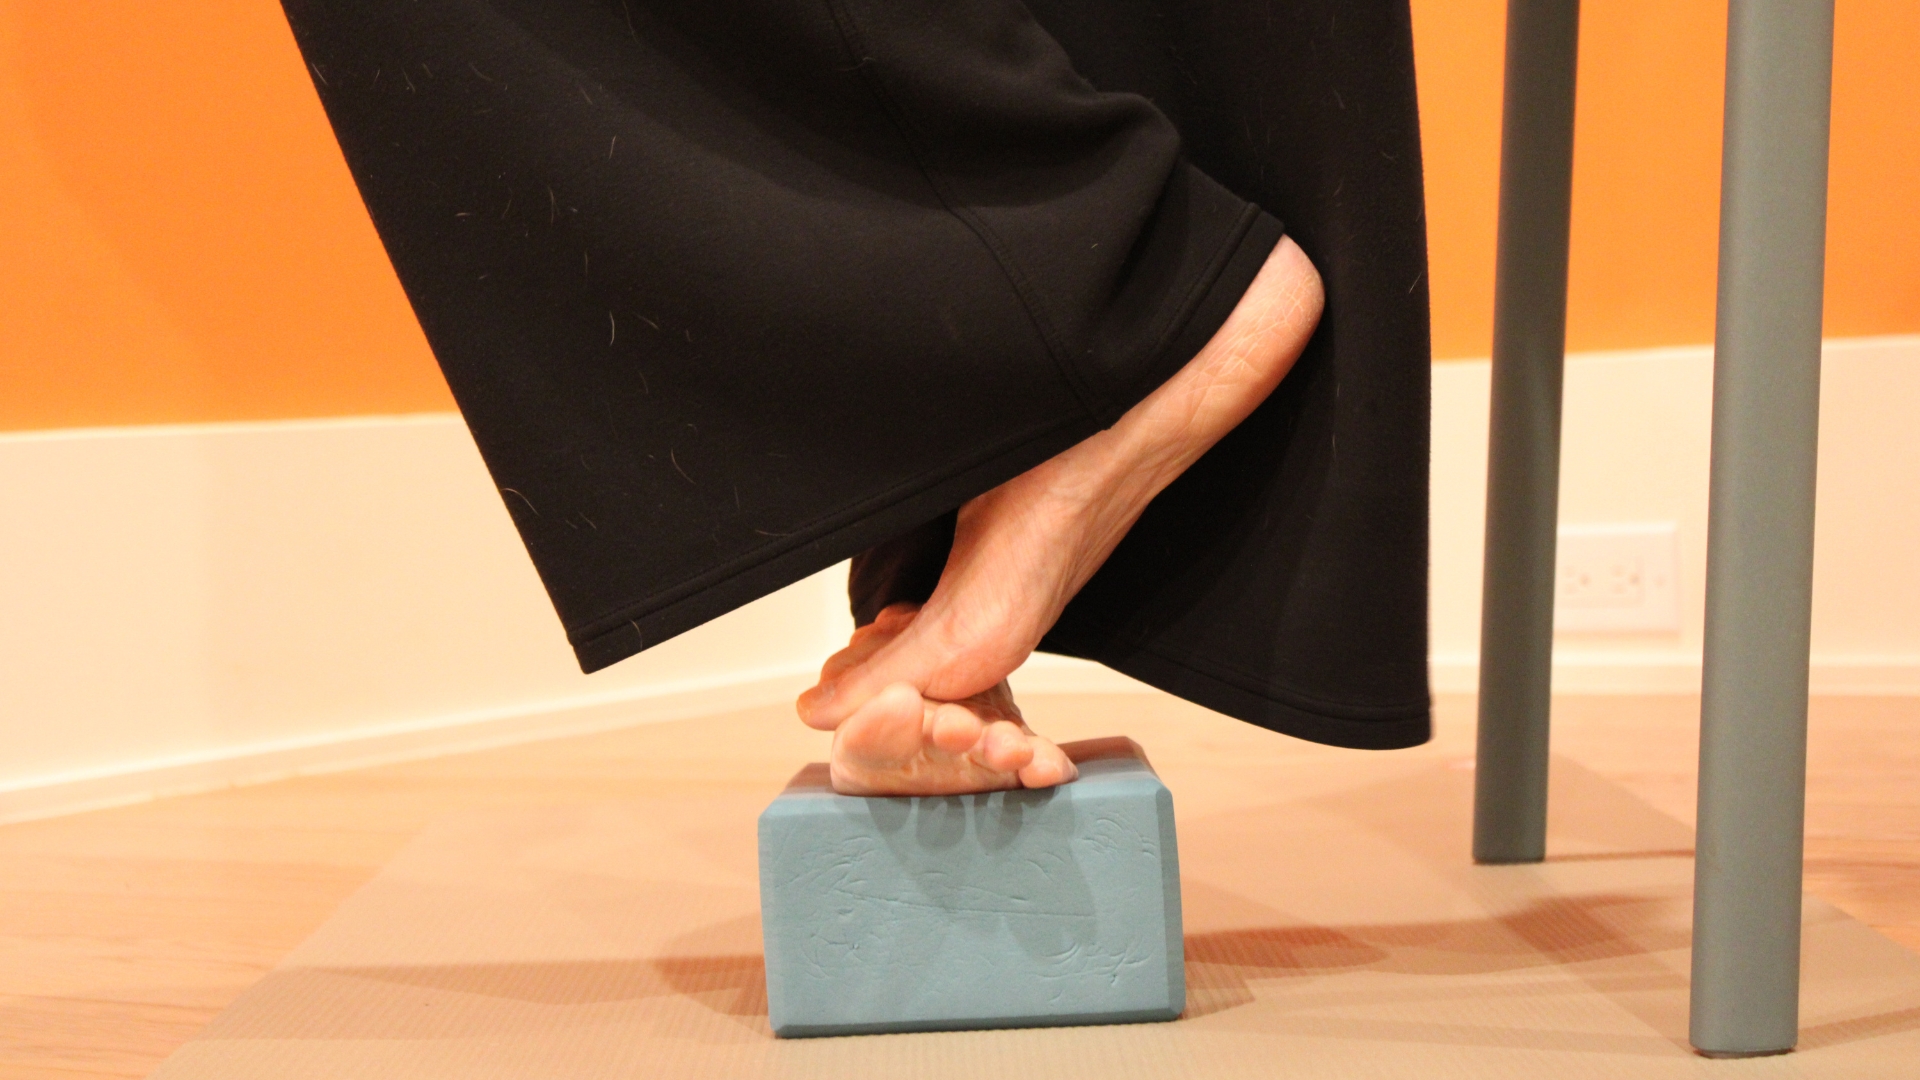
4. Balance
(Image credit: Michelle Kelly)
Time: 5 breaths each side
“This is not a static pose—your foot and ankle may be moving quite a bit,” says Kelly. “That is what you want as you are building strength through the full range of motion of your ankle and foot.”
- Standing left side-on to the back of a chair and holding on to the backrest of the chair for support with your left hand, stand on a yoga block with your left foot.
- Place your right foot on top of your left, pressing into your toes, with your right heel pointing left and your right knee pointing right.
- Rest your right arm in the curve of your lower back.
- Hold for five deep breaths, then switch sides.
- Aim to build up to a two-minute balance on each foot.
Form tip: If balancing on a yoga block is too hard, practice on the floor. Notice how much you need the chair for support. Can you lighten your touch and still maintain your balance?
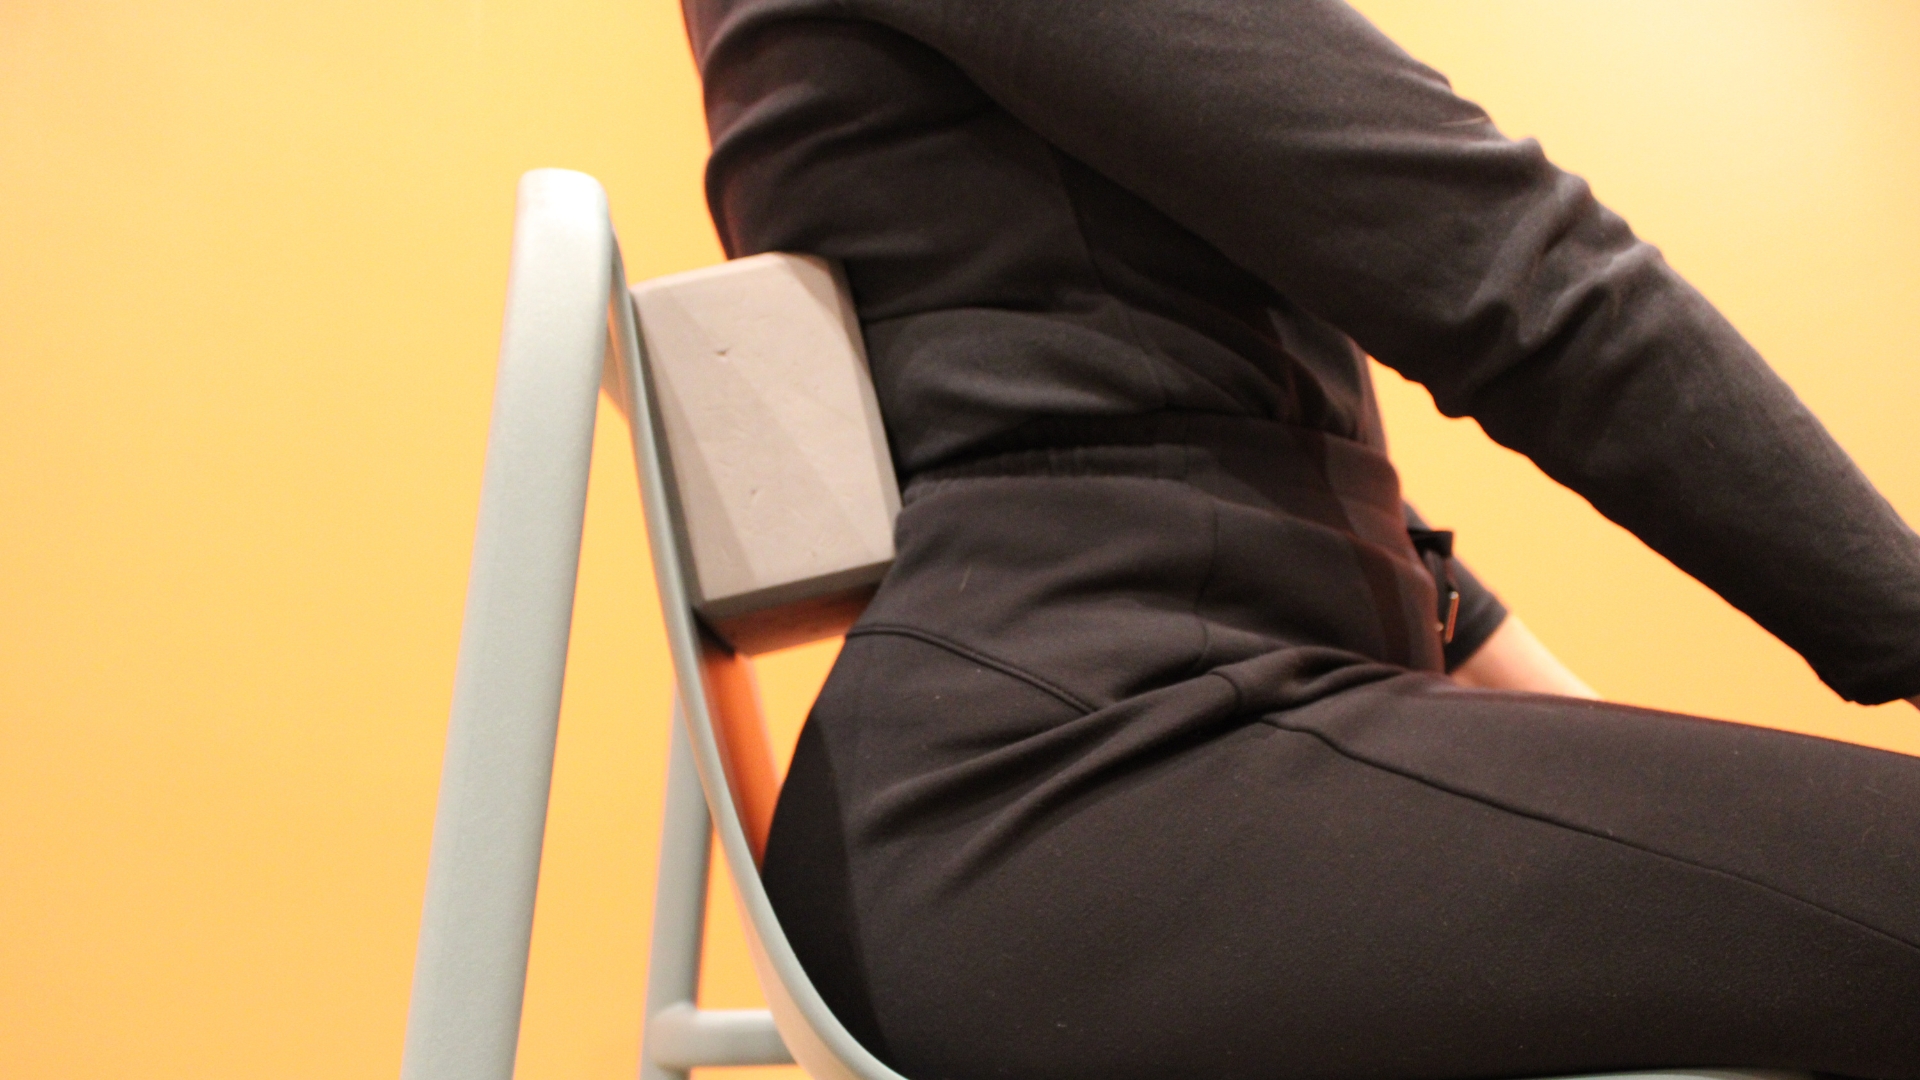
5. Block in back
(Image credit: Michelle Kelly)
Time: 5 breaths
“So many of us end up tucking our tailbones and rounding our backs all day long, which can cause back and neck pain,” says Kelly. “Try sitting with a pillow or foam block behind your back to begin undoing all that tailbone tucking and back rounding.”
- Sit upright in a chair with a block orientated horizontally placed between your back and the backrest, below your shoulder blades and above your hips, in the curve of your lower back.
- Hold for five deep breaths.
- To deepen the stretch, lengthen your spine and look down toward your knees.
Source link
