Trying to find your way through Hollow Knight: Silksong’s Wormways? If you’ve been following along with our walkthrough so far, you’ve already seen a little bit of the Wormways as you made your way down to the Chapel Of The Wanderer. This time, we’re exploring the majority of the Wormways tunnels above, in order to reach the next major region of the game.
Follow the steps below for a quick and easy walkthrough of the Wormways, during which I’ll also point out key discoveries such as Shakra’s location for the Wormways map, and yet another Flea to rescue!
Want the walkthrough for a different area of the game? Check out our Hollow Knight: Silksong walkthrough hub!
Wormways walkthrough steps:
- Take the Bone Bottom elevator to the Wormways.
- Climb the Wormways shafts.
- Rescue the hidden Flea.
- Buy the Wormways map from Shakra.
- Obtain the Dead Bug’s Purse.
- Reach the entrance to Shellwood.
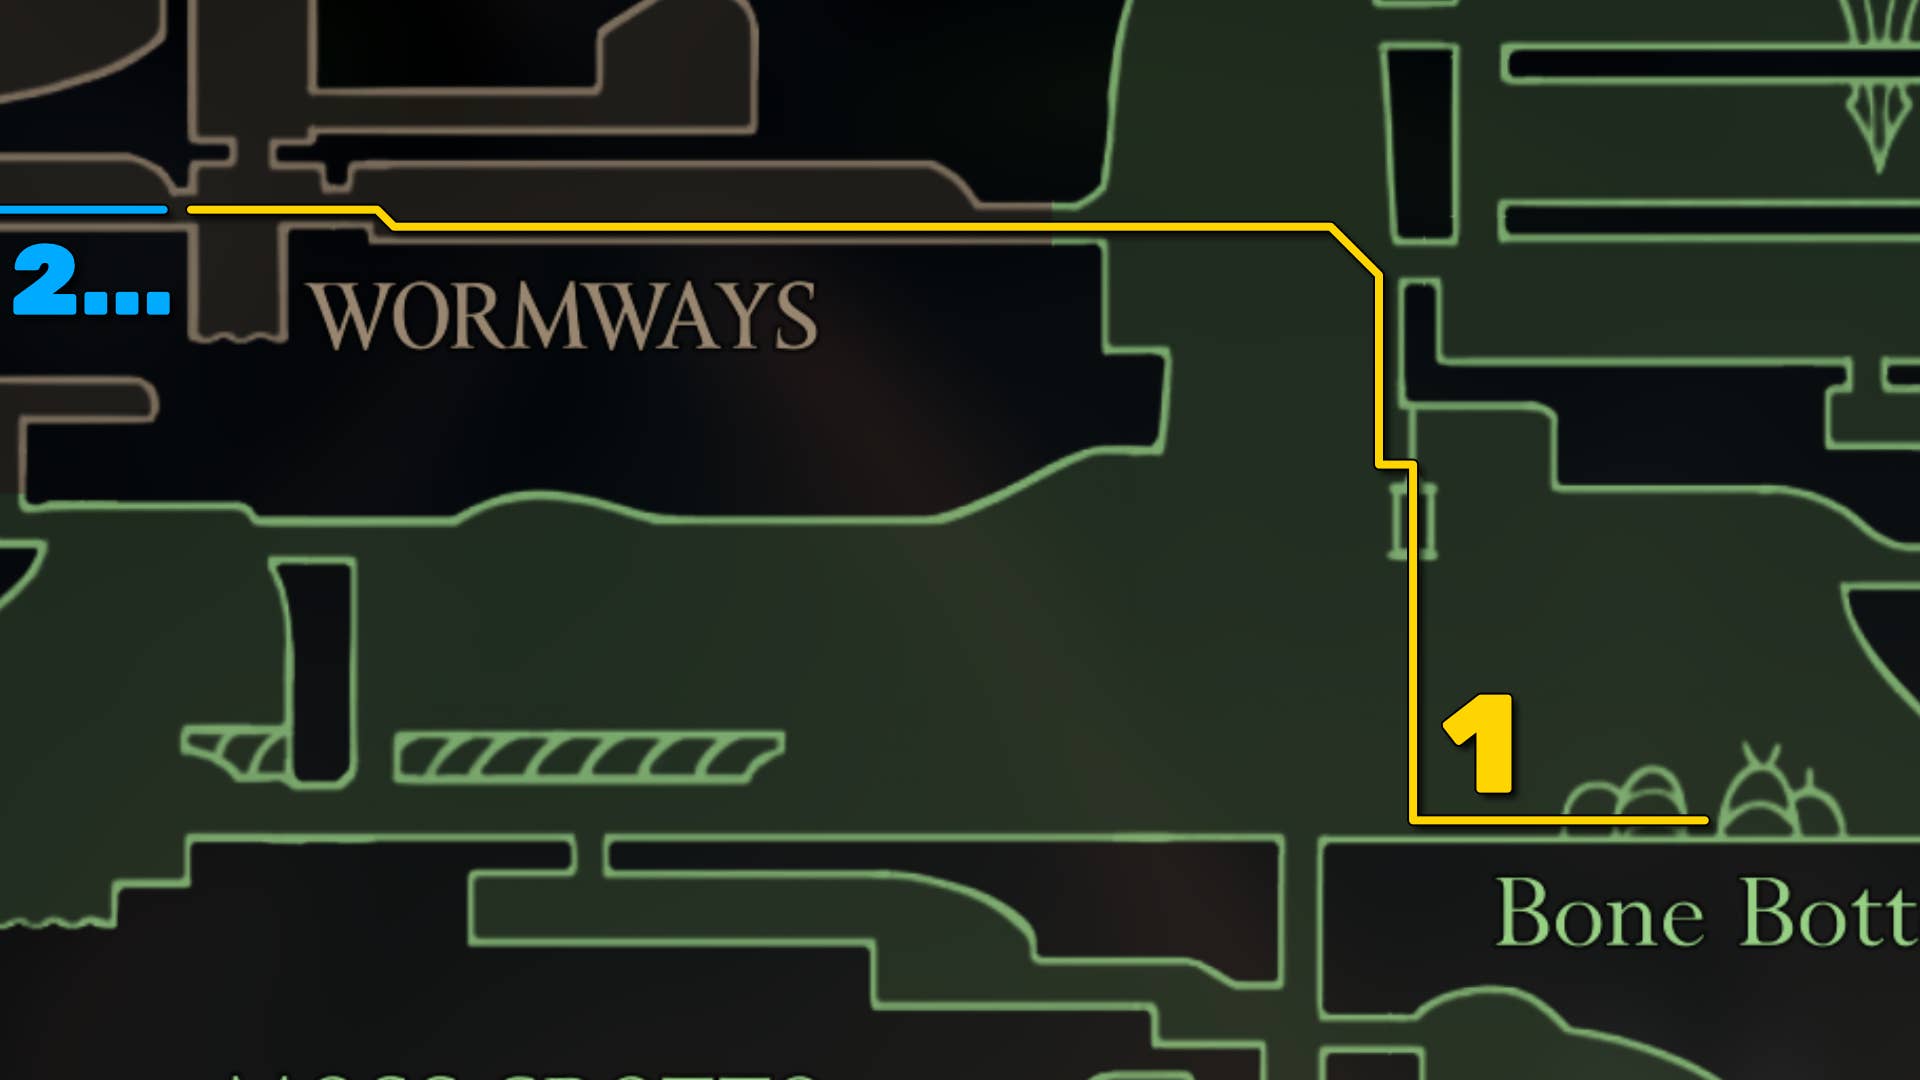
1. Take the Bone Bottom elevator to the Wormways.
Where we last left off, you just defeated the Savage Beastfly in the Chapel Of The Beast, deep in Hunter’s March. Now you need to make your way back to Bone Bottom. The fastest way is to go through the shortcut you opened back down into Deep Docks, then use the Deep Docks Bellway to fast travel to Bone Bottom.
The next step is to re-enter the Wormways, but now that we have the Swift Step skill, the path to the entrance is quicker than before. Take the Bone Bottom elevator to the top, and climb off-screen.
At the signpost, jump over to the left-hand upper ledge, and then jump-dash over to the cages. From there you can jump straight left into the entrance to the Wormways. If you haven’t killed the guardian Craggler on the ceiling at this point, feel free to do so (or just run past him, I’m not the boss of you).
In the next room, head through the door you unlocked with the Simple Key to enter the Wormways.
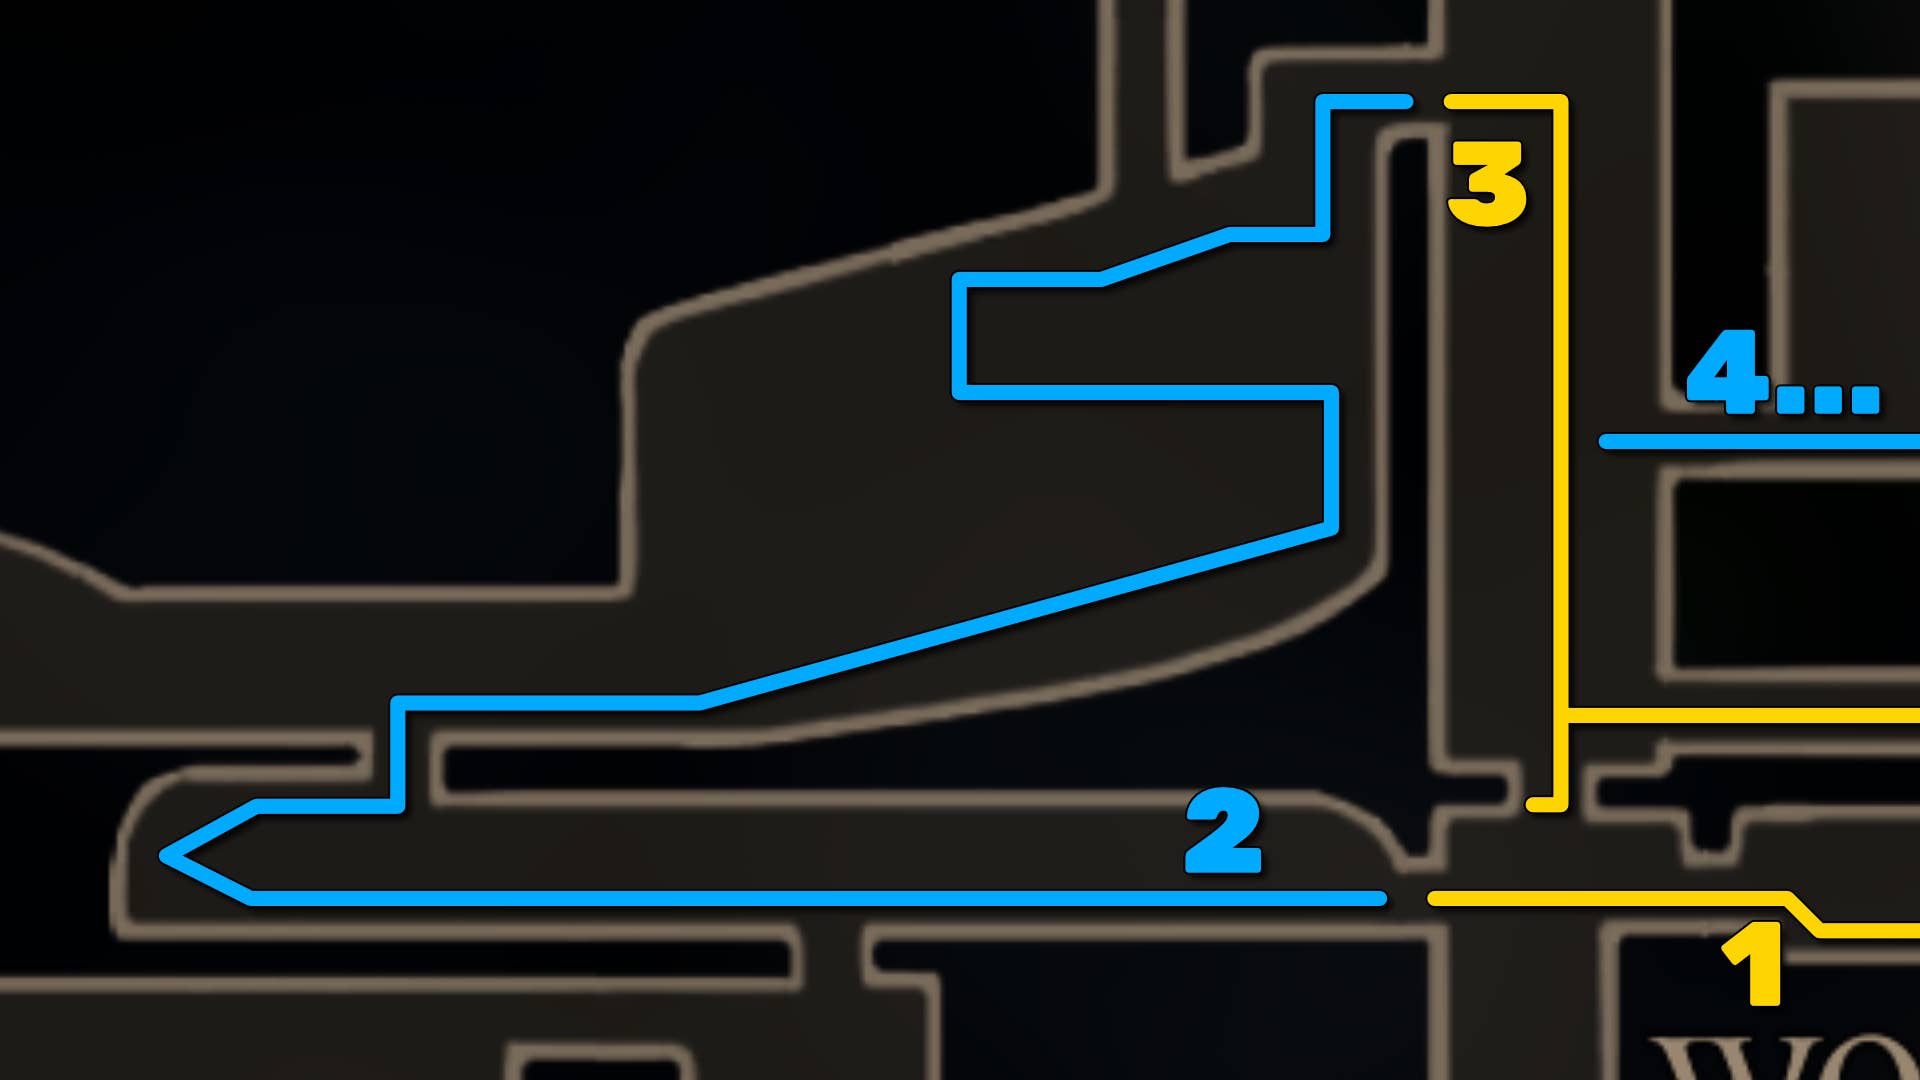
2. Climb the Wormways shafts.
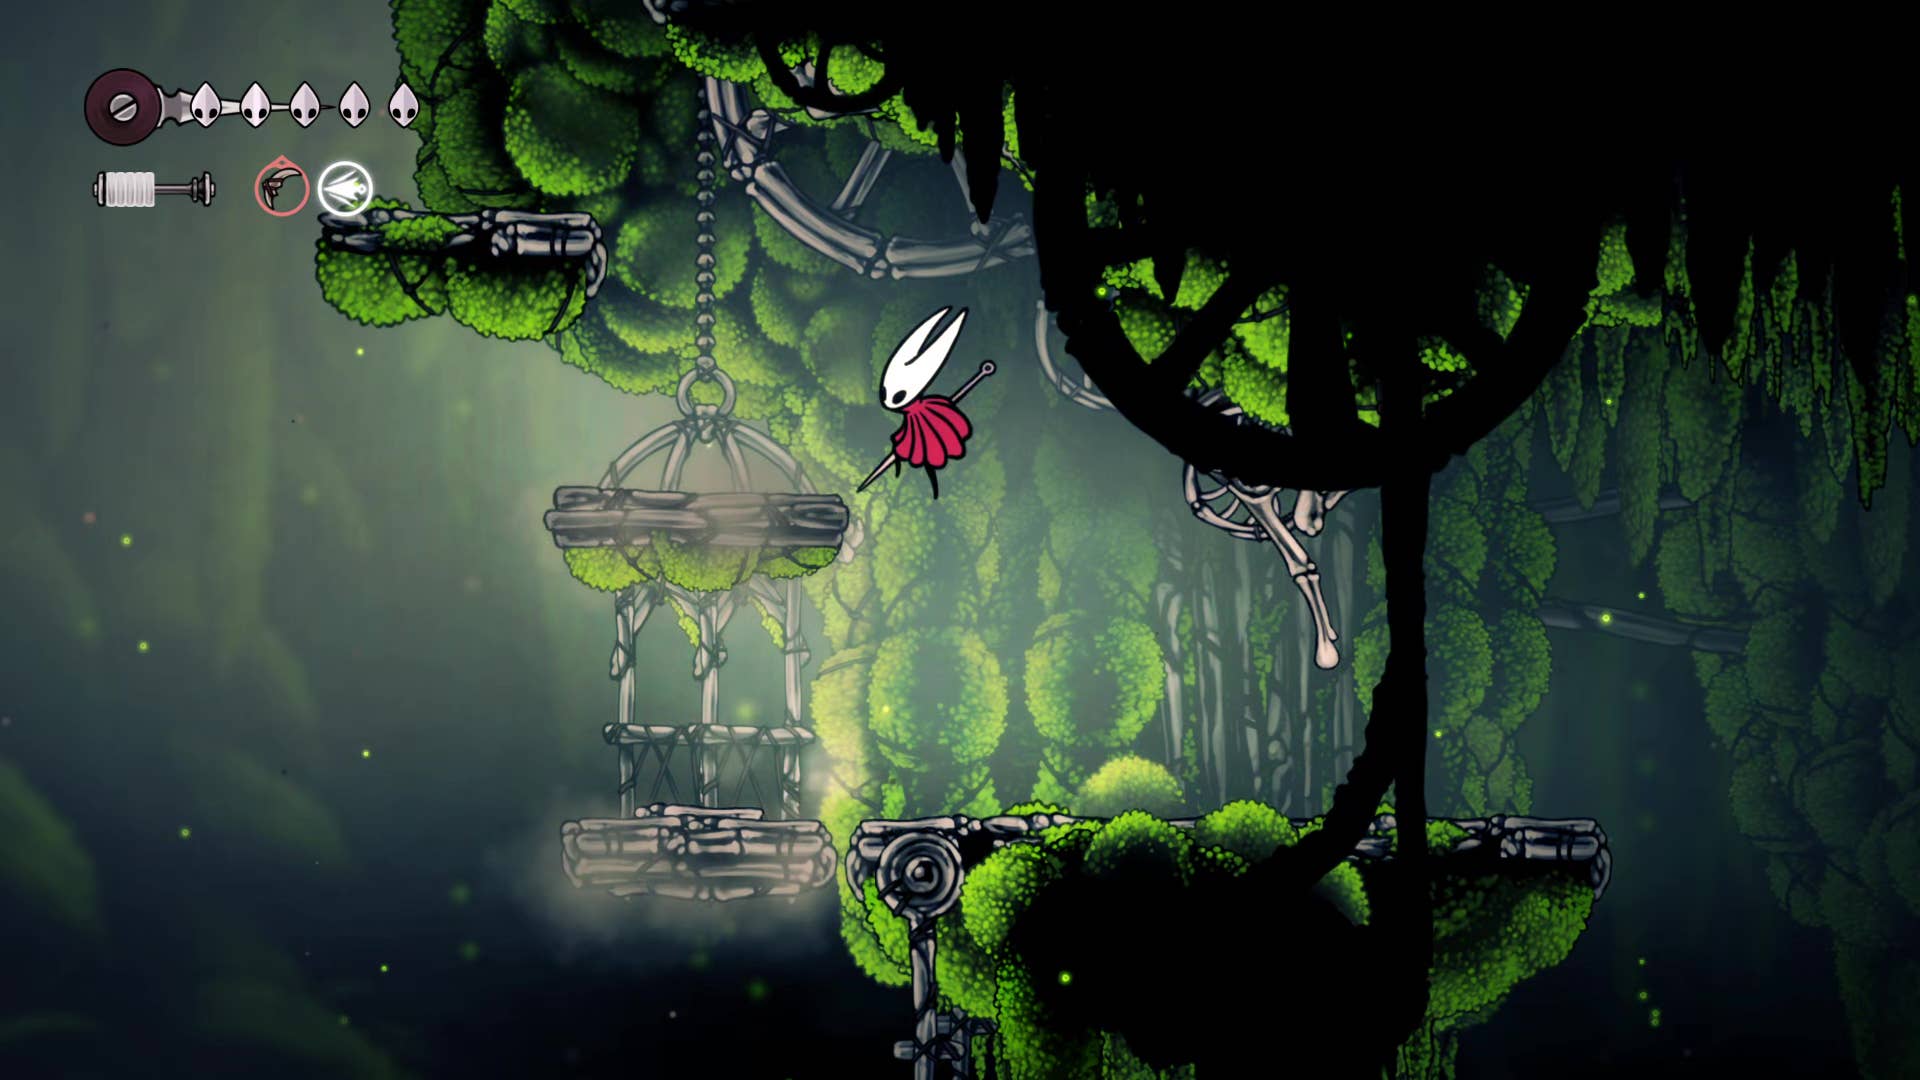
Once inside the Wormways, head right and jump over the hole you previously went down back when you reached the Chapel Of The Wanderer. Use midair dashes to quickly pass by the worms, and make your way up off-screen.

Up here, you can head left to see what’s there but it’s just an empty sandpit with a door currently out of reach above you. So head right instead, and follow the path before you, dodging worms and the little Gromlings that unburrow themselves and charge you. Just jump over those little guys and keep moving, it’s not worth your time to kill them.
Tip: Remember to heal off the worms!
Once you reach the right-hand edge, you’ll need to time climbing up the wall between the worm’s descents. Then head left, and stop under the second gap above you. Two Gromlings will appear either side of you and charge; jump over them, and keep heading left to the next descending worm. Again, you’ll need to carefully climb the wall in between the worm’s descents.
Follow the path right, into the next room.
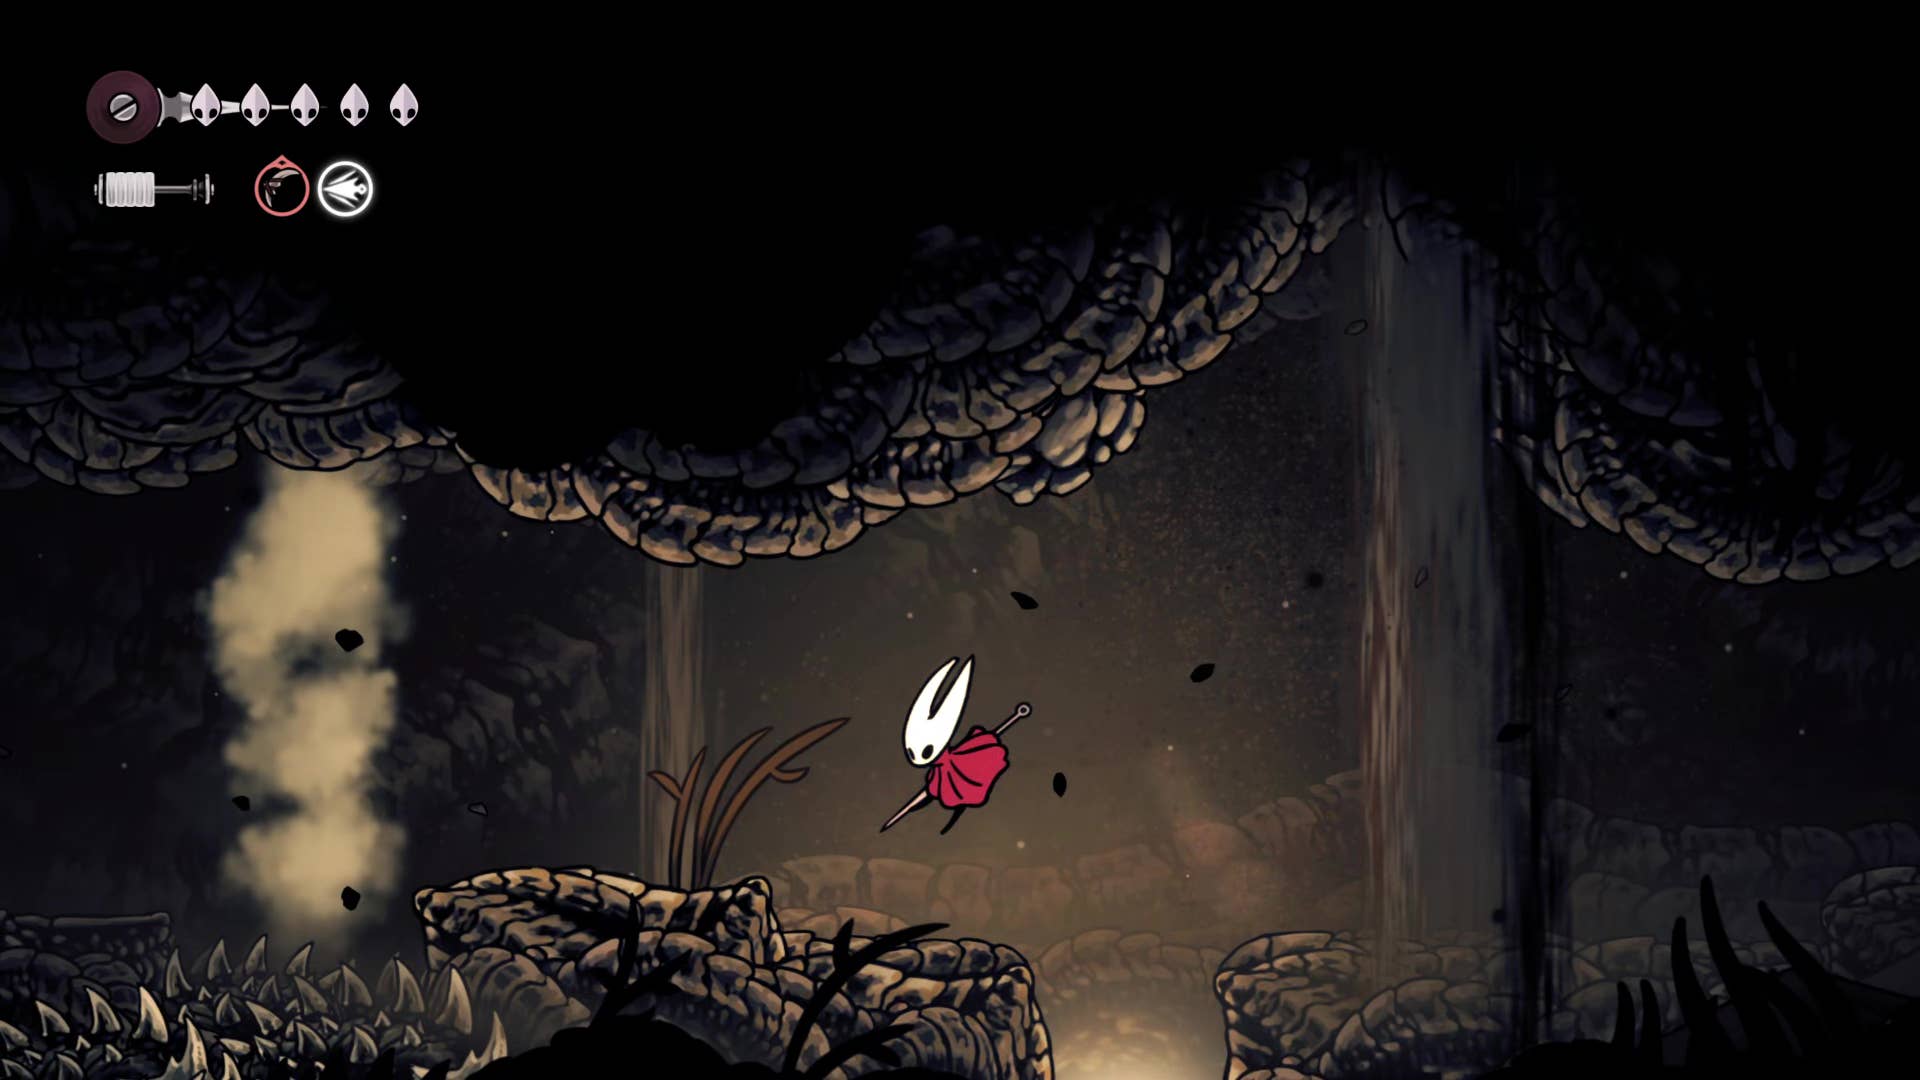
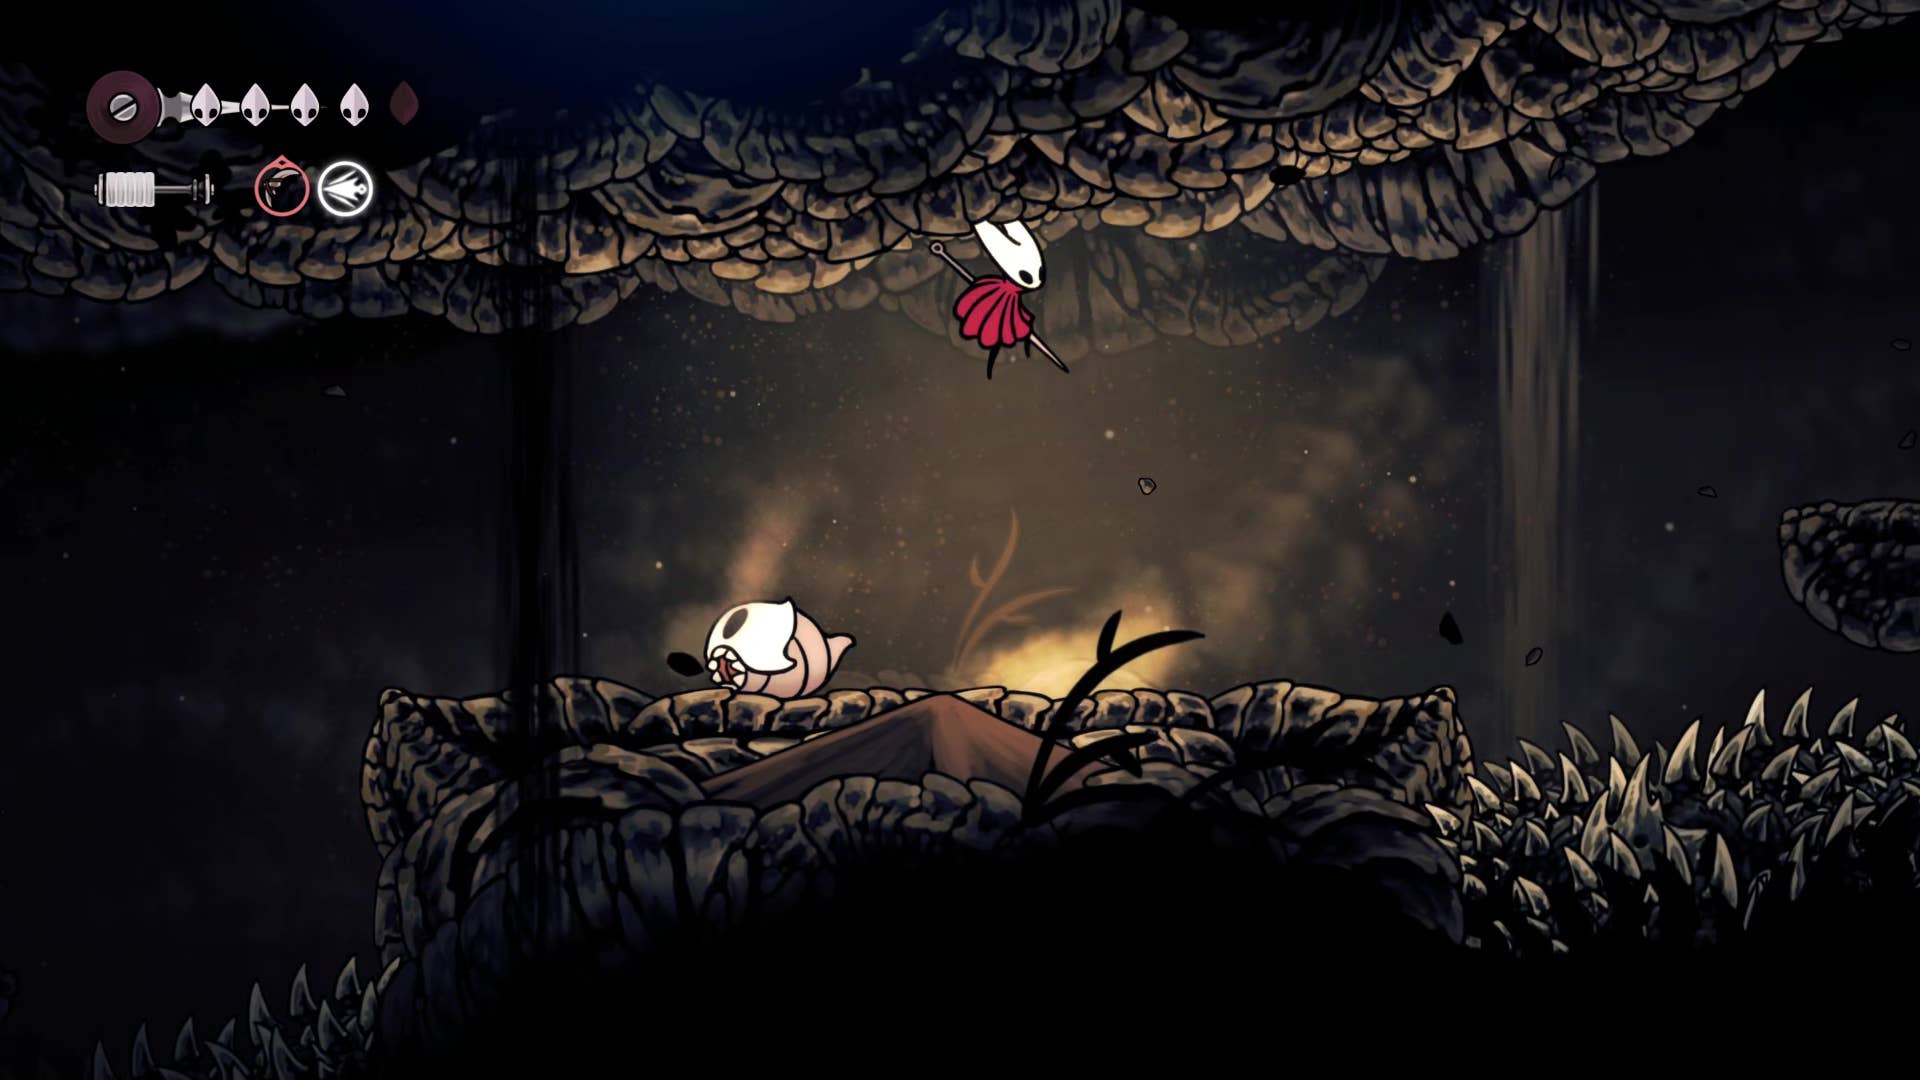
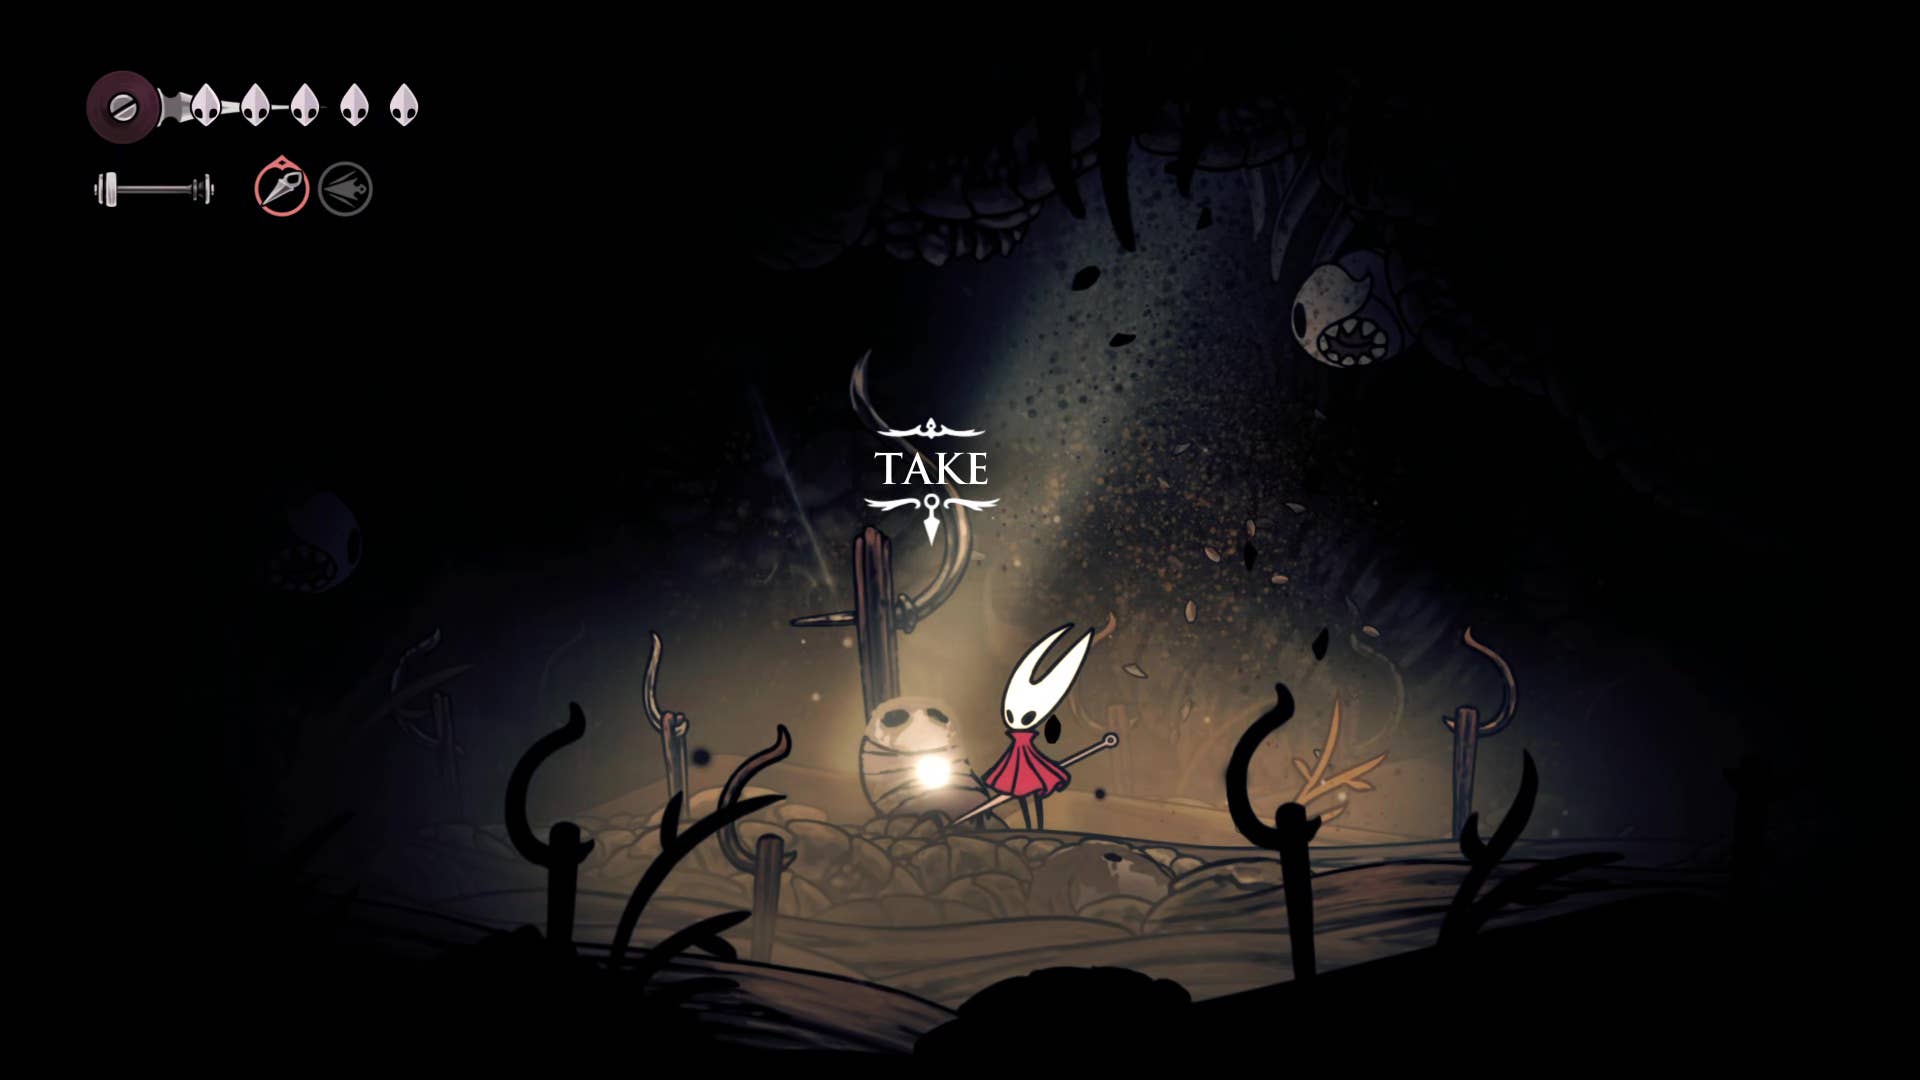
3. Rescue the hidden Flea.
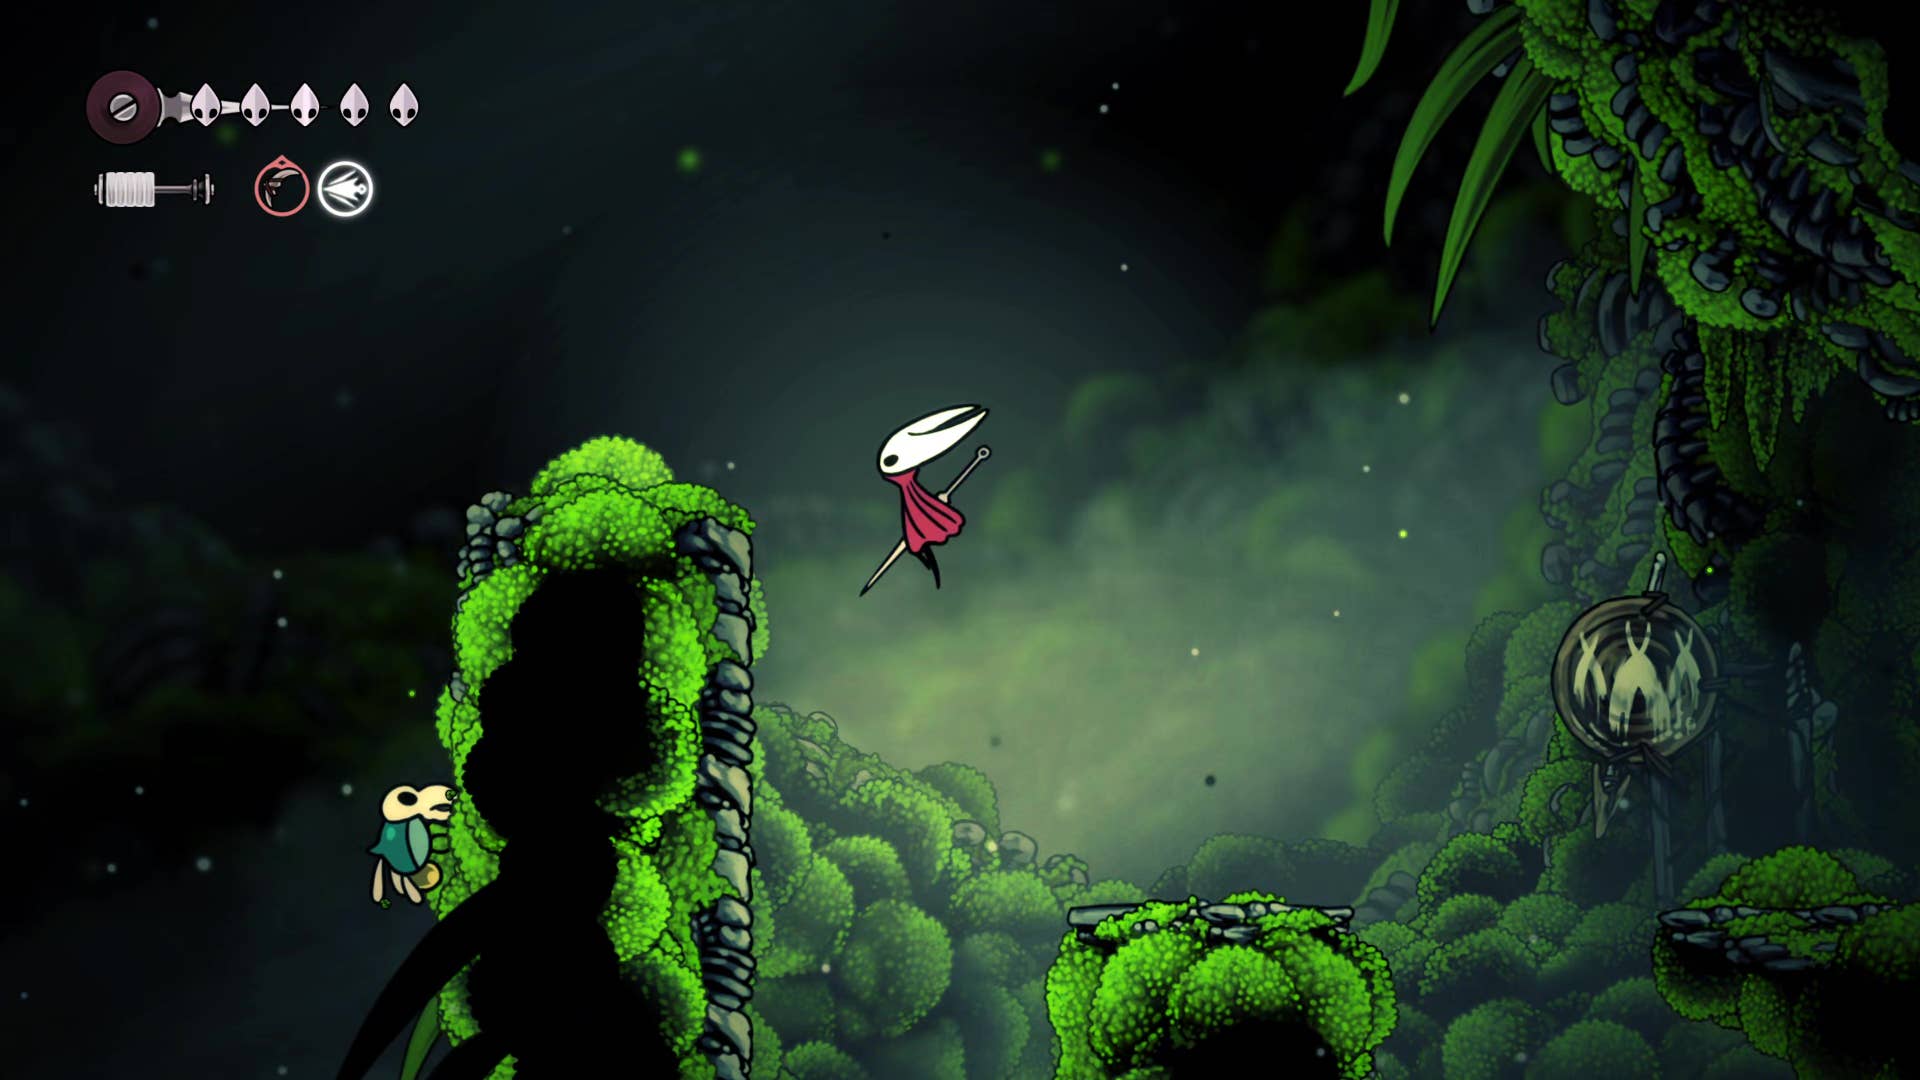
The room you’re in now is a vertical connecting shaft. Drop to the very bottom of it (dispatching the Winged Pilgrim Bellbearers), and you’ll find a shortcut that leads back down to the start of the Wormways. Flick the lever, but make sure you don’t actually go down it, or you’ll need to repeat all of Step 2 to get back up.
Then jump back up to the ground level of the shaft, and then attack the right-hand wall to reveal a secret passage.
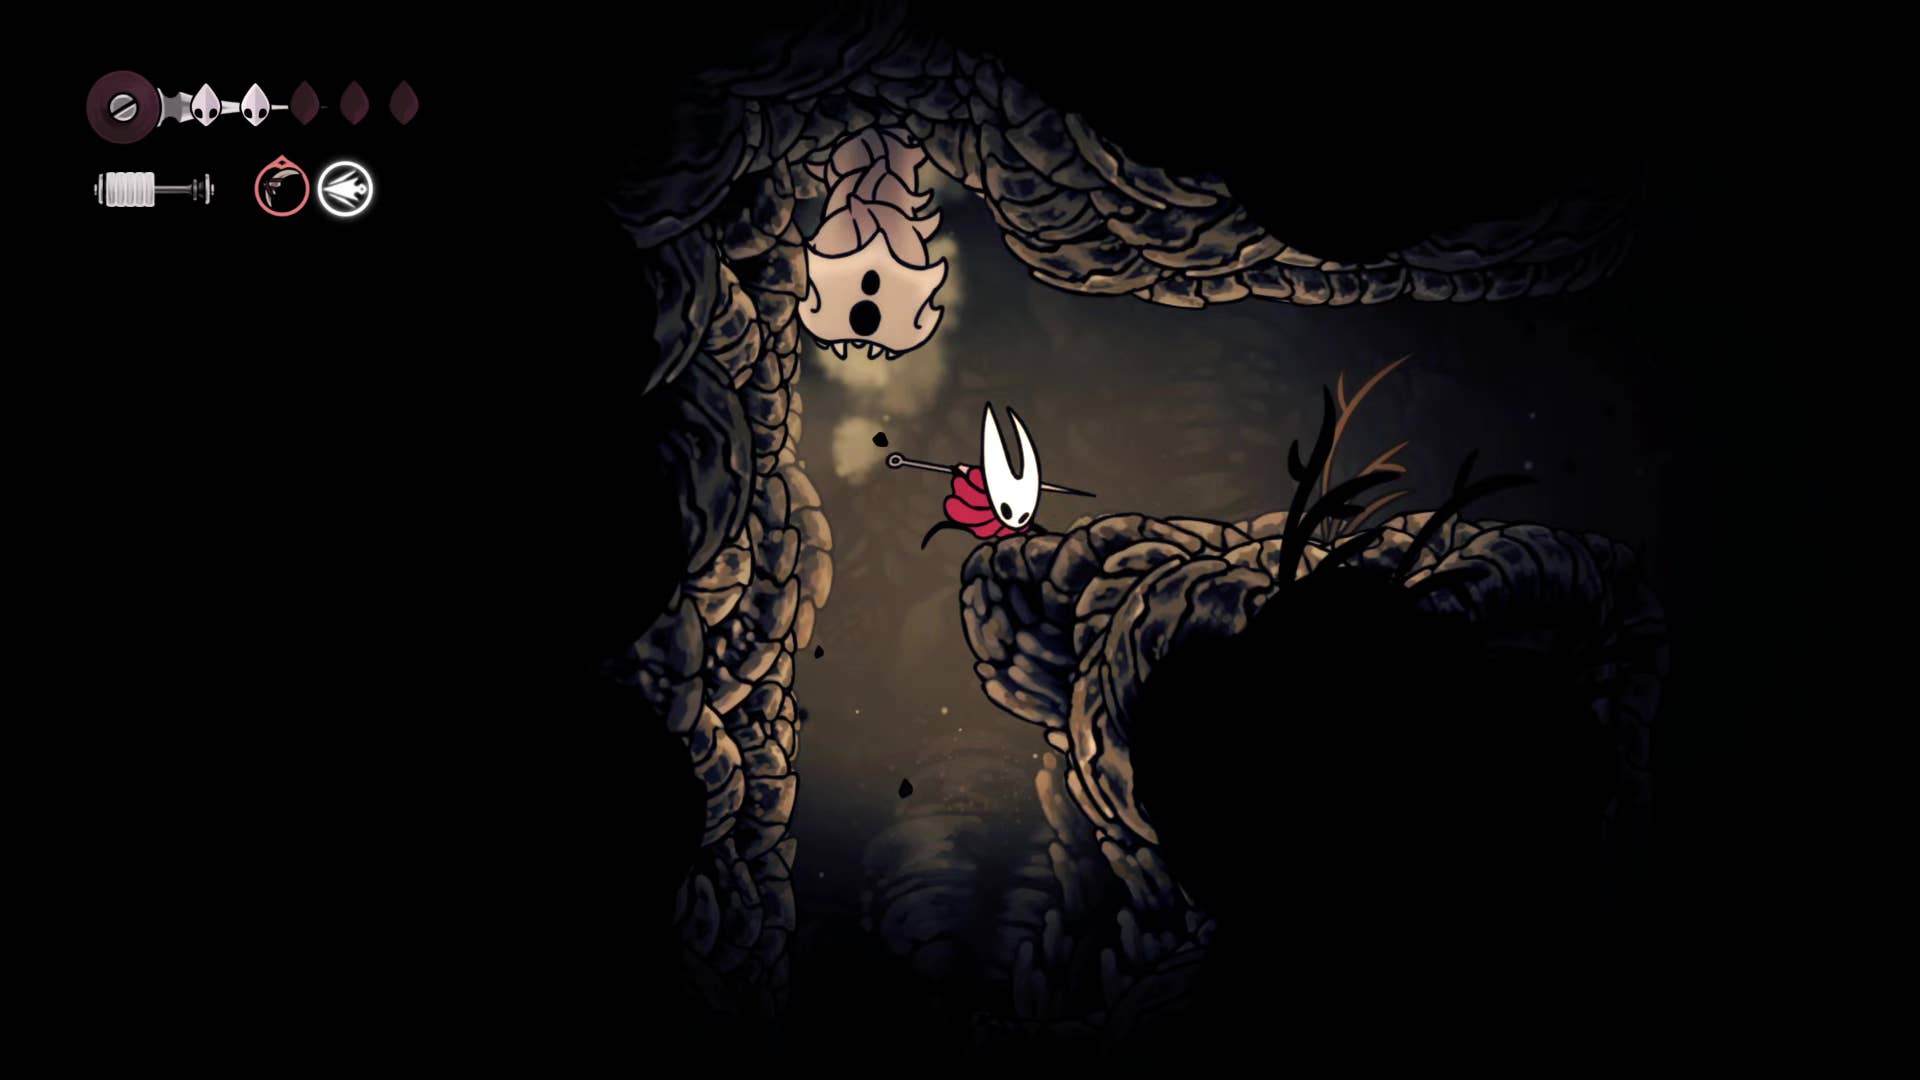
This passage leads to a small room where a Flea is caught in the grasp of an Aknid. Kill the Aknid and other enemies in the room and grant freedom to the Flea. Fleadom, if you will.
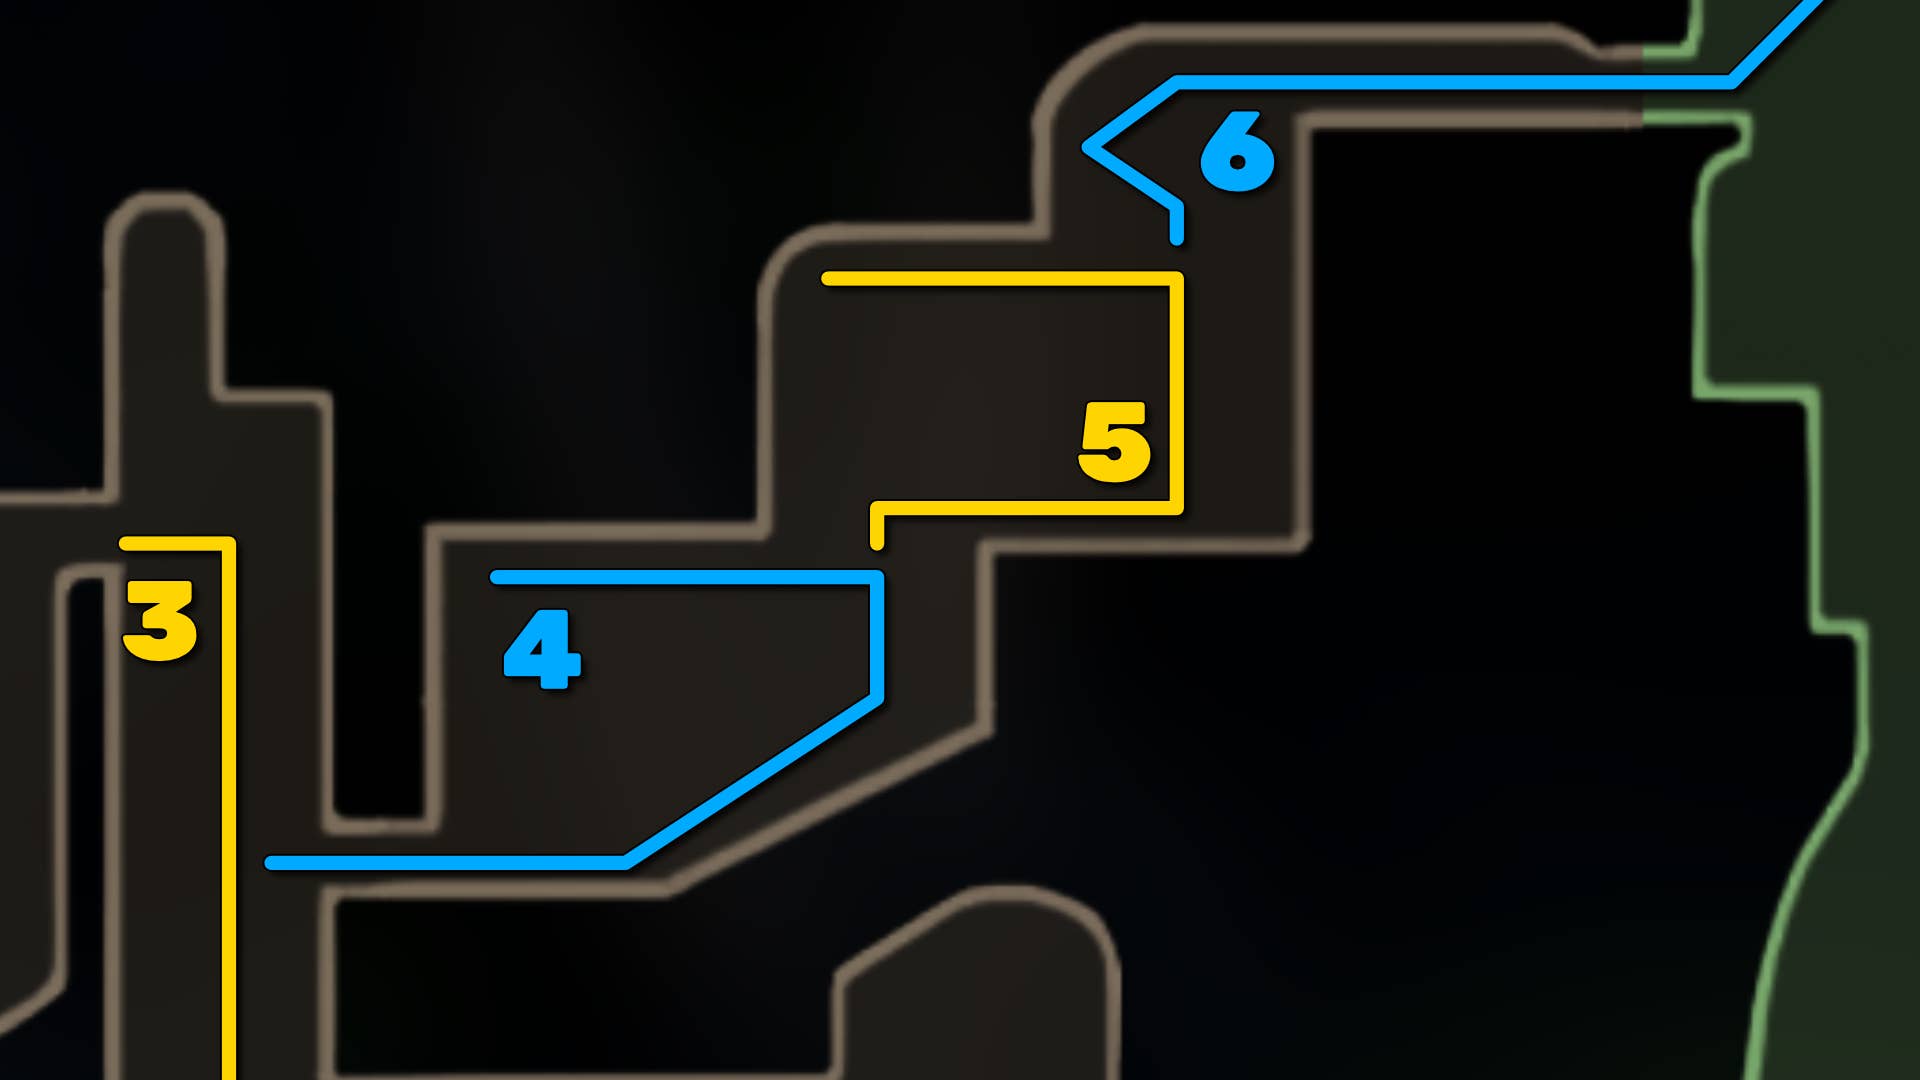
4. Buy the Wormways map from Shakra.
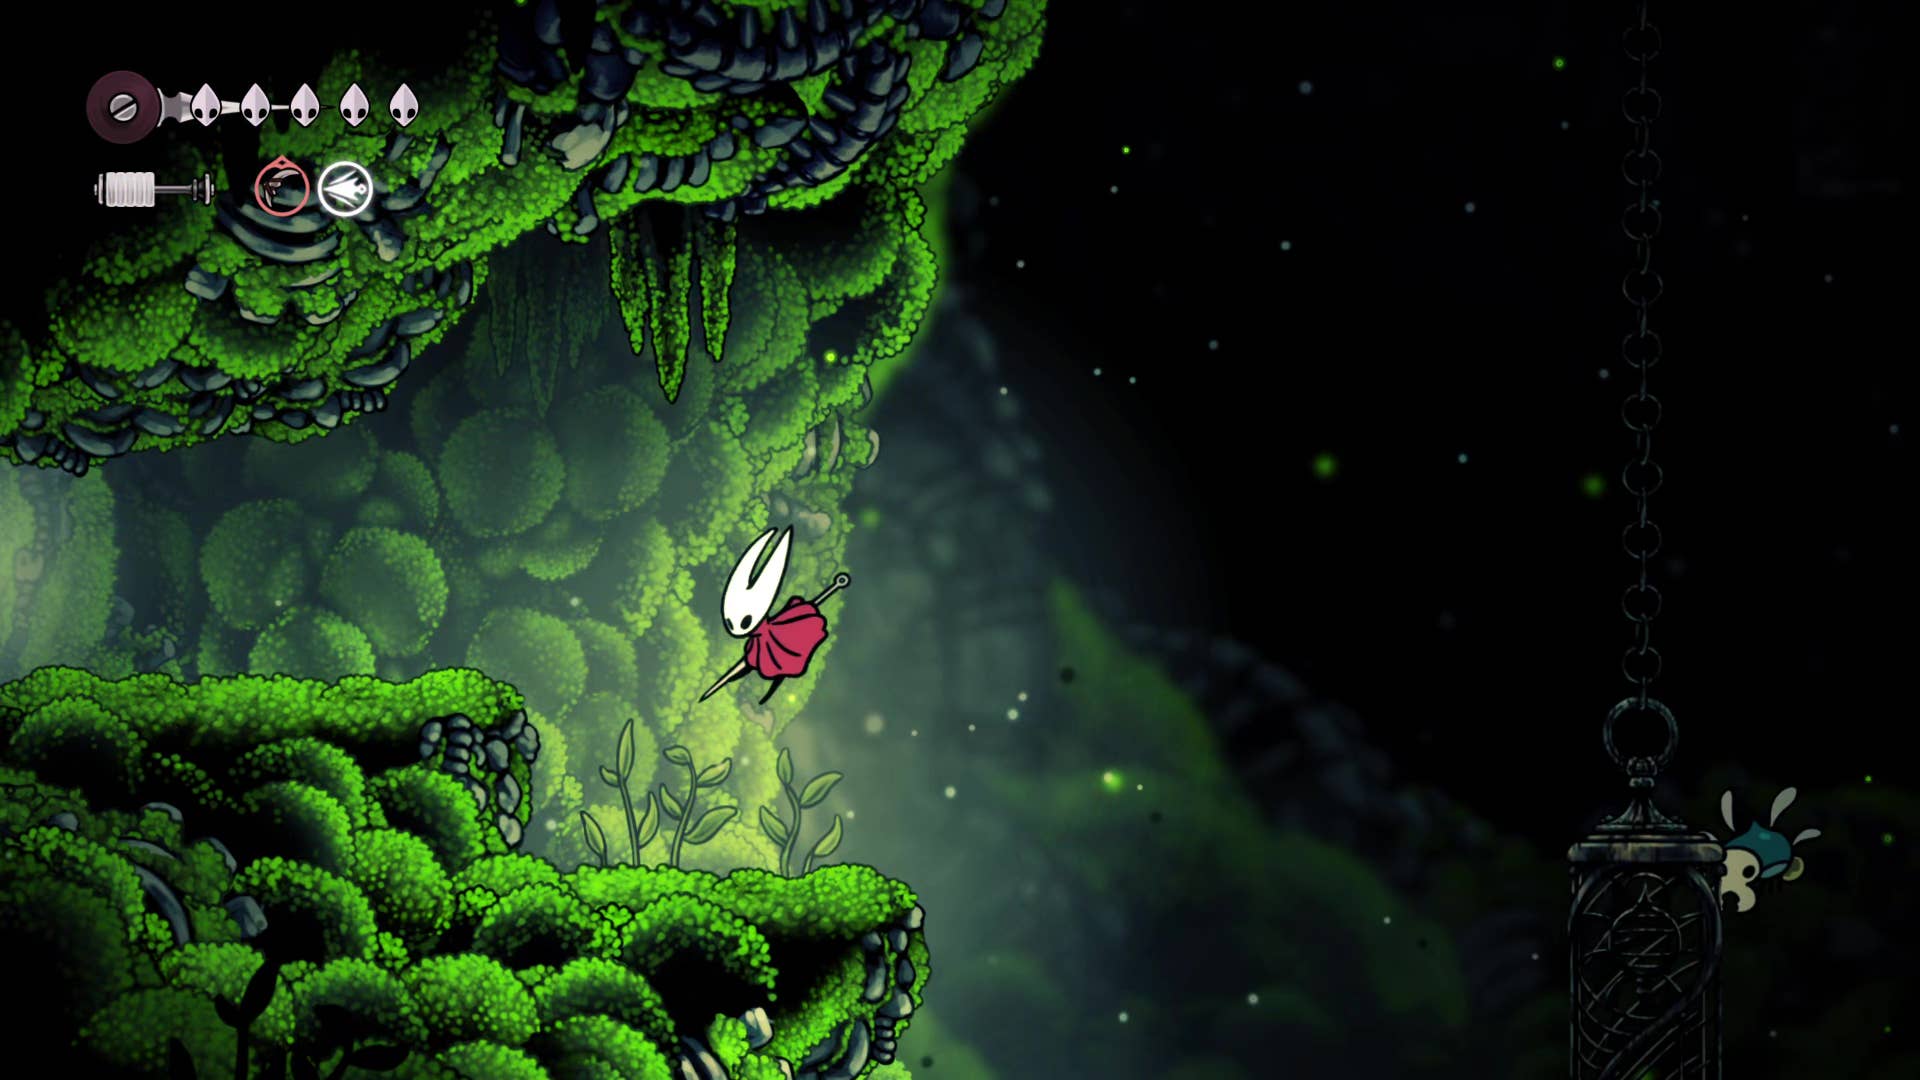
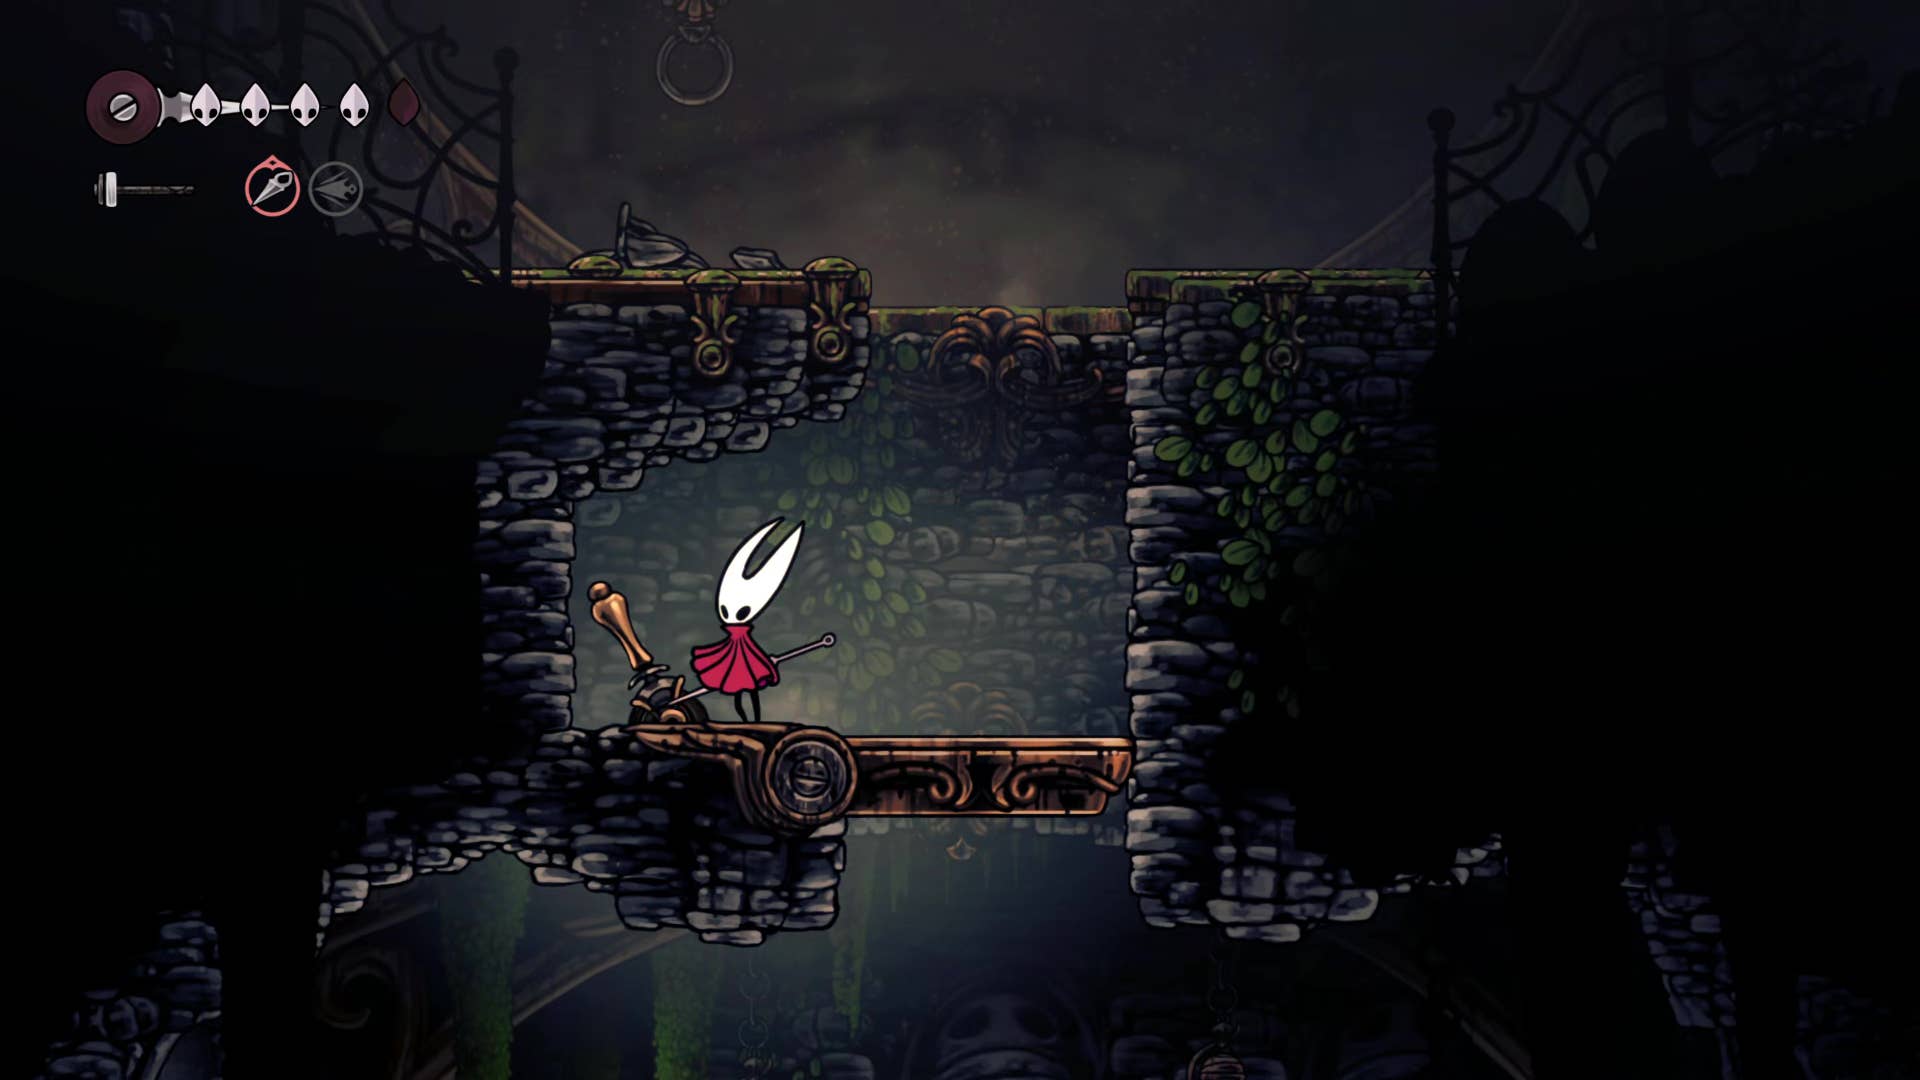
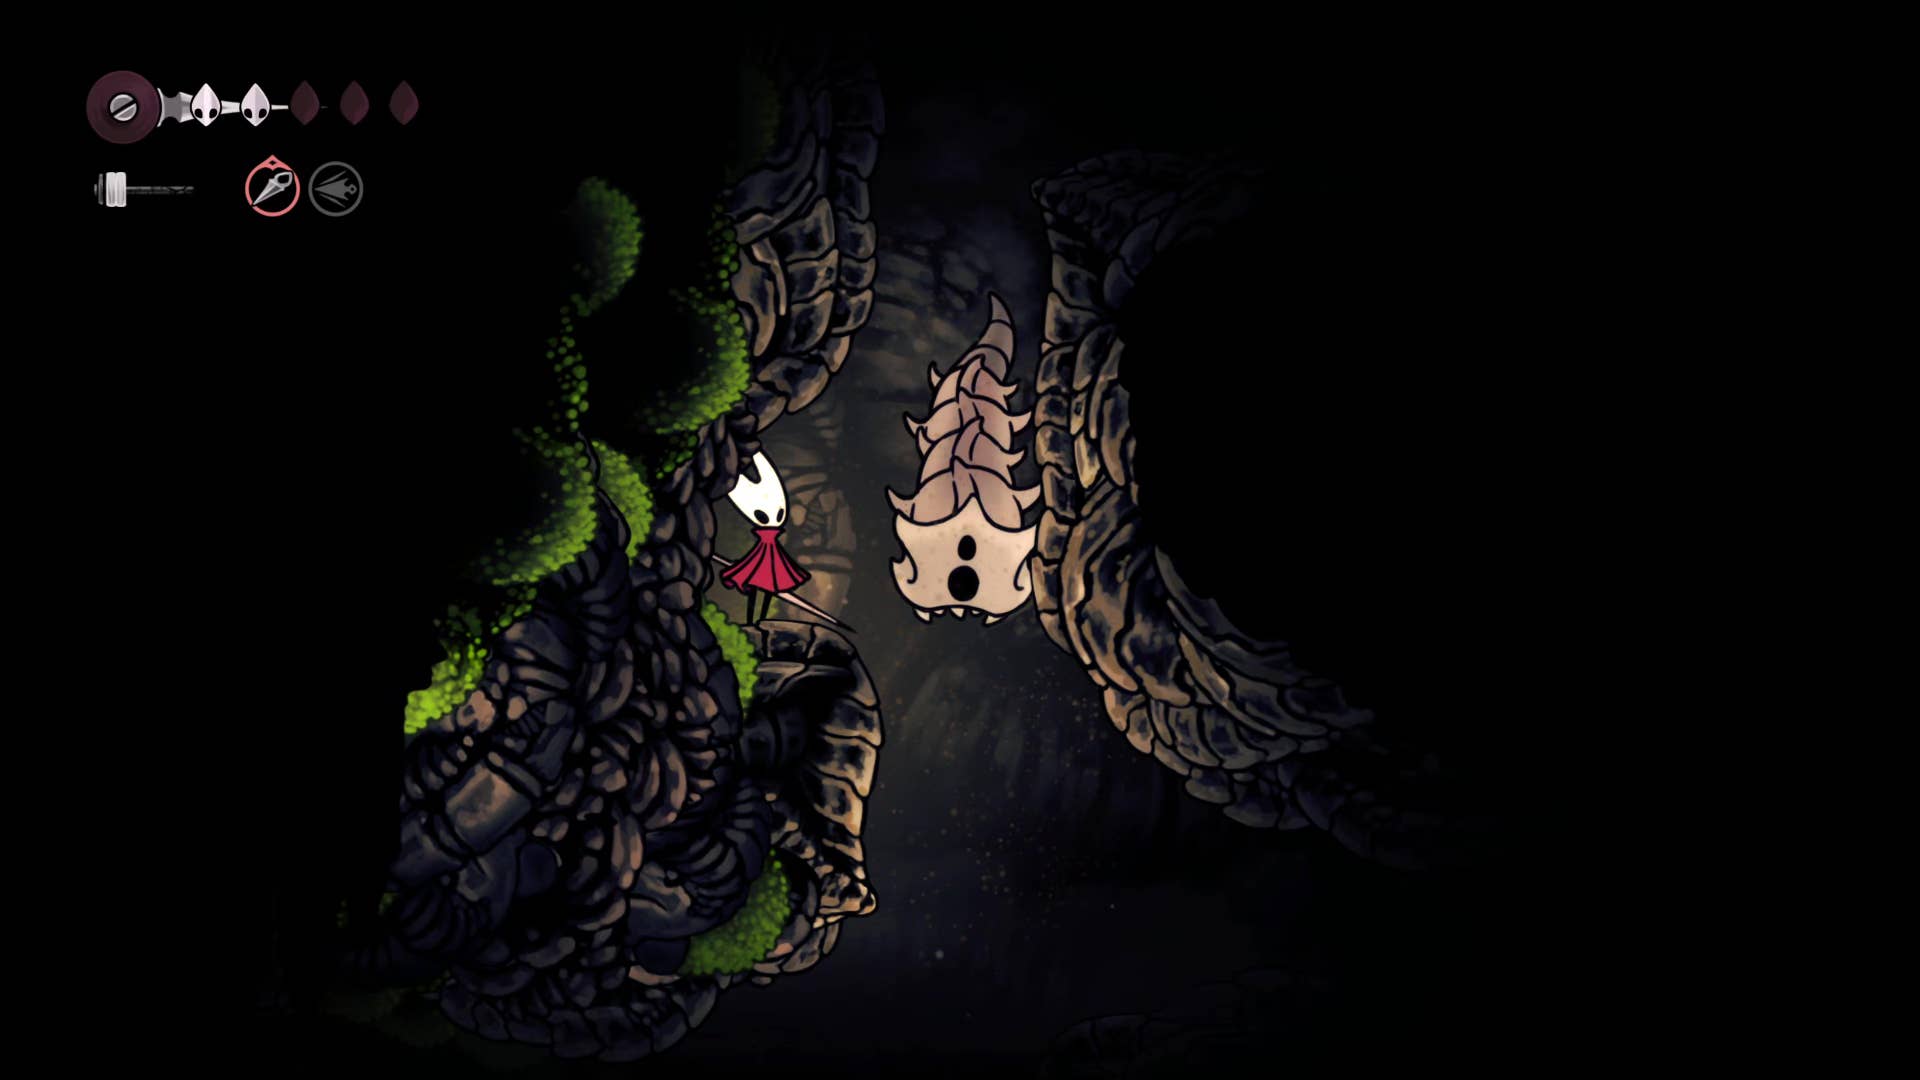
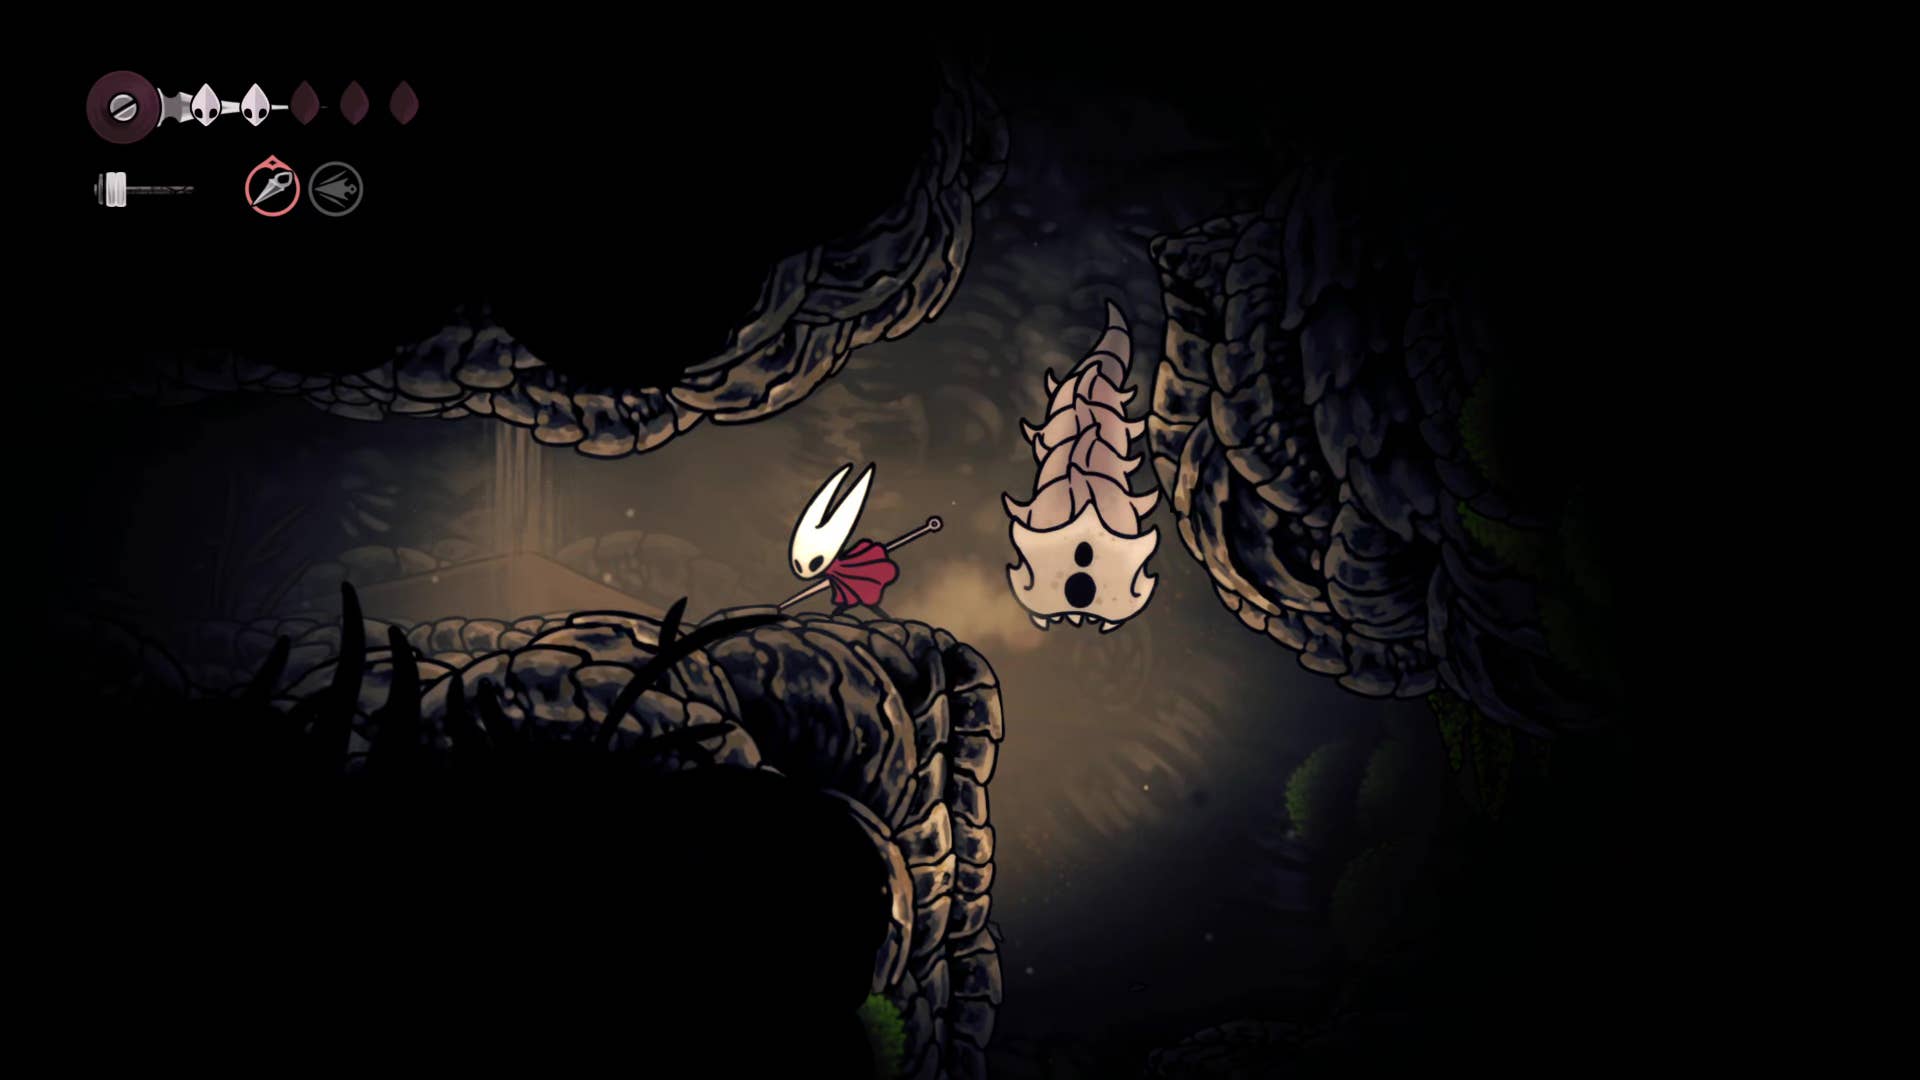
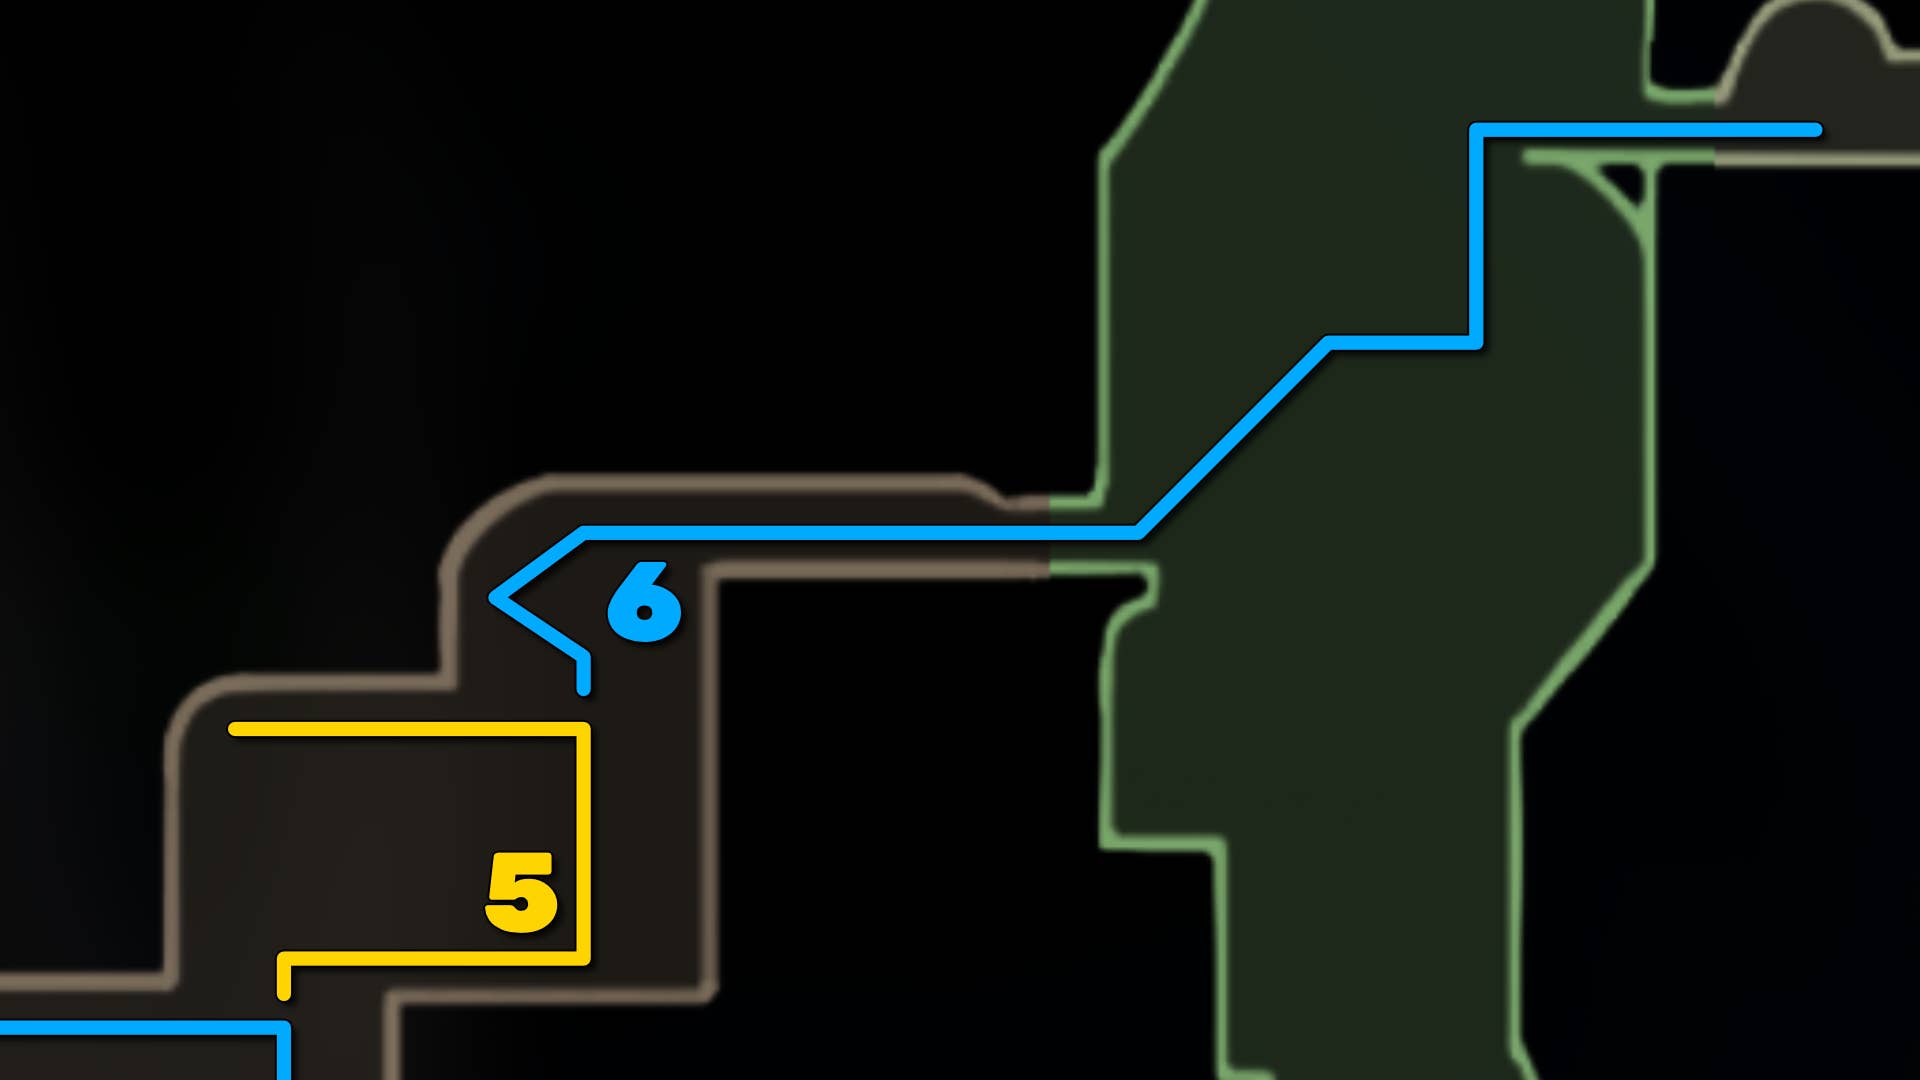
Exit out of the secret passage and climb partway up the vertical shaft room until you can reach the next exit on your right. Climb up the crumbling platforms, and enter the higher of the two left-hand paths to find Shakra.
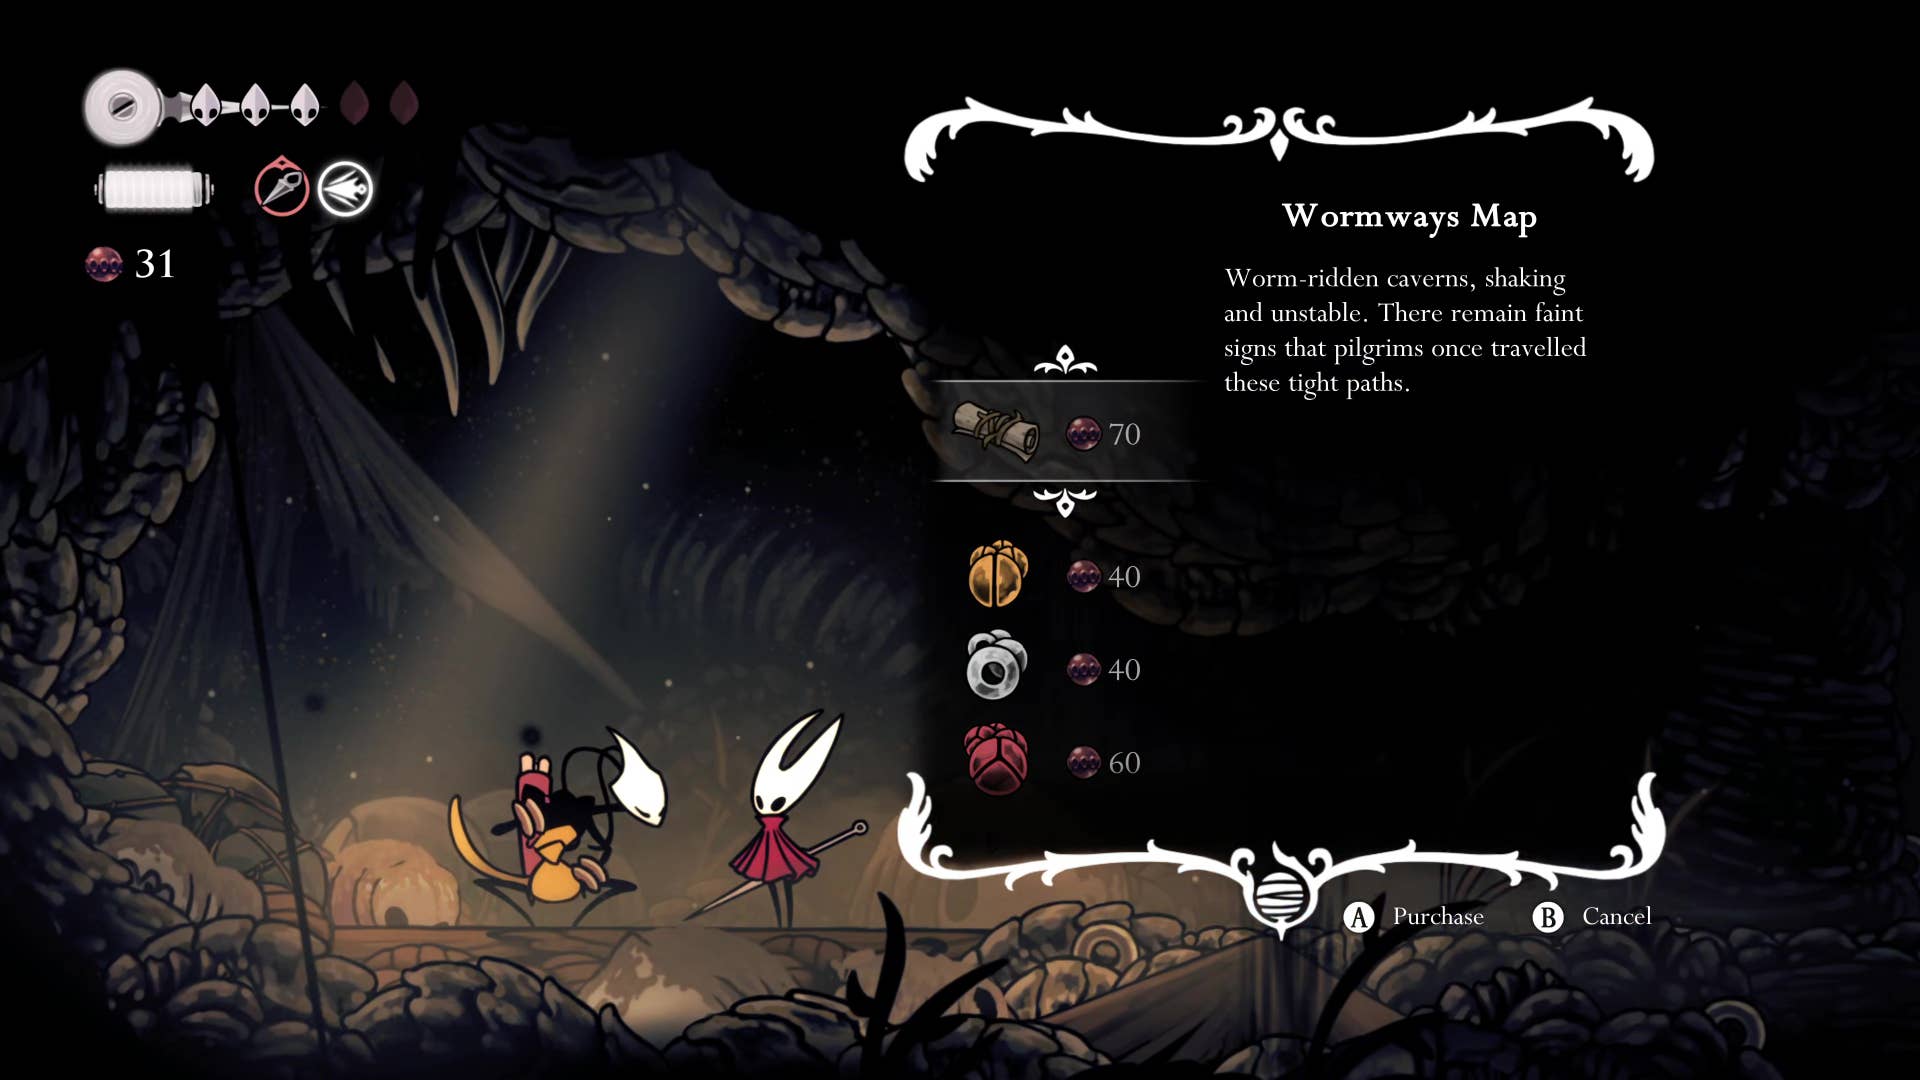
Shakra will tell you a little more about her quest to find her master, after which you can purchase the Wormways map from her for 70 Rosaries.
5. Obtain the Dead Bug’s Purse.
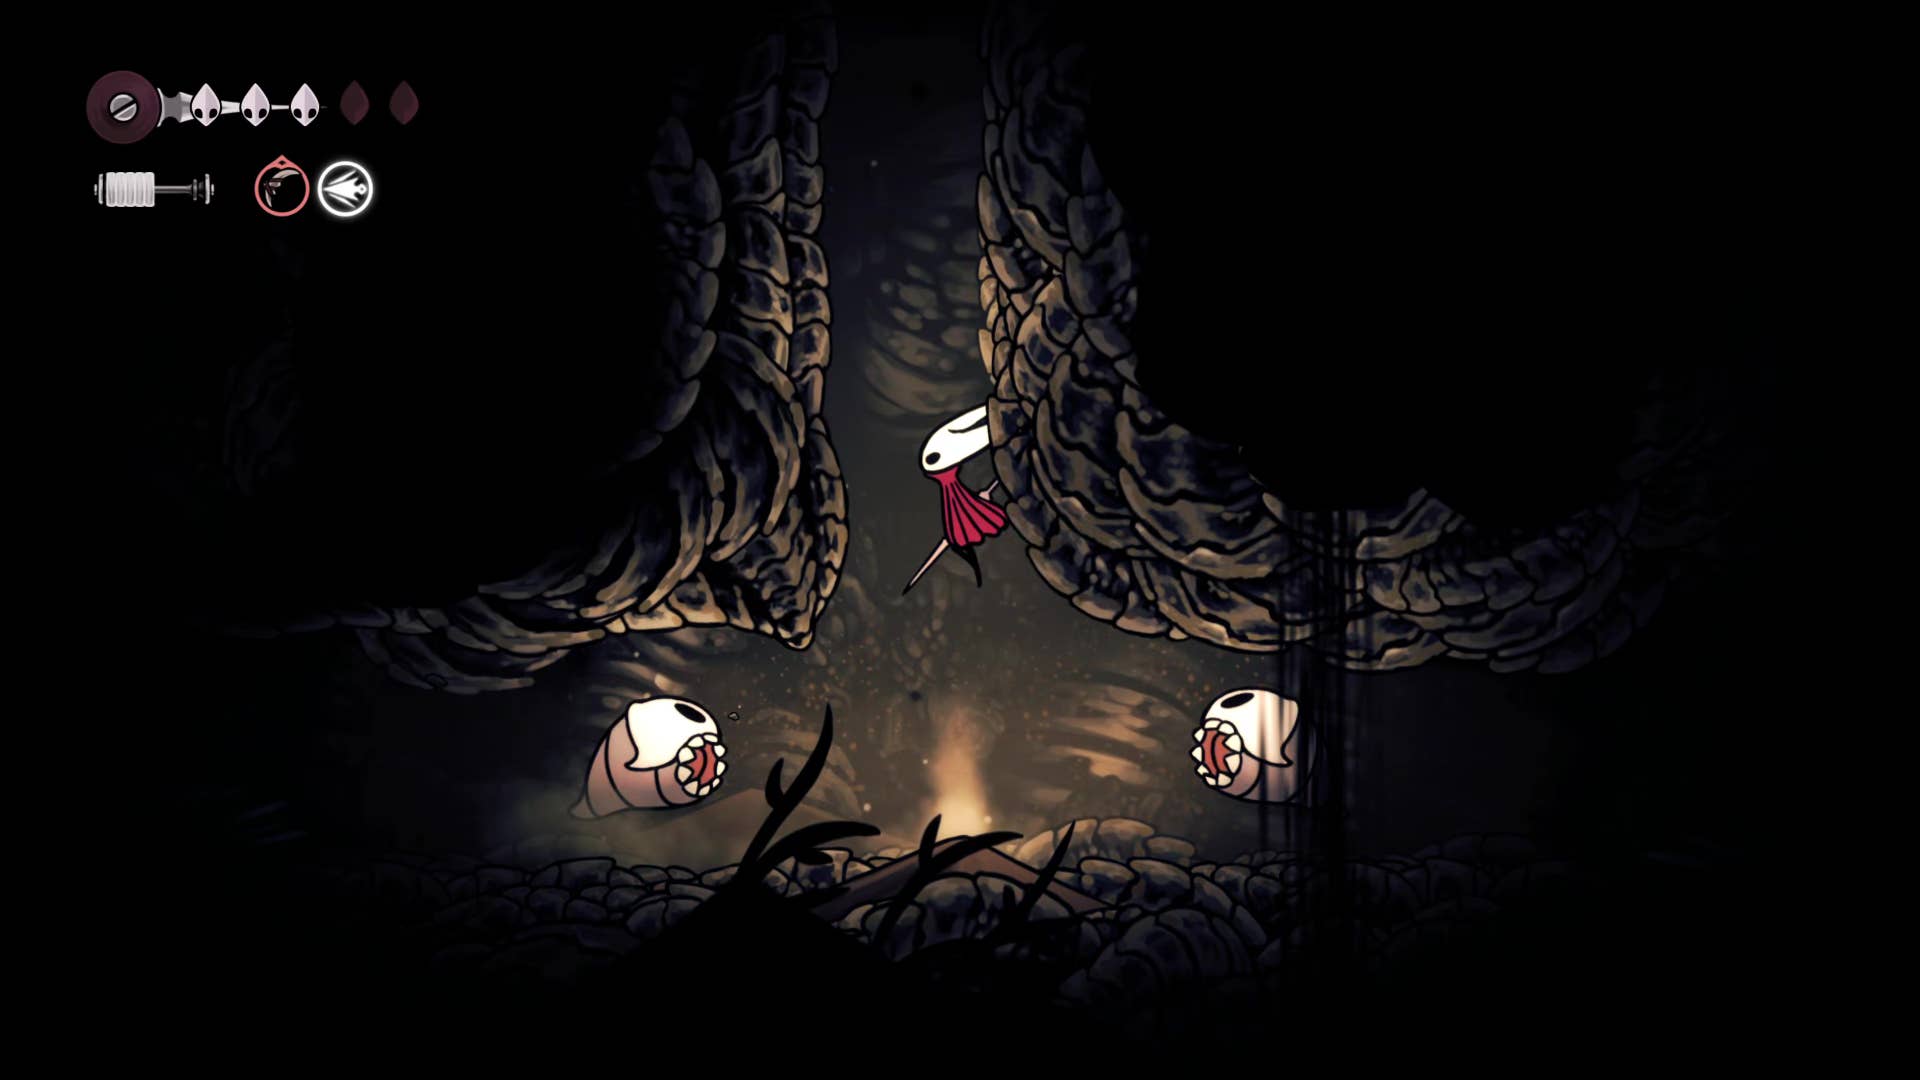
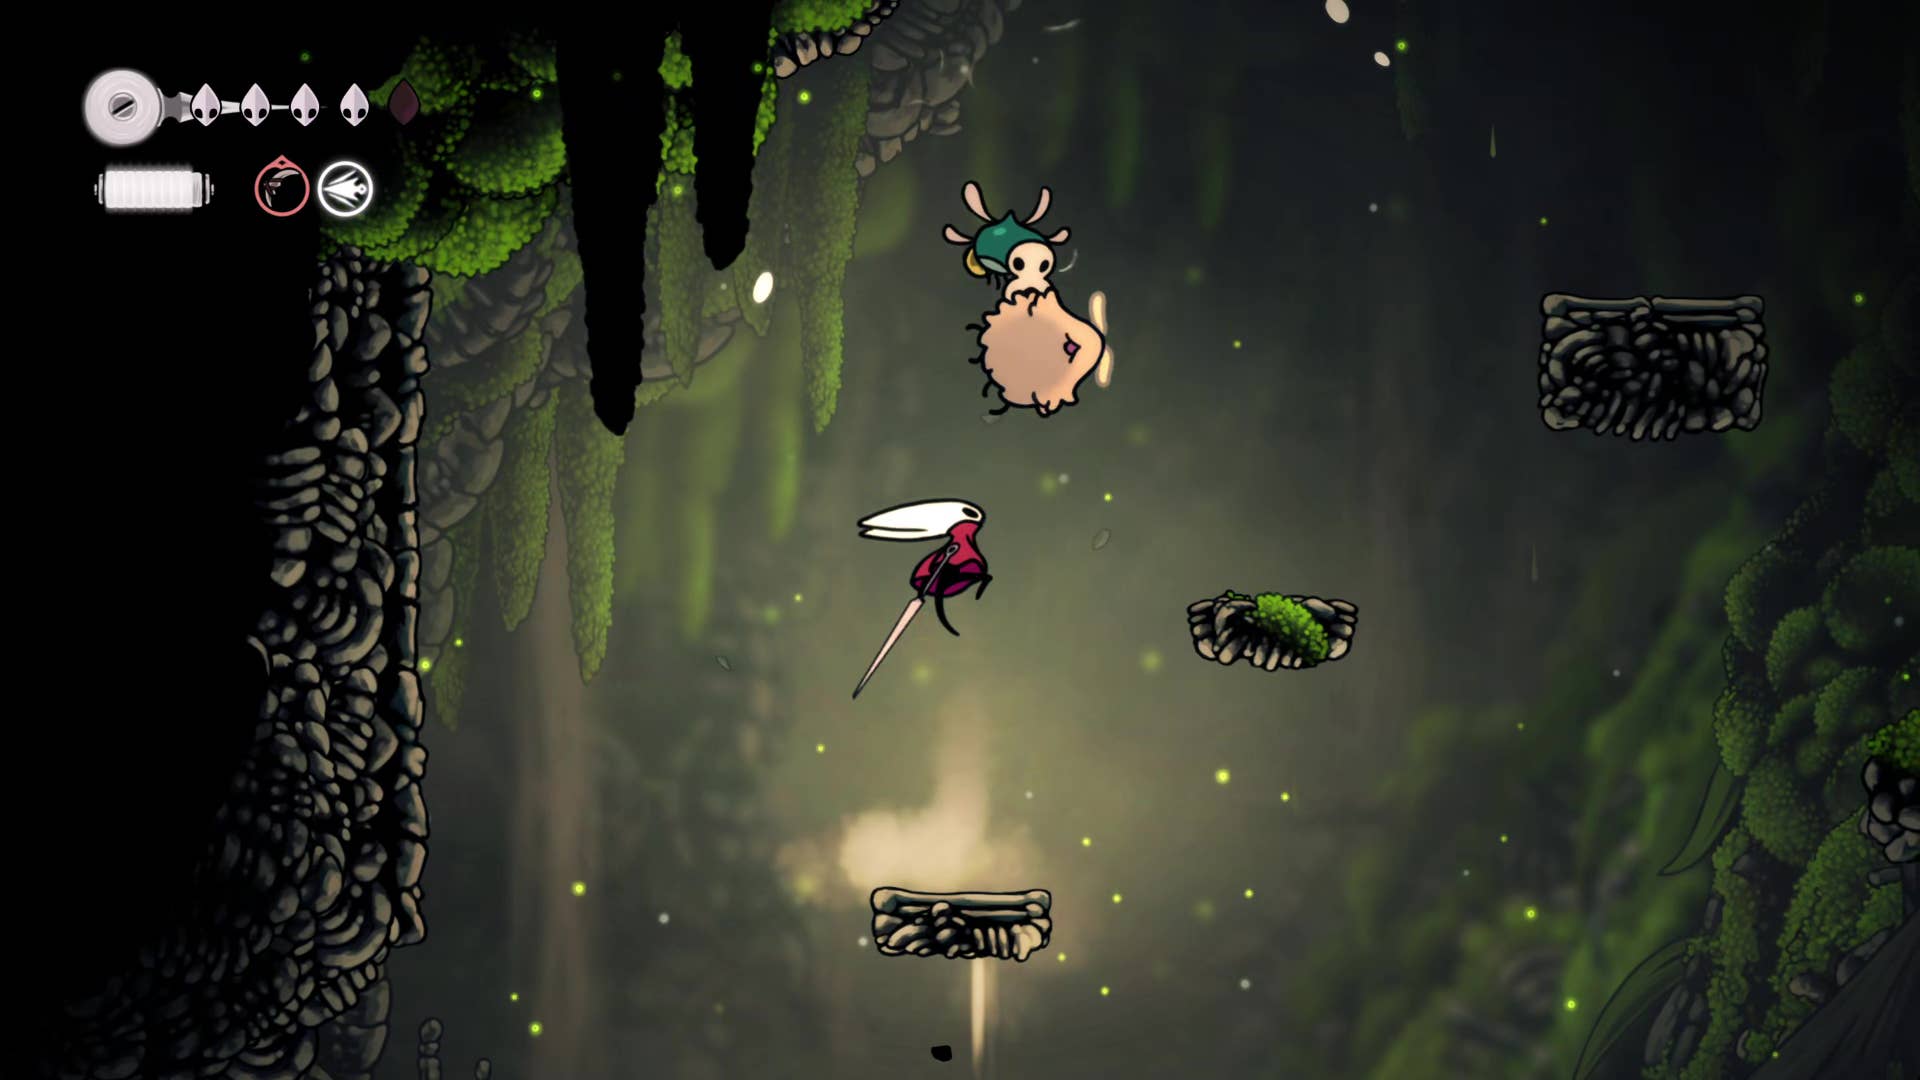
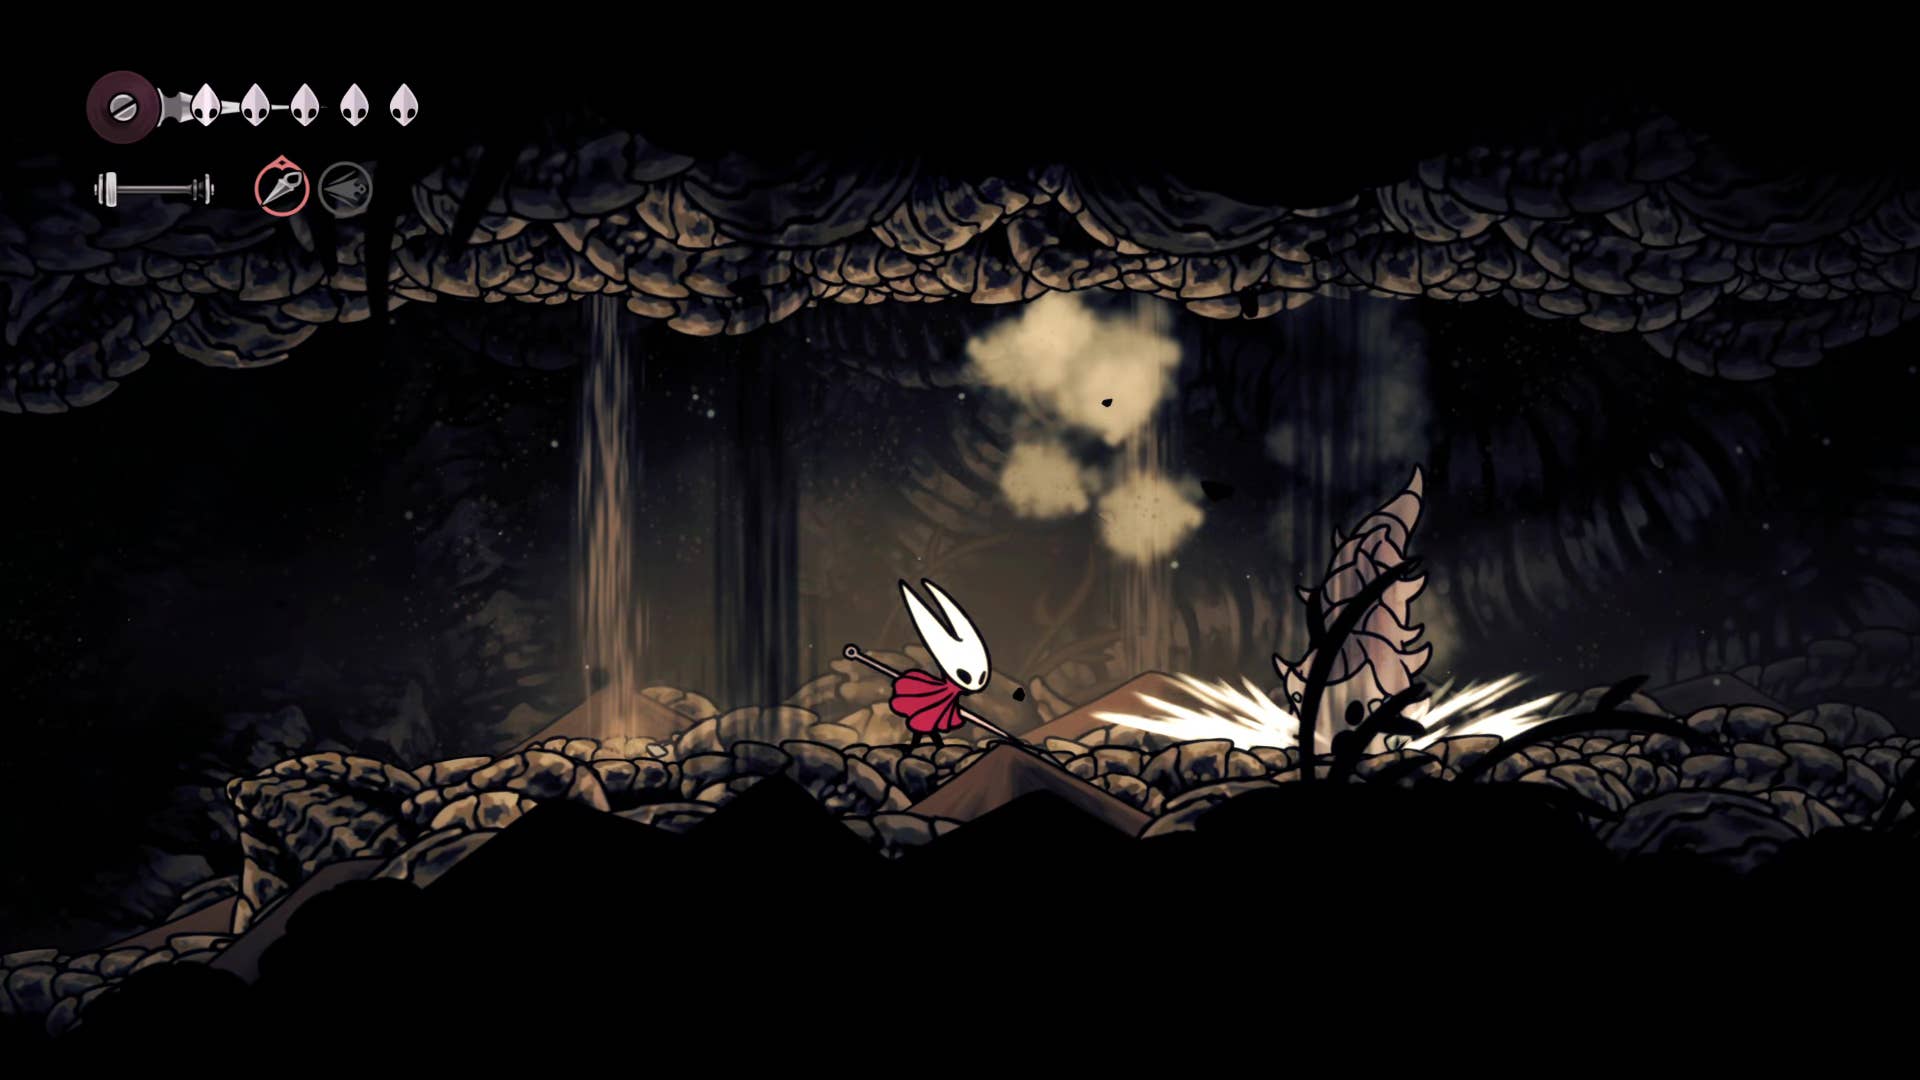
Once you have the Wormways map, jump up to the upper right-hand ledge opposite where you found Shakra. Dodge some more falling worms, and then climb up the passage where the final worm is falling – but don’t go all the way to the top yet. There’s a left-hand path just below the very top; follow it and you’ll find an item on a Pilgrim’s corpse, guarded by two more ambushing Gromlings.
Once the worms have been evaded or slain, loot the item to obtain the Dead Bug’s Purse. This is a yellow-slot tool (same as your Compass), which allows you to retain some Rosaries when you die, instead of dropping them all.
6. Reach the entrance to Shellwood.
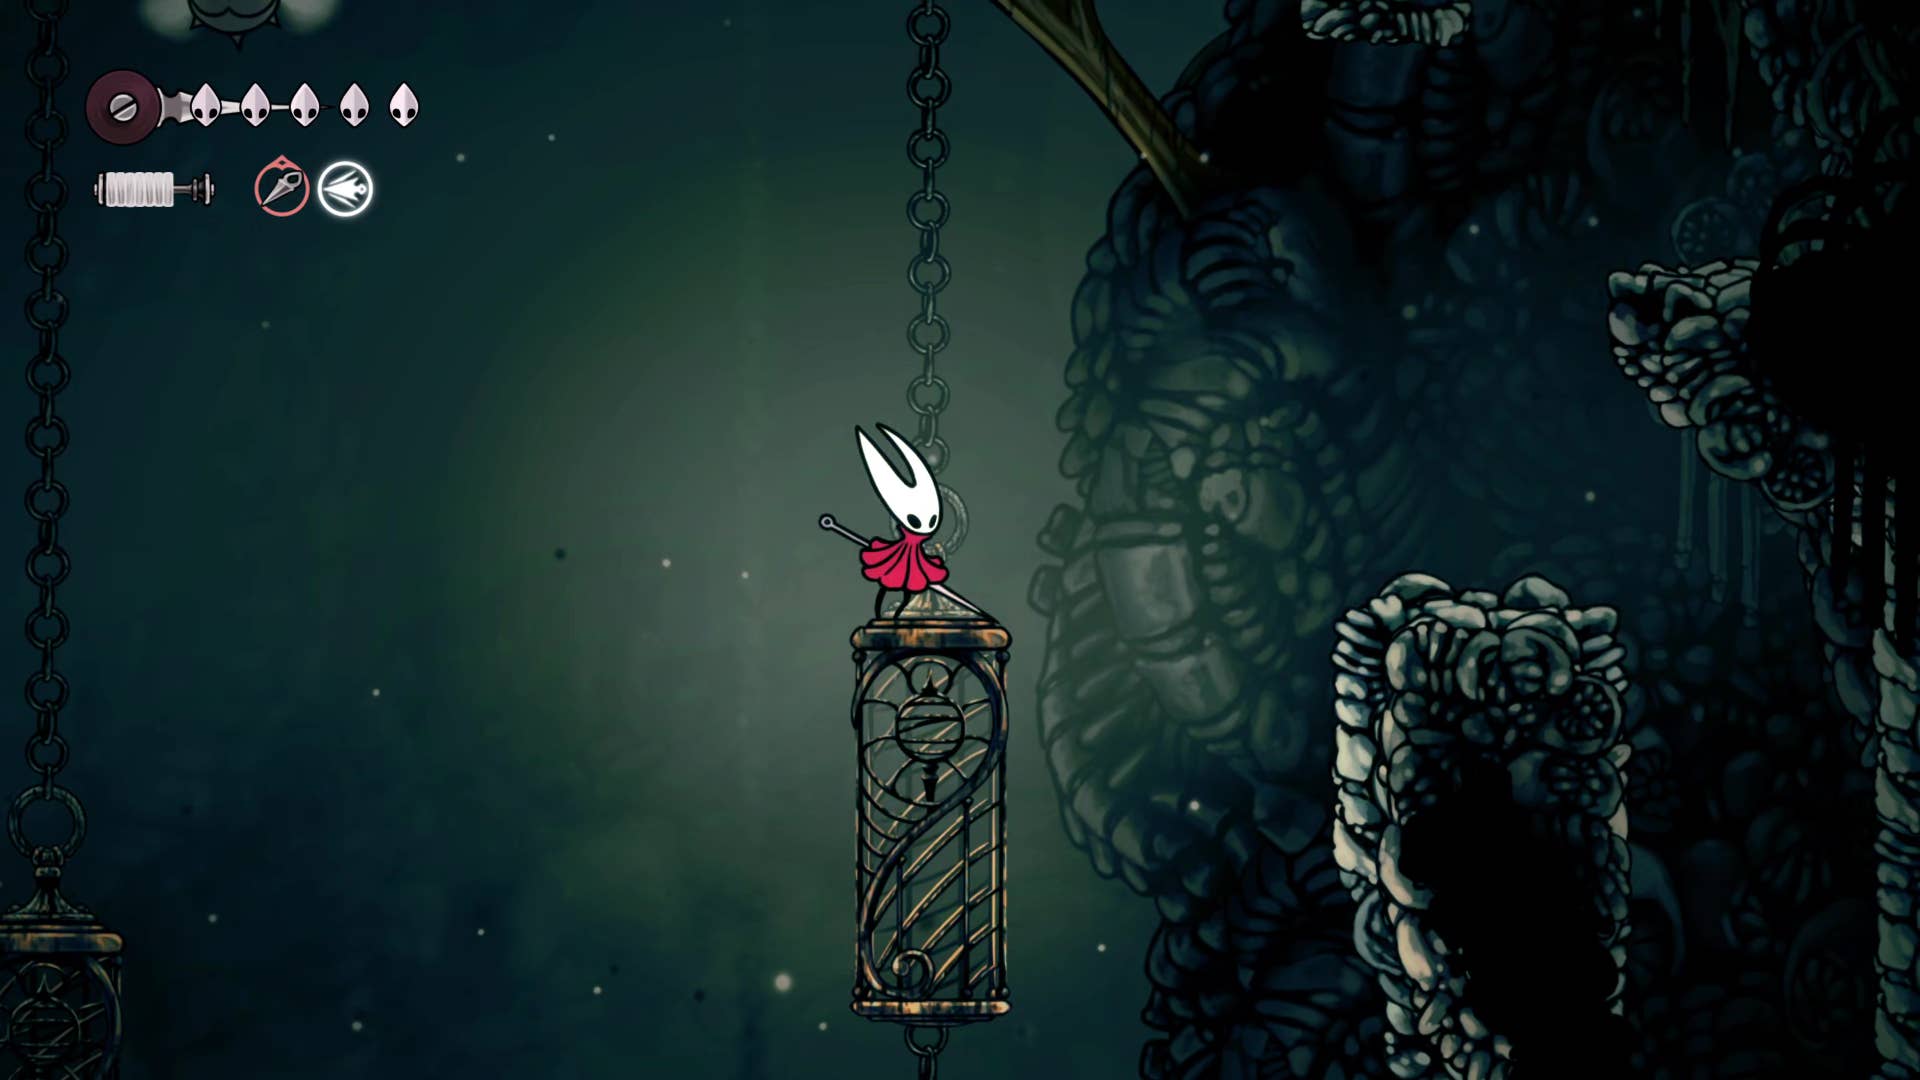
Backtrack and climb to the very top of that last worm passage. Jump over the spikes and sprint past the remaining worms to exit off-screen and reach the outside world once again. Say goodbye to the Wormways for now! You’ll return later on.
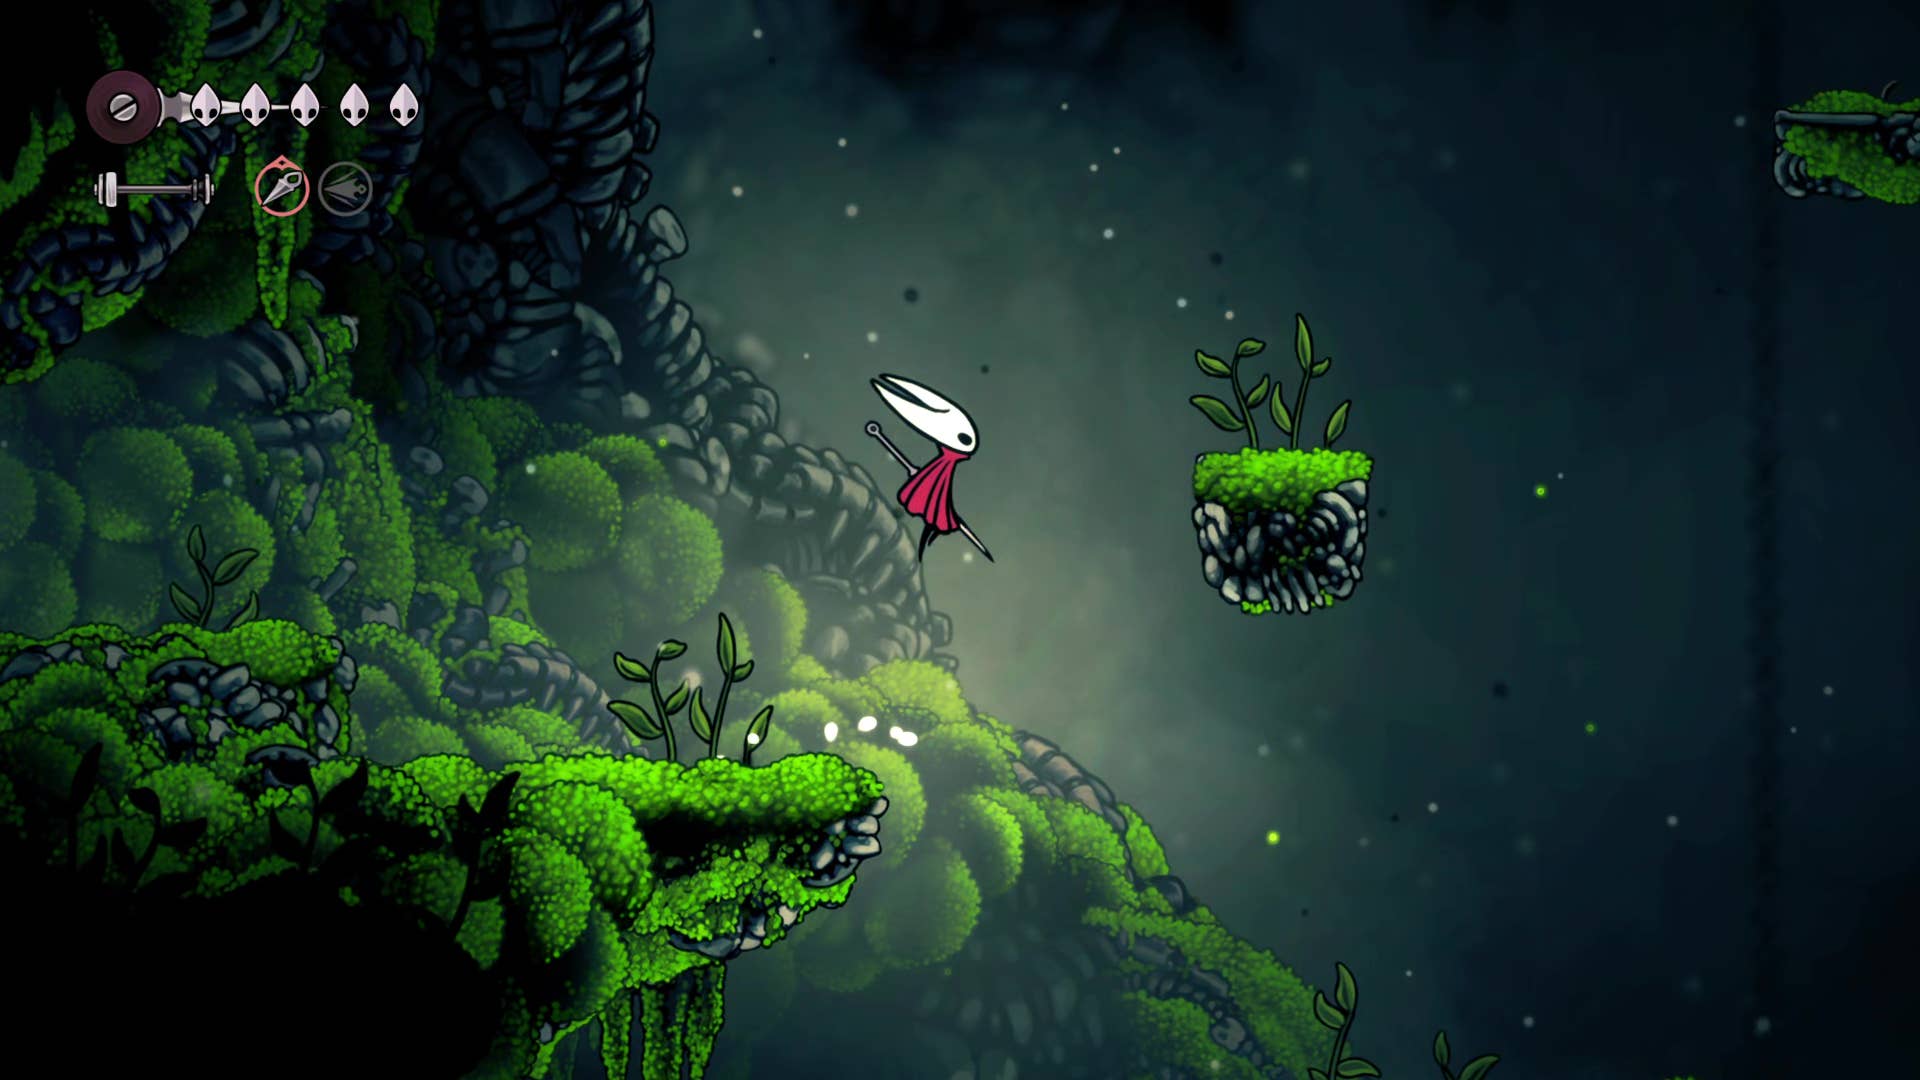
What follows is a platforming section, where falling most likely means a very long way down, all the way back to Bone Bottom. So take things slow and careful.
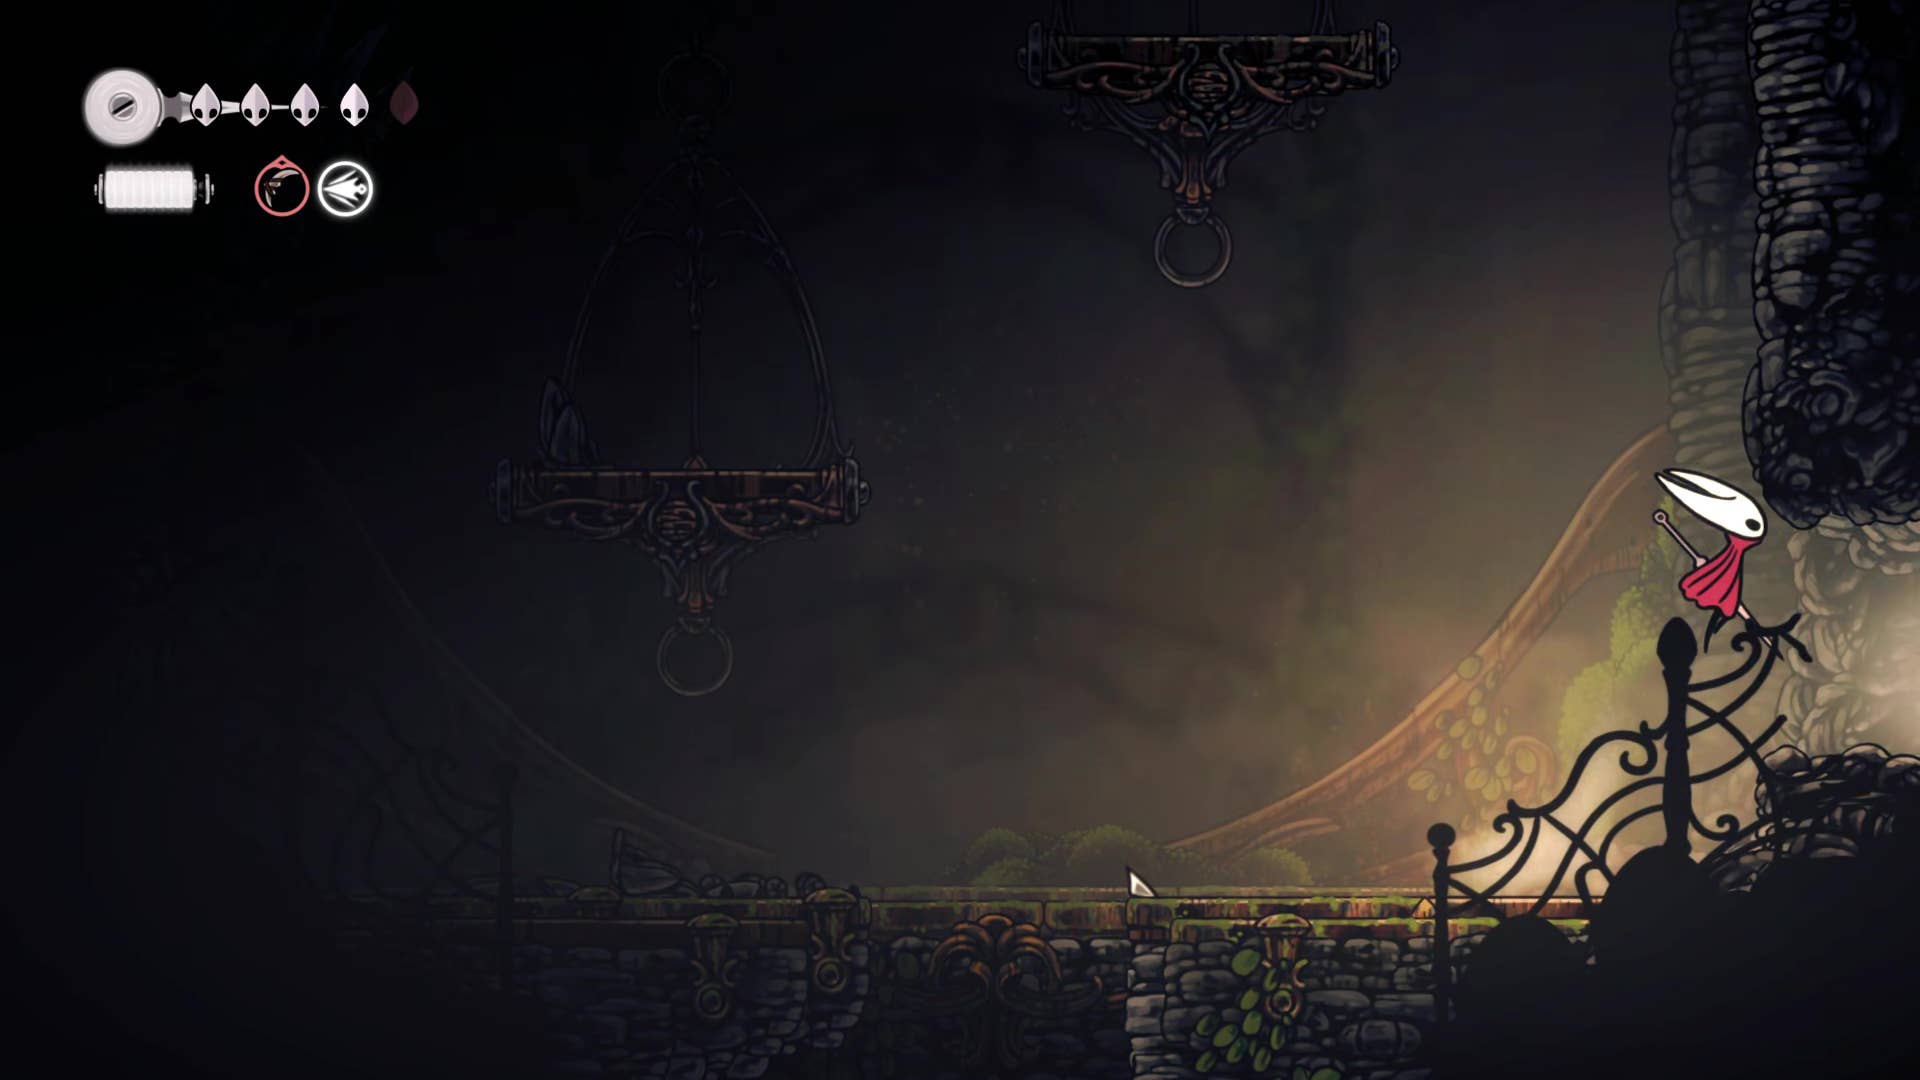
Make your way across the ledges and hanging cages as far up as you can go. Near the right-hand wall at the top, you’ll find a hole in the upper floor where you can climb up. Head through into the next room, and you’ll be able to pay 60 Rosaries to unlock a Bench (which I’d advise you do if you have the Rosaries to spare).
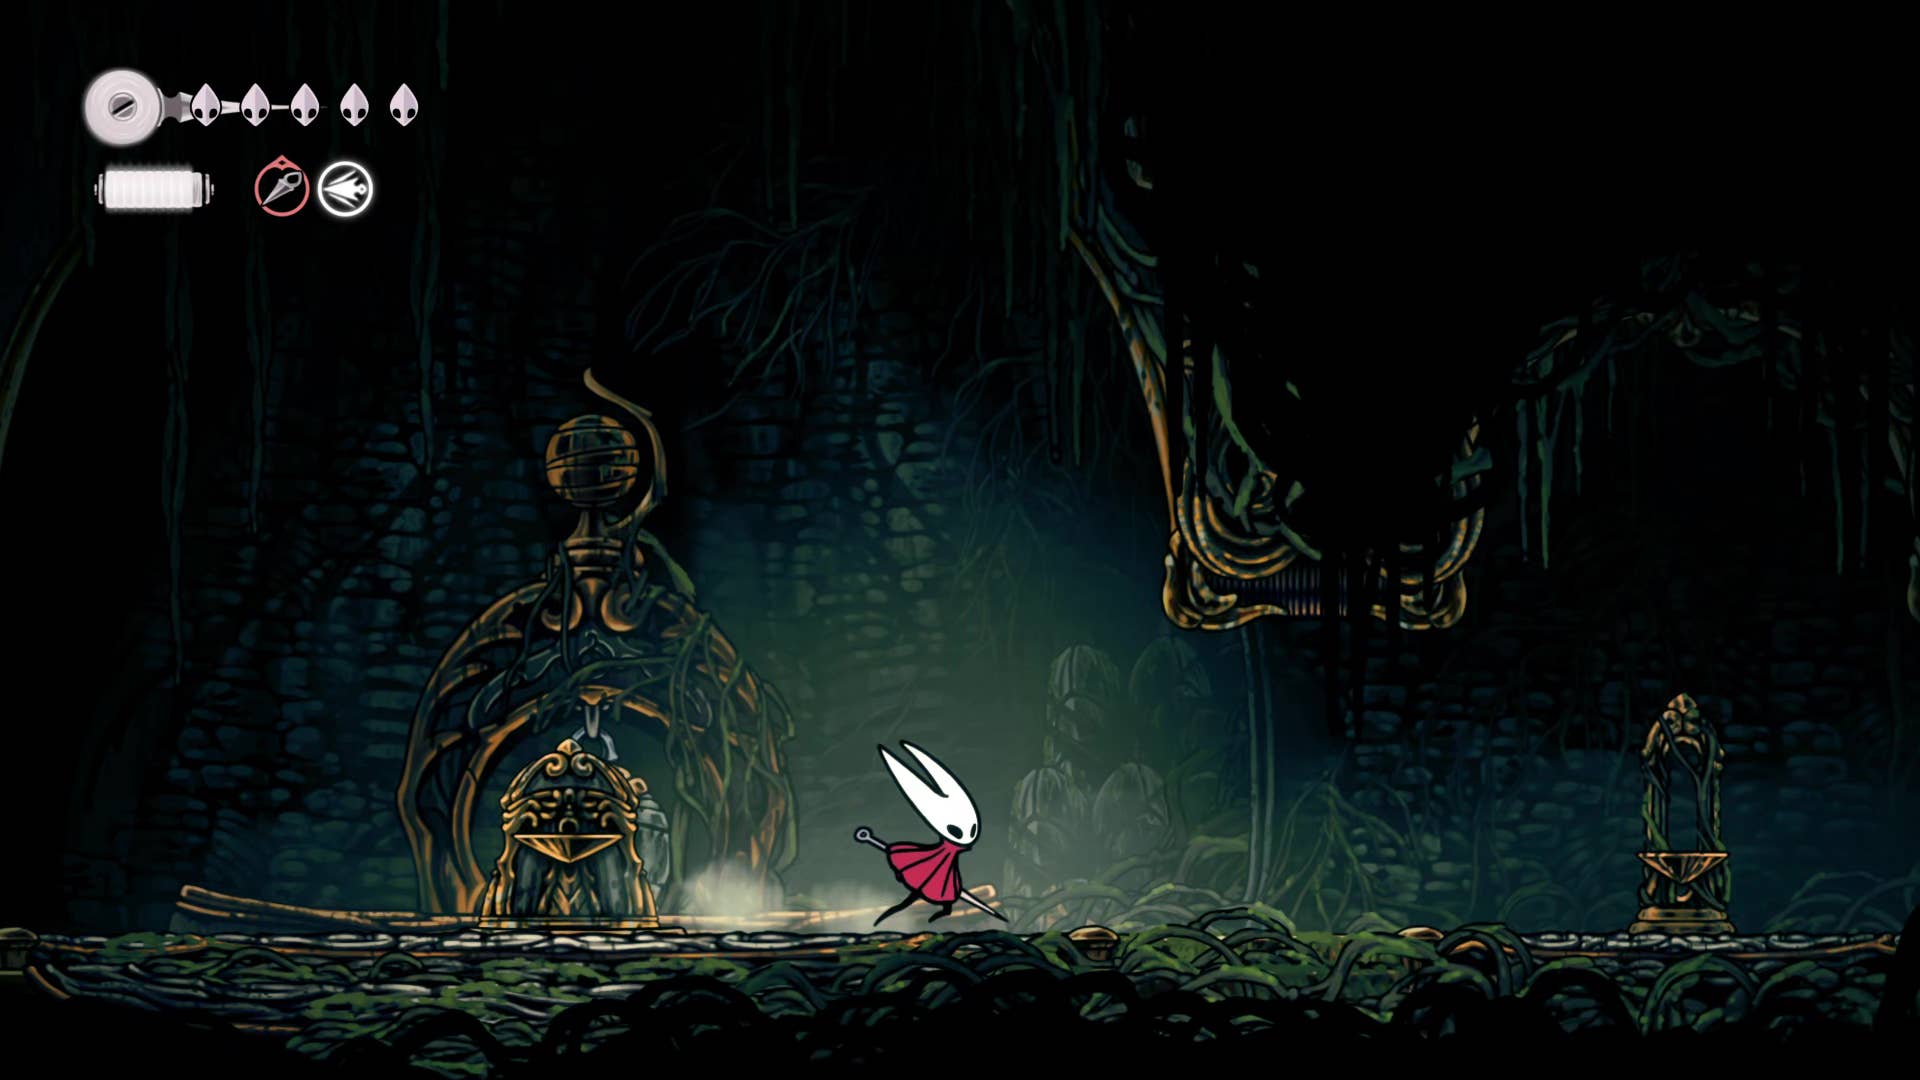
This is the entrance to Shellwood. There were a couple of different ways to get into this new region, but the Wormways offers us a fast path to a starting Bench from which to conduct our world-saving affairs. Take a well-earned rest, and prepare for some brand new enemies in the next part.
That’s all for this chapter. Well done for making your way through the Wormways! Join us in Part 9 of our Silksong walkthrough to learn the best path through the weird and perilous land of Shellwood.
Source link

