
Hollow Knight: Silksong is full of secrets, isn’t it? That includes an entire third Act which has some pretty particular requirements to access.
Given that Pharloom and The Citadel are huge, and there are a few different things you need to do to unlock the third (and final) Act, here’s our guide to accessing the true endgame of Silksong, including where to find all four items for the Silk and Soul wish.
Warning: As you may have guessed, this guide contains major spoilers for Silksong’s endgame, so read on at your peril…
Everything you need to do to unlock Act 3
Accessing Act 3 requires you to fulfill a specific set of requirements; what these are exactly is still up for debate.
One thing to note, if you want to get every single ending in the game, jumping into Act 3 without cursing Hornet will lock you out of the Twisted Child ending. We’ve got a guide that covers how to curse Hornet and how to get that ending, so if you feel like a challenge, go for it.
Anyway, here’s everything we did to unlock Act 3:
- Collect the Threefold Melodies and unlock access to The Cradle
- Complete every single Wish on the Bone Bottom, Bellhart, and Songclave Wish Boards
- Acquire your very own Bellhome in Bellhart
- Complete Shakra’s Wish, Trail’s End (which means you need to buy all of her Maps)
- Explore Bilewater and Putrified Ducts
- Get the Flea Caravan to move to Pale Lake in Putrified Ducts (this requires around 25 Fleas)
- After all of the above, complete the Silk and Soul Wish
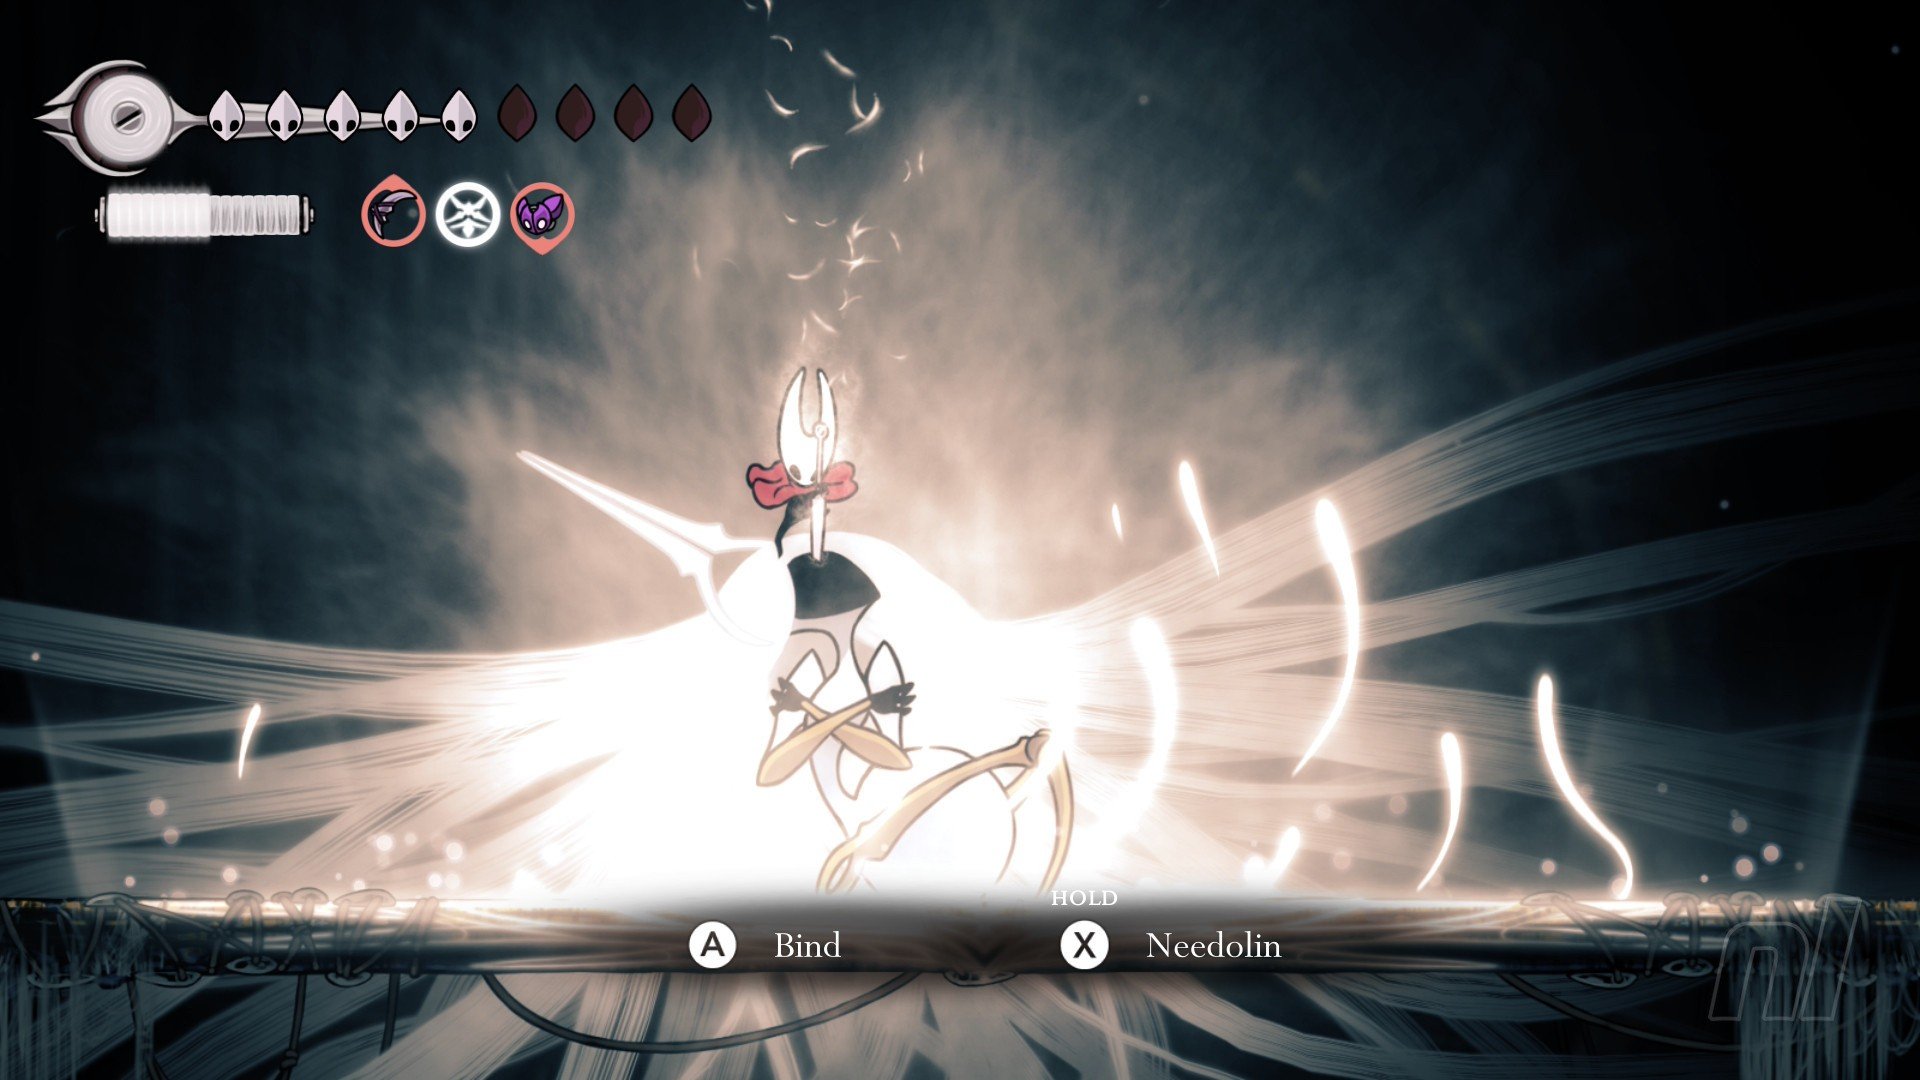
- Then defeat Grand Mother Silk one last time, then play your Needolin when prompted
Doing all of the above should get you the Snared Silk ending.
Watch some cutscenes, let the credits roll, and then you can head back to your save data, where things look different. Don’t worry, just select it a few
Silk and Soul Wish Guide
Once you’ve done all of the above (well, except the last point and the need to defeat Grand Mother Silk again), head to Songclave and speak to the Caretaker.
He will tell you about a device that can be used to trap the final boss. Well that sounds useful! All you have to do is find four items: three souls, and one Waever tool.
They’re pretty easy to find and the Caretaker gives you some solid hints, but just in case you need a helping hand, we’ve got the locations locked down for you.
Once you have all four, give them to the Caretaker and he’ll build the Soul Snare.
Maiden’s Soul Location
The Maiden’s Soul is being kept by the very first person you met in Pharloom, and she’s still where she found you.
Use the Bellway to travel to Bone Bottom, then just run to the left until you bump into your old friend. Speak to her and, as long as you have the quest in-hand, she’ll give you the Maiden’s Soul.
Hermit’s Soul Location
For the Hermit, you want to head to Bellhart. Don’t leave the Bellway, though. Instead, from the platform, just run right and you’ll walk through a hidden wall.
Drop all the way to the bottom and then head left to find a hole in the wall and the back of the Hermit. Speak to him and, like the Maiden, he’ll give you the Soul if you have the quest.
Seeker’s Soul Location
Sadly, the Seeker has long since passed away, but his Soul is still up for grabs. But it requires venturing through Bilewater.
In fact, if you’re coming from Sinner’s Road or the Whispering Vaults, then you’ll need to make your way through the entire area. There’s a lot of good stuff here, but it’s also one of the more-difficult areas to get through.
You also need to defeat the boss of the area, Groal, to reach the Seeker’s Soul. He’s not too bad, but if you die, you also need to fight four waves of enemies again, every single time.
Once you manage to get past this huge frog, head left one screen and then head inside the small hut here. You’ll see the corpse of the Seeker; take the Seeker’s Soul from his body.
Snare Setter Location
This one’s not quite as laborious as the Seeker’s Soul, but unless you know about the Weavenest Atla, you might be scratching your head a bit.
Anyway, this item is in the same place you’ll find Eva, which is below Bone Bottom and on the east side of the Moss Grotto.
Once inside the Atla, take the lift down to the bottom floor. Instead of heading right, though, you want to hop up and grip onto the right wall. Jump up to a platform here, and then jump across the gap to the other side to find a hidden pathway.
Head about halfway until you see a domed ceiling. here, Double Jump and you’ll reach another hidden pathway. Go right to find the Snare Setter Tool just lying on the desk.
What can you do in Act 3?
Well… Act 3 changes a lot about Pharloom and The Citadel.
New paths and areas become available to Hornet, but many paths you used before have also been locked off. For example, the Ventrica lift at Songclave (First Shrine) is no longer active. Booo!
Along with new areas and biomes, there are also tons of new Wishes and Bosses, including access to two more endings, access to more Mask Shards, Tools, and Silk Skills. So there’s a lot to do!
Are you scared of what the Abyss has to offer? Or are you simply looking to arm yourself up with more Tools or upgrades? Well, head to our Hollow Knight: Silksong walkthrough for all of that and more.
Source link


